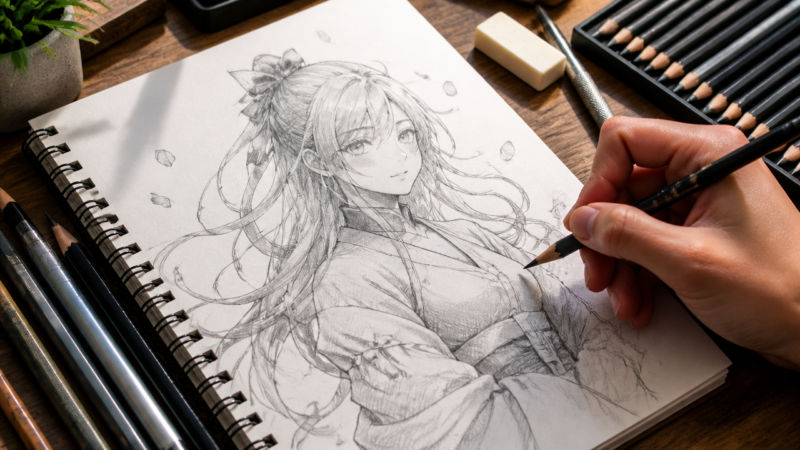
Sketching used to intimidate me. I’d stare at a blank page, unsure where to begin, convinced I needed talent or fancy tools to make anything worth keeping. But once I picked up a pencil and let go of perfection, everything changed. Sketching became my quiet escape—a way to slow down, observe the world, and express myself without saying a word. This guide is for anyone who’s ever felt that same hesitation. Whether you’re doodling in the margins or dreaming of drawing portraits, you’re in the right place.
We’ll start with the basics: what materials you need, how to sketch simple shapes, and how to shade without stress. I’ll walk you through each step like we’re sketching together, side by side. You’ll learn how to build structure, add depth, and avoid common beginner mistakes. And the best part? You don’t need to be “good” to get started—you just need to start.
I’ve also included video tutorials that helped me when I was just beginning. They’re clear, encouraging, and easy to follow. So grab your pencil, Esther, and let’s turn that blank page into something beautiful. You’re about to discover how fun and freeing sketching can be. Let’s begin.
A personal guide to getting started with sketching—no stress, just strokes
✨ Table of Contents
1. Why Sketching Is for Everyone
2. Materials You’ll Need
3. Step-by-Step Sketching Process
4. Shading Techniques Made Simple
5. Common Mistakes to Avoid
6. Practice Tips That Actually Work
7. Video Tutorials to Follow
8. Final Thoughts
1. Why Sketching Is for Everyone
I used to think sketching was only for “real” artists—people who could draw a perfect eye without blinking. But the truth is, sketching is for anyone with curiosity and a pencil. It’s not about creating masterpieces; it’s about learning to see. Once I let go of perfection and embraced the process, sketching became my favorite way to unwind, express myself, and even boost my focus.
2. Materials You’ll Need
You don’t need a fancy art store haul. Just grab:
- Sketchbook or drawing paper
- Graphite pencils: HB for outlines, 2B–4B for shading
- Eraser: Kneaded or regular
- Sharpener
- Blending stump or tissue (optional)
For a great intro to materials and how to use them, check out Learn To Draw #01 – Sketching Basics + Materials. It walks you through pencil types, sketching tools, and how to get started with basic shapes.
3. Step-by-Step Sketching Process
Here’s how I usually approach a beginner sketch:
✏️ Step 1: Start with Simple Shapes
Everything begins with circles, squares, and lines. Whether you’re drawing a face or a fruit bowl, break it down into basic forms.
✏️ Step 2: Light Outlines
Use an HB pencil to sketch lightly. You’re just mapping things out—don’t worry about details yet.
✏️ Step 3: Add Structure
Refine your shapes. Define edges, curves, and proportions. This is where your sketch starts to take form.
✏️ Step 4: Begin Shading
Use a softer pencil (2B or 4B) to add shadows and depth. Think about where the light hits and where shadows fall.
✏️ Step 5: Blend and Refine
Use a blending stump or tissue to smooth out shading. Erase stray marks and sharpen edges.
For a full walkthrough on sketching anything from scratch, How to draw anything | learn sketching for beginners in 7 steps is a must-watch. It breaks down the process into manageable steps and shows how to build confidence with each stroke.
4. Shading Techniques Made Simple
Shading is where your sketch comes alive. Here’s what helped me:
- Pressure control: Light pressure = light shade; heavy pressure = dark shade
- Layering: Build up tone gradually
- Cross-hatching: Use overlapping lines for texture
- Blending: Smooth out graphite with a stump or tissue
How to Shade with PENCIL for BEGINNERS is a fantastic tutorial that teaches you how to control pressure, blend smoothly, and understand light sources.
5. Common Mistakes to Avoid
I’ve made all of these—so you don’t have to:
- Pressing too hard too early: Start light, build up gradually
- Skipping structure: Always map out basic shapes first
- Ignoring light source: Shadows depend on where your light is coming from
- Over-blending: Too much blending can flatten your sketch
6. Practice Tips That Actually Work
- Draw daily: Even 10 minutes helps
- Use references: Photos, objects, or your own hand
- Start small: Eyes, leaves, cups—simple subjects build confidence
- Keep your sketches: Track your progress and celebrate growth
If you want to try sketching a realistic eye, Pencil Sketch for Beginners – How to Draw an Eye is a great place to start. It shows how to use just three pencils to create depth and realism.
7. Video Tutorials to Follow
Here’s your beginner-friendly video playlist, each one handpicked to help you sketch with ease:
8. Final Thoughts
Sketching is a journey, not a race. Every line you draw teaches you something new. Whether your apple looks like a potato or your eye turns out cross-eyed, it’s all part of the process. The key is to keep going, keep observing, and most importantly—keep enjoying it.
So grab your pencil, Esther, and let’s sketch something today. Even if it’s just a leaf or a coffee mug, you’re building a skill that will grow with every stroke. And I’ll be right here, cheering you on.
Want help choosing your first sketch subject or turning this into a printable guide? Just say the word! 🎨

A Teacher with 5 years of experience. Our Expertise, is reliable to meet your full Academic development needs . Worked on many crafts and construction projects offering services from design to development to deployment over the years. You will find many of my works in my business portfolio on request.