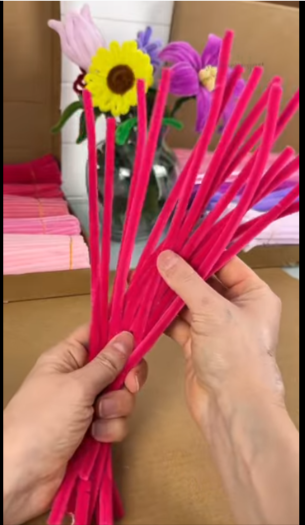
A rose is one of the most famous flowers in the world. People give roses for birthdays, holidays, and special days because roses look elegant and meaningful. A pipe cleaner rose is a fun way to make that same “special flower” using simple craft supplies. The secret to a great rose is not fancy tools—it’s how you roll the center, wrap the petals, and shape the edges so it looks like it is blooming. In this article, you’ll learn how to make a pipe cleaner rose step by step, based on the rose tutorial video.
Materials (What You Need)
This rose craft can be done with a small supply list.
- Pipe cleaners in rose colors (red, pink, white, or even purple)
- Green pipe cleaners (for the stem and leaves)
- Scissors (optional)
The video shows a pipe cleaner rose craft with a simple materials idea (pipe cleaners and basic shaping). Source
Before You Start: What a Rose Is Made Of
A rose has three main parts:
- A tight center bud (small and rolled)
- Outer petals (wider and more open)
- A stem (green, with optional leaves)
Keeping these parts in mind helps your rose look real instead of looking like a messy ball.
Part A: Make the Rose Center (The Bud)
Step 1: Choose your first petal pipe cleaner.
Pick your main rose color (like red). Hold one end between your fingers.
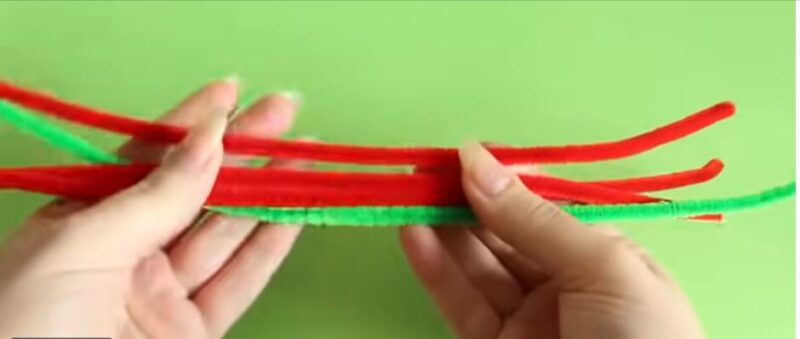
Step 2: Curl the tip into a tight coil.
Twist the very end into a small spiral. This tiny spiral is the heart of the rose.
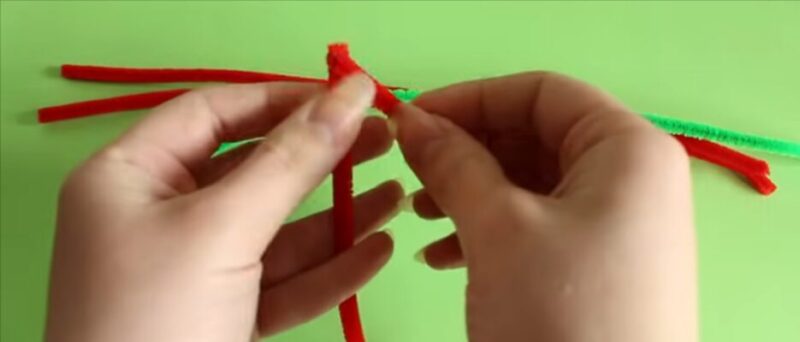
Step 3: Roll to build the bud. and Cut With Scissors
Wrap the pipe cleaner around the spiral. Keep it snug. The tighter you wrap, the more “bud-like” it looks.
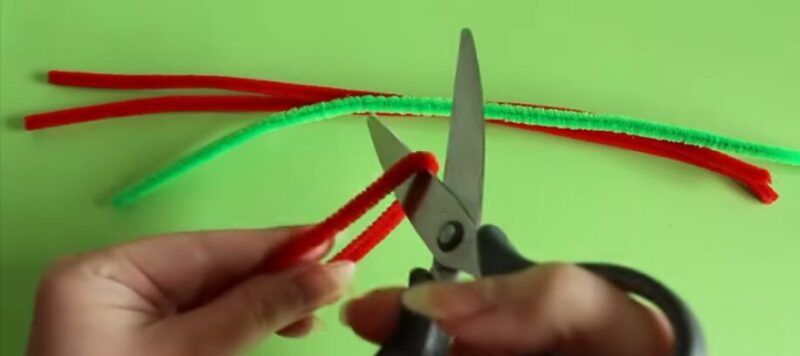
REPEAT FOR EACH OF THE STRAND. FOLD AN CUT
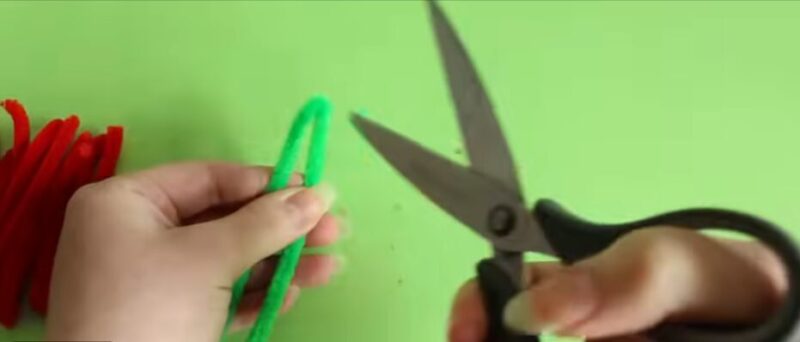
Step 4: Lock the bud at the bottom.
When your bud looks like a small rose center, twist the bottom part a few times so it stays together.
If the bud feels loose, twist again before you add petals. A strong base makes everything easier later.
Part B: Add Petals (Make the Rose Grow)
Step 5: Shape a new petal pipe cleaner.
Take another rose-color pipe cleaner. Bend it into a gentle curve (not a full circle). This curve helps it look like a petal wrapping around something.
Step 6: Wrap the petal around the bud.
Place the curved pipe cleaner against the bud and wrap it around once. Twist the bottom to attach it.
Step 7: Add a second petal and overlap it.
Take another pipe cleaner. Wrap it around the bud too, but overlap it a little with the first petal. Real rose petals overlap.
Step 8: Keep building outward.
Repeat: wrap a new “petal” around the rose and twist the base. Each time, let the rose get a little wider.
Step 9: Make the rose start to open.
After a few petals, gently bend the top edges outward. Do not bend all petals the same way. Some petals can curl more than others.
This wrap-and-shape process is the main method used in the rose tutorial video.
Part C: Fix the Shape (So It Looks Like a Real Rose)
This part is where many roses go from “okay” to “wow.”
Step 10: Check the center.
Look at the rose from the top. You should see a tight middle.
Step 11: Pull outer petals wider.
Use your fingers to gently widen the outside petals so they make a round rose shape.
Step 12: Make petal edges wavy (optional).
Pinch small spots along the petal edges so they look less perfect. Real petals are not perfectly smooth.
Step 13: Tighten the base again.
Any time the rose feels loose, twist the bottom again. This is a normal step, not a mistake.
Keep shaping until you like the look. Pipe cleaners are great because you can redo the shape many times. Source
Part D: Make the Stem (Green Finish)
Step 14: Attach a green pipe cleaner as the stem.
Hold a green pipe cleaner against the rose base. Twist it tightly onto the bottom so it becomes the stem.
Step 15: Wrap downward to strengthen the stem.
Twist the green pipe cleaner down its length to make it feel thicker and more solid.
If your stem bends too easily, you can twist a second green pipe cleaner around the first one to make it stronger. Source
Part E: Add Leaves (Optional, But Looks More Real)
Step 16: Make a leaf loop.
Take a green pipe cleaner and bend it into a pointed oval loop. Twist the bottom of the loop.
Step 17: Attach the leaf to the stem.
Twist the leaf base onto the stem about halfway down.
Step 18: Shape the leaf.
Flatten the loop a little so it looks like a leaf. Angle it outward.
You can add one leaf, two leaves, or even three, depending on how full you want the stem to look. Source
Troubleshooting (Quick Fixes)
- Problem: My rose looks like a ball.
Fix: Open the outer petals more and overlap petals instead of stacking them straight. Source - Problem: My rose is falling apart at the bottom.
Fix: Twist the base tighter and attach the stem more firmly. Source - Problem: My stem is floppy.
Fix: Wrap another green pipe cleaner around it to make it thicker.
Conclusion
You now know how to make a pipe cleaner rose by creating a tight bud, wrapping petals around it, shaping the edges, and finishing with a green stem and leaves. A rose is a great craft flower because you can make it small for a gift tag, medium for a bouquet, or large as a decoration. Try making roses in different colors, or make three roses and tie them together as a mini bouquet. The more roses you make, the easier it gets to shape petals fast and make each one look a little different—just like real flowers.

A Teacher with 5 years of experience. Our Expertise, is reliable to meet your full Academic development needs . Worked on many crafts and construction projects offering services from design to development to deployment over the years. You will find many of my works in my business portfolio on request.