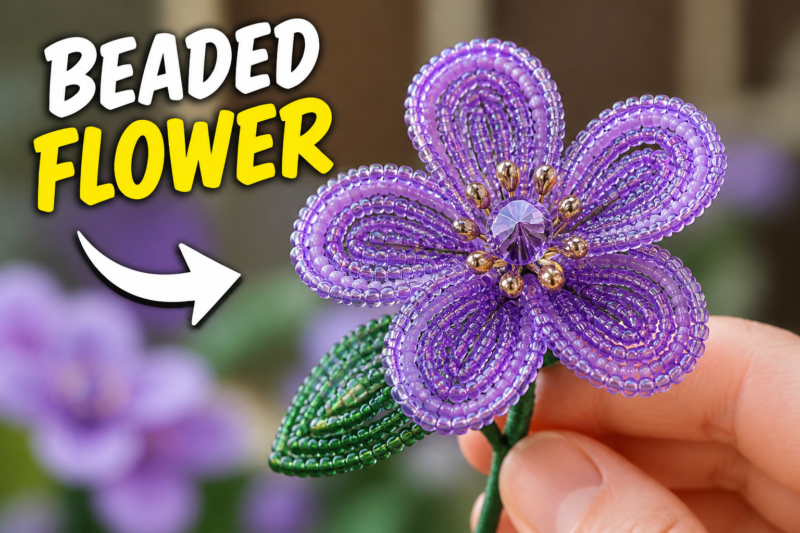
Learn how to make a beaded flower with our simple step-by-step guide. Master French-beaded techniques, wire looping, and bead counting for perfect results.
Creating a beautiful beaded flower is a rewarding way to transform simple materials into a lasting floral arrangement. Whether you want to add a unique touch to a holiday centerpiece or need a quick project for a summer afternoon, these designs offer a fun creative outlet. Making your own beaded flower allows you to customize colors, shapes, and sizes to fit your specific vision. Many enthusiasts find that working with seed beads provides a relaxing rhythm, turning small glass components into intricate, eye-catching art. Let’s look at how to get started.
Quick Questions and Answers
Question: What is a beaded flower tutorial supposed to make?
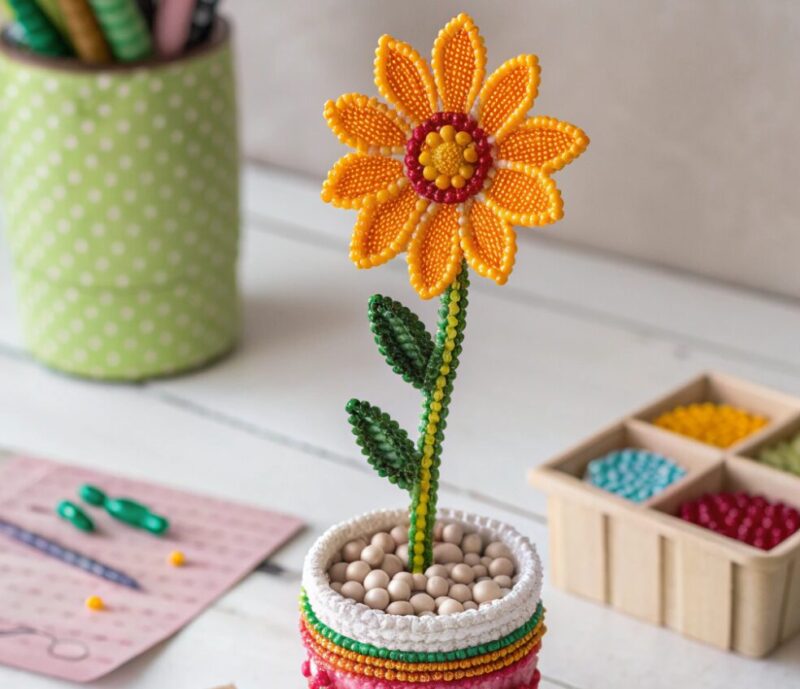
Answer: A beaded flower tutorial teaches you how to make a flower shape from beads using either thread-and-needle construction or wire-based construction. Depending on the tutorial, the final result may be a single decorative flower, a stemmed French-beaded flower, or a small bouquet accessory such as a keychain or bag charm.
Question: What materials do you need for beaded flowers?
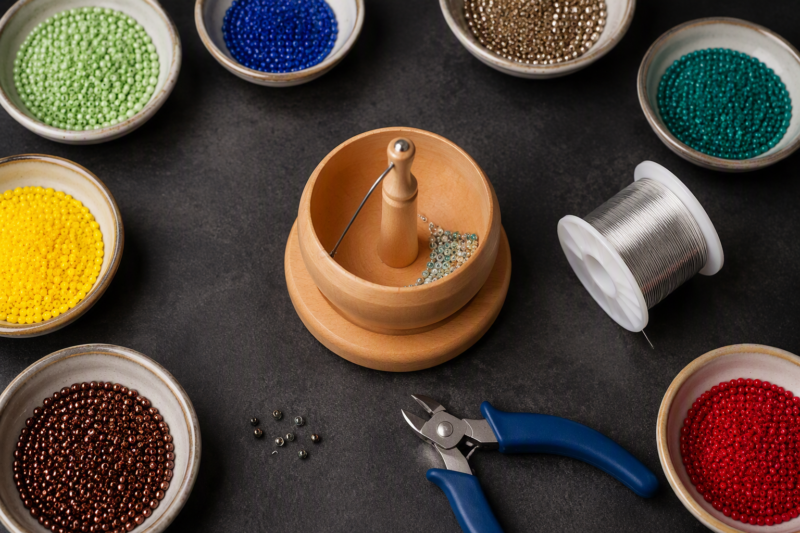
Answer: The core materials are beads and either wire or beading thread, plus basic tools such as scissors, cutters, and pliers. Some tutorials also use florist tape, crimp tubes, a bead spinner, needles, or finishing materials like glue and ribbon, depending on whether the flower is meant to be a stem, jewelry piece, or accessory.
Question: How do you start a beginner beaded flower?
Answer: Most beginner tutorials start by choosing the flower style, gathering the exact bead counts, and cutting the wire or thread to a set length. Then you make the first petal or center section, secure it with a loop, wrap, or return pass, and repeat the same unit until the flower has the right number of petals.
Key Takeaways
Choose between thread-based (jewelry) or wire-based (sculptural) construction methods early on.
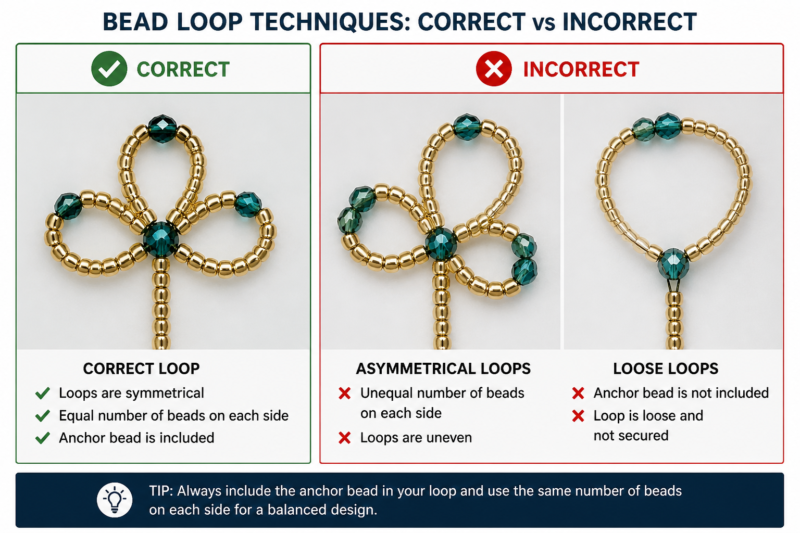
Precision in bead counting prevents lopsided petals and ensures a professional finish.
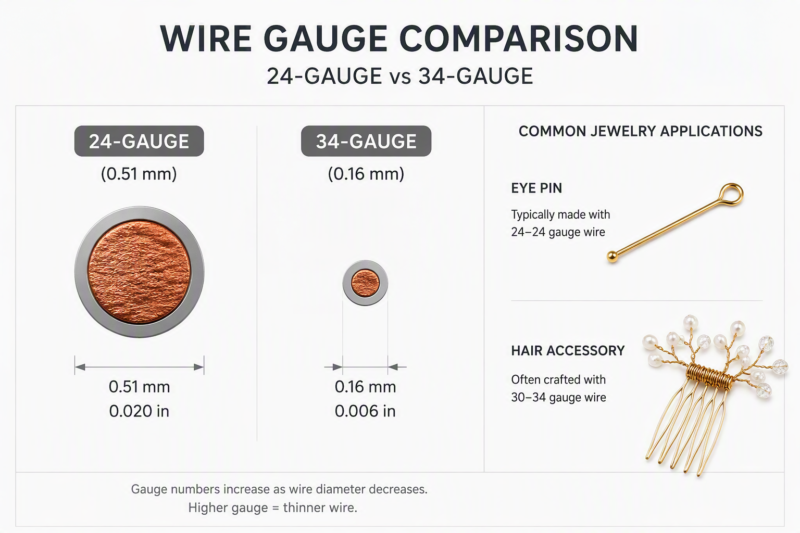
Wire gauge significantly impacts how well your flower maintains its shape over time.
Quick Answer: Thread vs. Wire Methods
Deciding between thread and wire construction is the most important first step. If you are creating jewelry components like pins or hair clips, stitching beads with Fireline thread and a needle is usually best. This method provides a flexible, fluid drape that looks great on clothing.
For bouquets, stems, or decorative arrangements, wire is the superior choice. Using 26 to 34 gauge wire allows you to sculpt petals into specific shapes that stand upright. You can check out 12 Must-Know Melt Bead Patterns Made Simple for more inspiration on how to build consistent shapes. Wire gives the piece structural integrity that thread simply cannot replicate. Make sure to keep your wire cutters and needle-nose pliers handy, as they are essential for both methods.
What You Need
Item
Purpose
Notes
Seed Beads
Main petal structure
Size 11/0 or 10/0 are standard for beginners
Artistic Wire
Sculpture and stems
Use 24-26 gauge for best balance of flexibility
Beading Thread
Jewelry motifs
Fireline or similar nylon-based cords work well
Wire Cutters
Trimming components
Flush-cutters are best for clean edges
Florist Tape
Stem finishing
Stretches to create a smooth, tacky seal
Step 1: Prep Your Materials and Wire
Preparation is key to a smooth experience. Start by selecting your bead color palette to ensure you have enough consistent beads for your design. I recommend using a bead spinner if you have one, as it saves massive amounts of time when you need to thread hundreds of beads.
For a standard wire-based flower, cut a 32-inch piece of wire. This might seem long, but it allows for plenty of working room for the stem and ensures you don’t run out before finishing the last petal. Dragonfly Designs notes that keeping the wire length consistent helps beginners avoid mid-project frustration. Keep your beads organized in small bowls so you don’t accidentally mix counts while working.
Step 2: Form the Flower Center
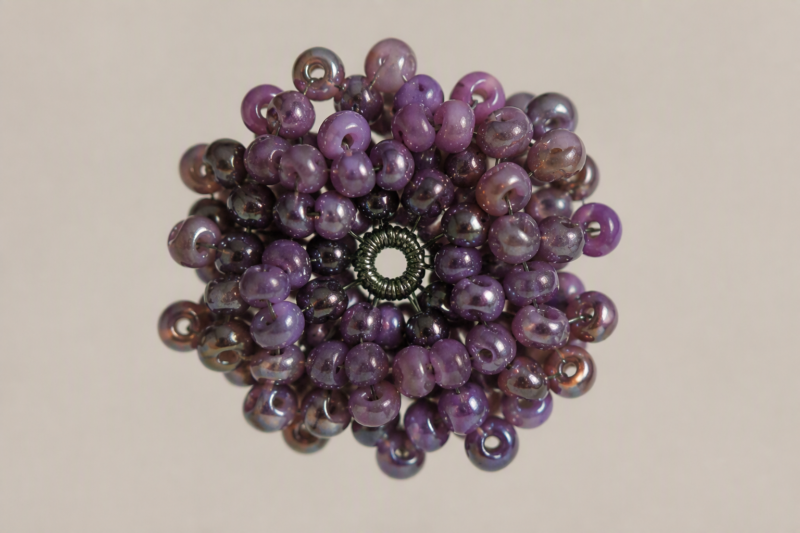
Your center is the heart of the flower. To build a dense, attractive cluster, thread 20 to 25 11/0 seed beads onto a short, 3-inch section of your wire. Once the beads are on, pull them into a tight circle and twist the wire ends together multiple times.
This twisting creates a sturdy anchor for your future petals. According to the Instructables guide on glass bead flowers, this base must be firm. If the center feels loose, the entire flower will wobble when you try to attach the petals. Take a moment to ensure those twists are tight and neat.
Step 3: Create and Shape Petals
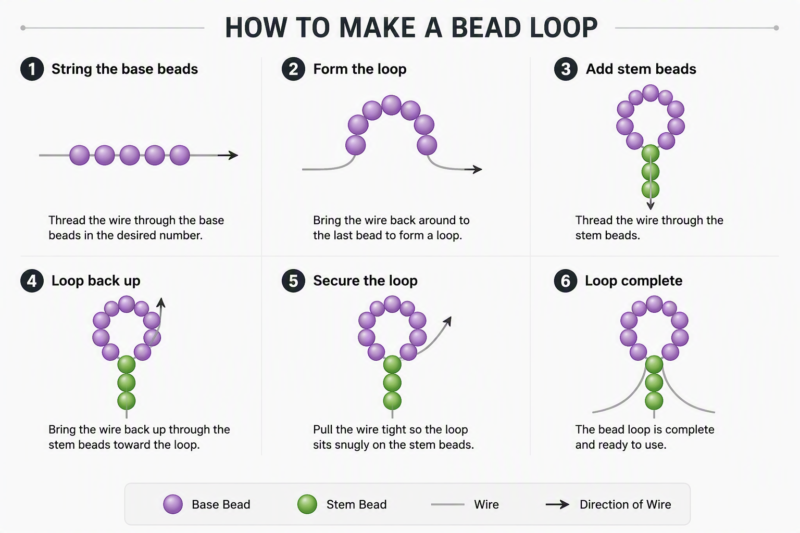
Now you begin the repetitive work of building the petals. String your chosen number of seed beads onto the wire—often 11 to 14 beads depending on the desired size—to form the loop. Once the beads are in place, thread the wire back through the base of the center or the existing stem to lock it down.
You must be careful here. Always pass the wire back through the beads in the exact same direction. As noted in a Beaded Flower Bouquet Tutorial on YouTube, failing to maintain this direction is the leading cause of twisted or sagging petals. Consistent tension is your best friend. Don’t pull so hard that the wire snaps, but keep it snug enough that the beads don’t slide around.
Step 4: Assemble the Stem and Leaves
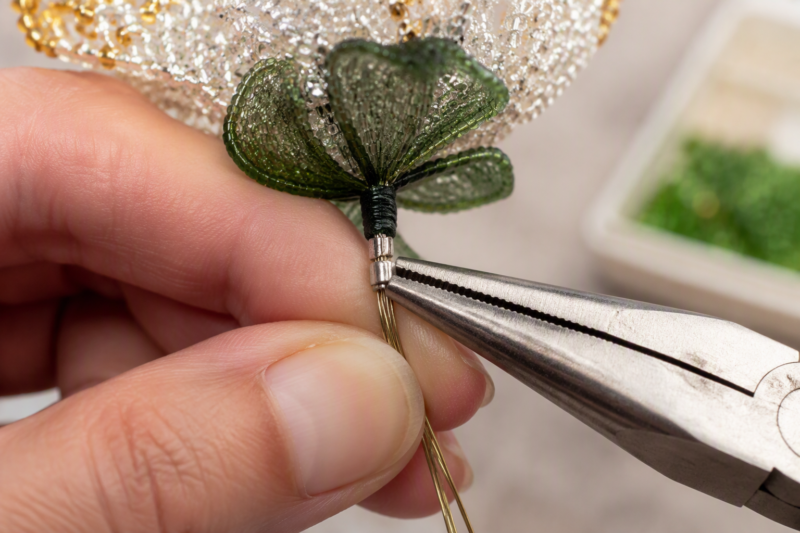
Once your petals are secure, it is time to assemble the final form. If you are making a stemmed flower, take all the remaining wire tails and bundle them tightly together. You can add a length of thicker floral wire to the center to provide extra rigidity if the flower feels heavy.
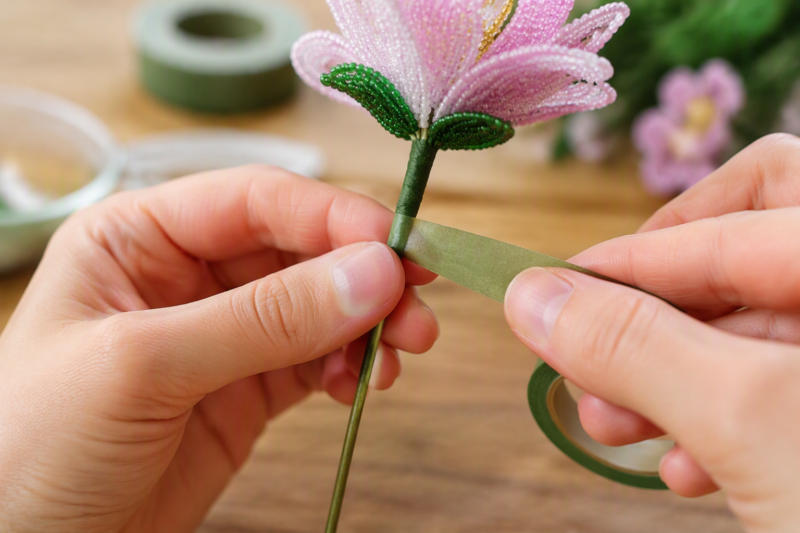
Wrap your florist tape starting directly under the base of the flower. Pull the tape as you wrap it; the heat from your fingers and the tension will activate the adhesive. As Interweave explains, this step covers the sharp wire ends and provides the final, polished look. If you are looking for more ways to organize your workspace, 12 Genius Hacks Every Home Needs contains several useful ideas.
Mistakes to Avoid
The most common trap is ignoring bead counts. Even if you think you can eyeball it, use a consistent count for every petal. Being off by even one or two beads will result in an asymmetrical flower that looks messy.
Another frequent issue is leaving the wire tails too short. Always err on the side of having too much wire. You can always trim excess, but you cannot add length once the wire is cut. Finally, do not rush the finishing process. If you don’t secure the wire properly at the stem, your flower will unravel after just a few days of handling.
Troubleshooting
If your flower feels wobbly despite tight wrapping, check your base. You might need to add a small crimp tube at the base of the petals to lock the wire in place. This provides a physical stop that keeps the petals from rotating around the stem.
Are your petal shapes inconsistent? Go back and check your tension. I often find that I tighten the first few petals with more force than the last ones, which creates an uneven look. Keep your hands relaxed. If you find your hands are cramping, step away for ten minutes. Beadwork requires patience, and your project will look better when you are refreshed.
FAQs
Q: Which wire gauge is best for beginners?
Using 24 or 26 gauge wire is usually the best move for those just starting. It is flexible enough to bend easily, but strong enough to hold the weight of the beads without collapsing.
Q: Can I use these for jewelry?
Absolutely. By swapping wire for a high-quality beading thread, you can easily turn these flowers into jewelry components. You can attach them to pins, hair clips, or even bracelets once the backing is secured properly.
Q: How long does a beaded flower tutorial take?
The time varies significantly by design. A single, simple flower might take 30 minutes for a beginner, whereas a complex bouquet could take several hours. Focus on the process rather than speed.
Q: Do beaded flowers need florist tape or glue?
Florist tape is ideal for stemmed flowers to cover wire. Glue is sometimes used for securing knots in thread-based projects or permanent display arrangements. Neither is strictly required for every single type of design.
Q: What mistakes happen most in bead flower making?
Most makers struggle with uneven bead counts or failing to secure the wire ends tightly. Keeping a consistent count and testing your knots or wraps is the best way to keep the structure sound.
Q: Which type of beaded flower is easiest for beginners?
The easiest designs use repetitive loops and simple wire-wrapping techniques. Look for tutorials that focus on a single flower unit before you try to tackle large, multi-flower bouquets.
Q: Where do you use finished beaded flowers?
You can display them in small vases, use them as decorative accents for gifts, or incorporate them into wearable accessories. The only limit is how you decide to finish the stems.
My Experience With How to Make a Beaded Flower Step by Step
I remember the first time I tried to make a beaded flower; I thought it would be a ten-minute project. I ended up spending two hours just trying to get the tension right on the first petal! The biggest lesson I learned early on is that beads have a mind of their own. If you don’t secure them with a “lock” pass of the wire, they will slide out of place the second you put the flower down.
My expert tip? Don’t skimp on the wire gauge. I once tried using a very thin wire that felt “easier” to bend, but the final flower looked like it had been through a hurricane. Using a 24 or 26 gauge wire provides that necessary structural backbone. It makes the final shaping step actually work, rather than just shifting the beads around into a different, equally sad shape. When you get the tension right, the flower almost seems to hold its own form naturally. It’s incredibly satisfying to see that finished bloom sitting on your desk. Have you ever tried wire-work before, or are you coming at this from a jewelry-making background?
Conclusion
Making beaded flowers is a skill that grows with every petal you create. By starting with the right materials and keeping your bead counts accurate, you can build pieces that look professional and last for years. Take your time with the wire-wrapping process, as this defines the durability of the final display. Once you master the basic looping technique, you can experiment with different colors and textures to create a unique collection. If you enjoy this, you will likely find yourself adding more flowers to your collection in no time.
References
Beaded Flower Tutorial Using Glass Petal and Leaf Beads. (n.d.). Beaded Flower Tutorial Using Glass Petal and Leaf Beads. YouTube. https://www.youtube.com/watch?v=pBzcJ28-JMY
Beaded Flowers For Beginners Tutorial | 6 French Beaded Flower Techniques. (n.d.). Beaded Flowers For Beginners Tutorial. YouTube. https://www.youtube.com/watch?v=-zRtWDuDxW8
A Teacher with 5 years of experience. Our Expertise, is reliable to meet your full Academic development needs . Worked on many crafts and construction projects offering services from design to development to deployment over the years. You will find many of my works in my business portfolio on request.