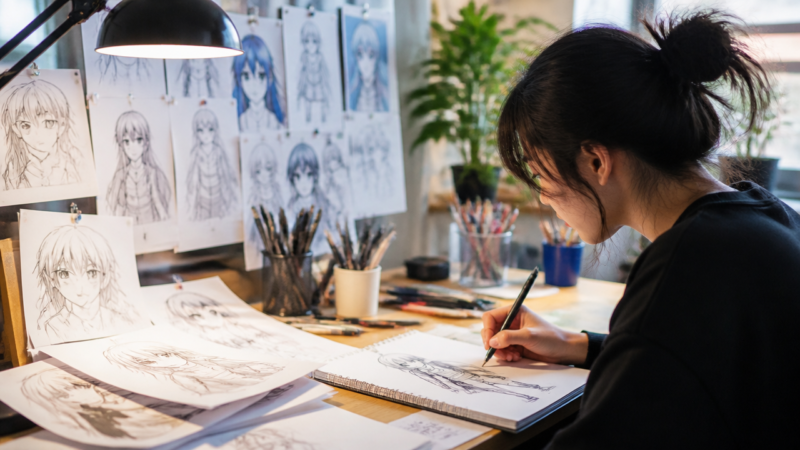
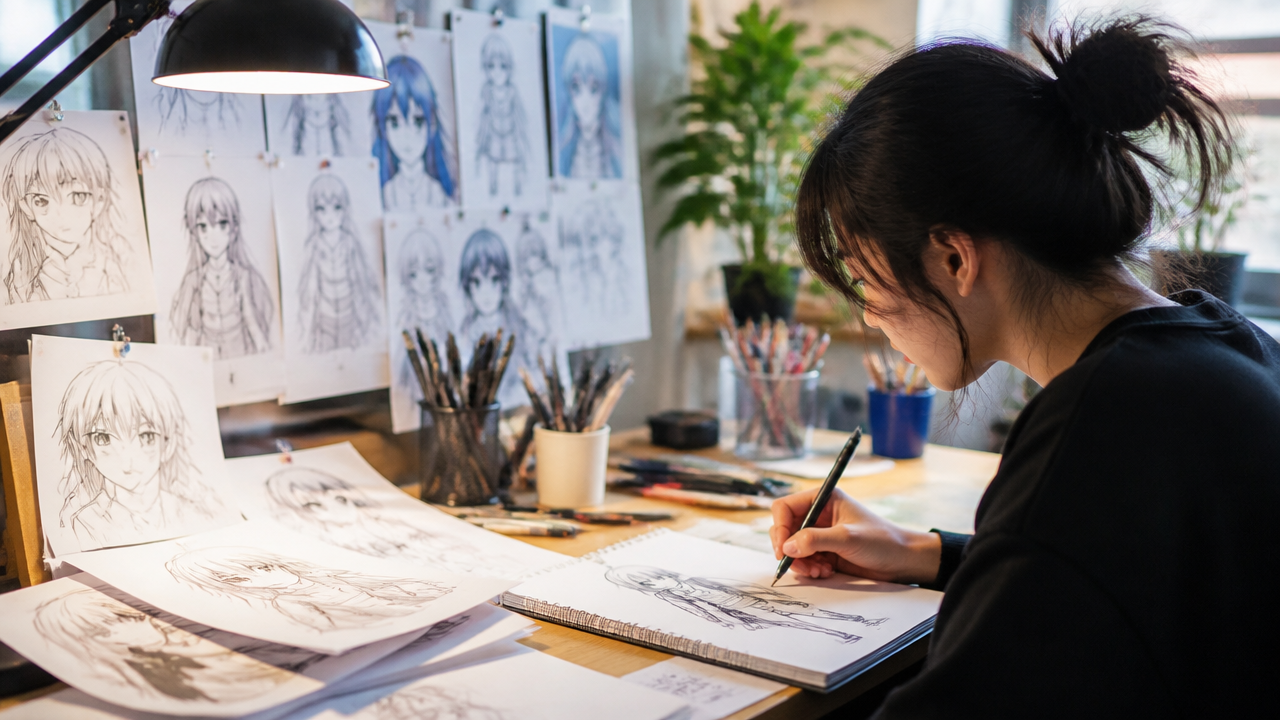
What separates an artist who improves every week from one who draws the same face for a year? It’s not talent. It’s how they use their references. Here is the exact method I use to copy, compare, and correct my way to faster progress with manga art references, whether I am drawing for a spring convention deadline or just practicing on a Tuesday night.
Quick Questions and Answers
Question: Why do manga artists use references to improve their art?
Answer: Manga artists use references to accurately capture details like lighting, texture, and perspective that are hard to remember. References help them study form, structure, and anatomy instead of guessing. Every professional artist relies on references to avoid mistakes and level up their skills quickly.
Question: Can beginners learn manga art using reference images?
Answer: Yes, anyone can learn manga art if they want to, especially by using reference images consistently. Beginners should start by studying official art daily to understand techniques. Using step-by-step methods and focusing on one skill at a time helps beginners master the basics before advancing.
Question: Do you need to trace references when drawing manga?
Answer: No, tracing references is considered cheating and doesn’t help you learn. Instead, focus on studying the form, structure, and perspective of the 3D model or image. You should use references to implement elements into your own style rather than copying them blindly.
Key Takeaways
Copy, don’t trace — tracing skips the learning process. Drawing a reference on a separate page forces your brain to measure proportions.
Compare after every drawing — overlaying your version with the original reveals exactly what you need to fix next time.
Organize references by skill — keep one folder for faces, one for hands, one for environments. Study what you’re weak at.
What You Need
Item
Purpose
Notes
Mechanical pencil
Drafting construction lines and rough sketches
Replaceable leads; no sharpening needed
Erasable colored pencil (non-photo blue)
Drawing reference lines that won’t show in scans
Better than blue ballpoint — fully erasable
Steel ink nibs (if inking traditionally)
Creating varied line weights and dynamic strokes
Domestika notes these produce “variety of line weights and styles”
Sketchbook or loose paper
Separate page for each reference copy
Prevents accidental tracing through the paper
Digital art program (Clip Studio Paint EX recommended)
Craftsy suggests using “a ton of manga… use that as a ref”
Prep Work: Pick the Right References and Set Up Your Page
Most beginners grab the first cool panel they see and start drawing. That is a mistake. Select references that isolate one skill at a time. A single face. A hand pose. A simple standing figure. Do not pick a double-page action spread with explosions until you can draw a straight-on face from memory.
NumberAnalytics advises gathering “references for the environments you’re depicting to ensure accuracy and authenticity.” That means if you are drawing a city street, pull photos of actual streets. Do not guess how a lamppost sits or how windows reflect light.
Set up your page with construction marks before you draw anything permanent. Use your erasable colored pencil — Canson explains these are “better than a blue ball-point pen because you can erase your mistakes.” Draw a light circle for the head, a center line for the spine, and shoulder lines. These will guide every other line.
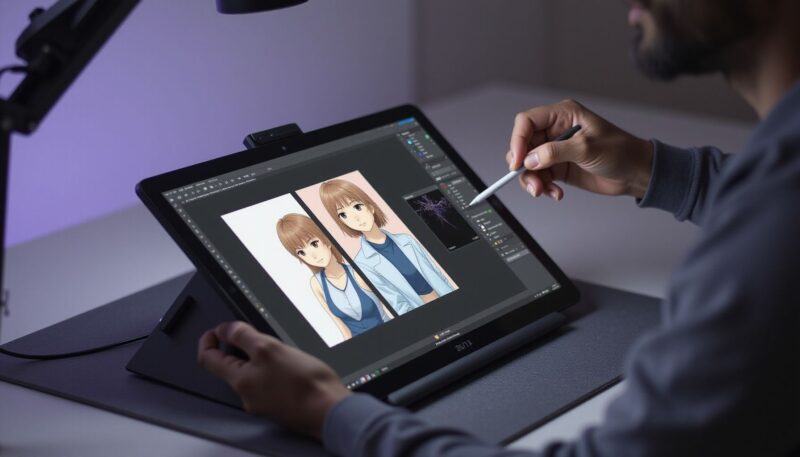
If you work digitally, open Clip Studio Paint EX and make sure your Layers panel and Materials panel are visible before you start. Create a new raster layer just for your reference sketch, and name it “Construction.” This keeps your working lines separate from your clean art.
Step 1: Copy the Reference Onto a Separate Page
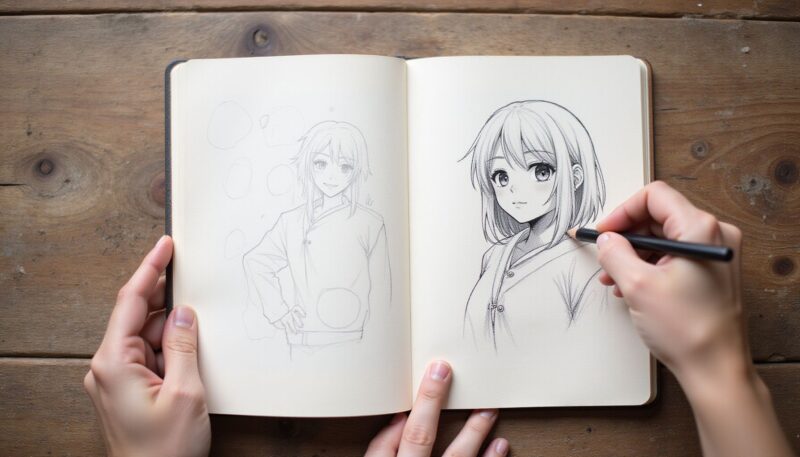
Get a separate piece of paper or a new digital canvas. Place your reference image next to it — do not put it under the paper. WikiHow’s method is clear: “Use a drawing as a reference and copy it onto a separate piece of paper or computer file.”
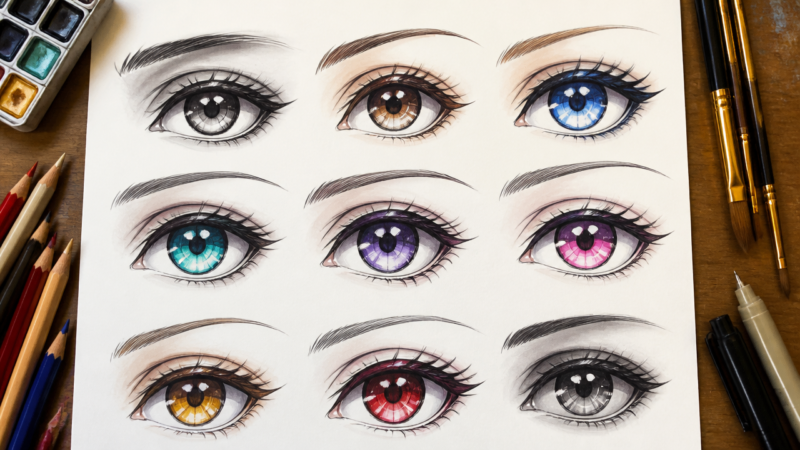
Draw what you see, not what you think is there. Your brain will try to simplify an eye into a symbol it knows. Fight that. Look at the actual curve of the eyelid. The exact angle of the jaw. The way the hair falls in specific clumps, not generic spikes.
Take your time here. The goal is not speed. The goal is accuracy.
Step 2: Compare Your Version to the Original
This is where most people stop. They finish copying, feel proud, and move on. Do not. Comparison is the entire point.
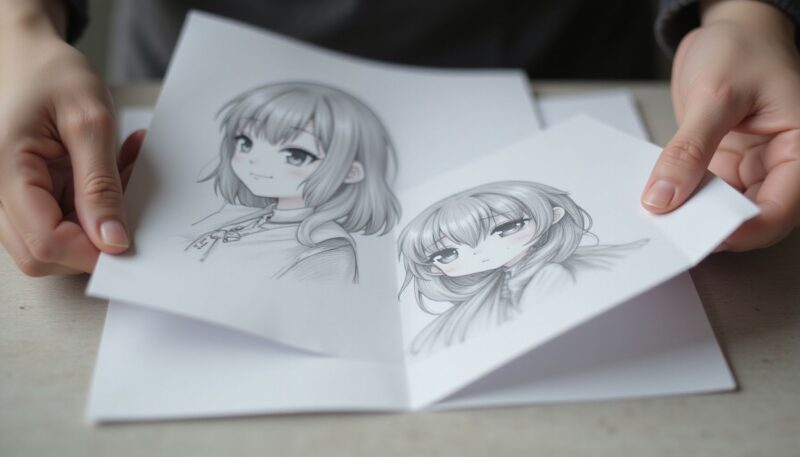
WikiHow advises overlaying “your version over the original (or compare…)” to see differences. If you are on paper, hold both up to a window. If digital, drop your drawing layer above the reference and set the blend mode to Difference. Everything that is identical turns black. The white areas are mistakes.
Write down what you got wrong. The eye was too high. The chin was too wide. The hand was too small. These notes become your study plan for the next day.
Step 3: Draw With Erasable Construction Lines Every Time
Even after you have a good copy, the real learning happens in the construction. Do not start any drawing — reference or original — without laying down light guidelines first.
Canson recommends tools that let you draw “all your reference lines” that “won’t show when printing.” A mechanical pencil with 0.5 mm lead works. A non-photo blue pencil works better because it disappears when scanned.
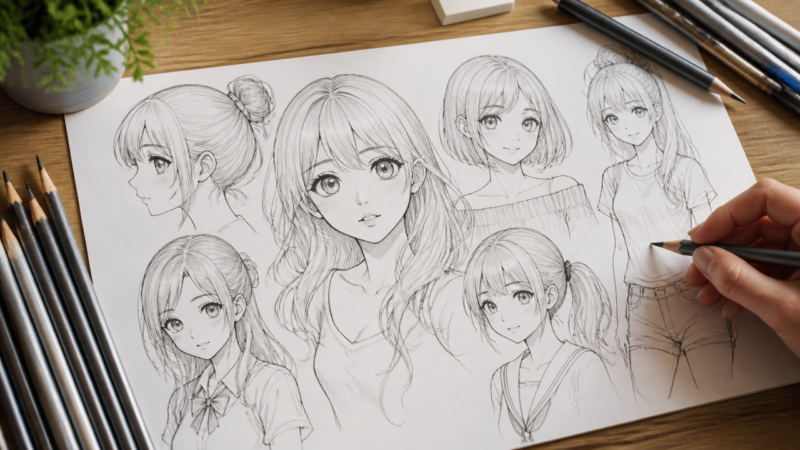
Draw a circle for the head capsule. Divide it with a vertical line and three horizontal lines for the eyes, nose, and mouth. Mark the shoulders with a curved line. For the body, use simple cylinders for the arms, a block for the torso, and circles for the joints.
Once these are down, you cannot draw a face that is too wide or a hand that floats off the wrist.
Step 4: Use Atmospheric Perspective to Add Depth
NumberAnalytics advises using “atmospheric perspective to create depth, with distant objects fading into the background.” This is especially important for environment references, but it applies to characters too.
If your reference shows a character standing in front of a building, the character should have sharp, dark outlines. The building behind them should have thinner, lighter lines. The sky behind that should be soft with less detail.
When copying a reference, pay attention to how the original artist handled this. Did they use thinner lines on distant objects? Did they add screen tones that get lighter near the horizon? Copy that choice.
Step 5: Apply Screentones on a Separate Layer (Digital)
If you draw digitally in Clip Studio Paint EX, screentones are a quick way to add shading without crosshatching for hours. But they can ruin your drawing if you apply them to the same layer as your lines.
CLIP STUDIO TIPS explains to “create a New Raster Layer named ‘Screentones'” and place it above your drawing. Keep it there. Never merge it until your entire page is finished.
To add tones, either drag from the Materials panel under Monochrome > Tone, or select an area and click Tones on the Selection Launcher. Adjust density and frequency to match your reference. A close-up face might use a 60-line, 30% dot tone. A background wall might use a 50-line, 10% dot tone.
Step 6: Repeat the Process With the Same Reference the Next Day
Real growth happens on day two. Take the same reference you used yesterday, set it next to a clean page, and draw it again from scratch. Use your notes from the comparison step.
I see my biggest improvements between the first and second pass. The second version is faster, more accurate, and requires fewer eraser marks. That is the signal that I am learning.
Craftsy’s beginner advice sums it up: “Just relax, do your best, and keep up with your practice.” The second draw is not about perfection. It is about proving to yourself that you absorbed something from the first attempt.
Tips
Focus on one area per week. Spend seven days copying only faces before moving to hands. This deep focus builds faster than bouncing between skills.
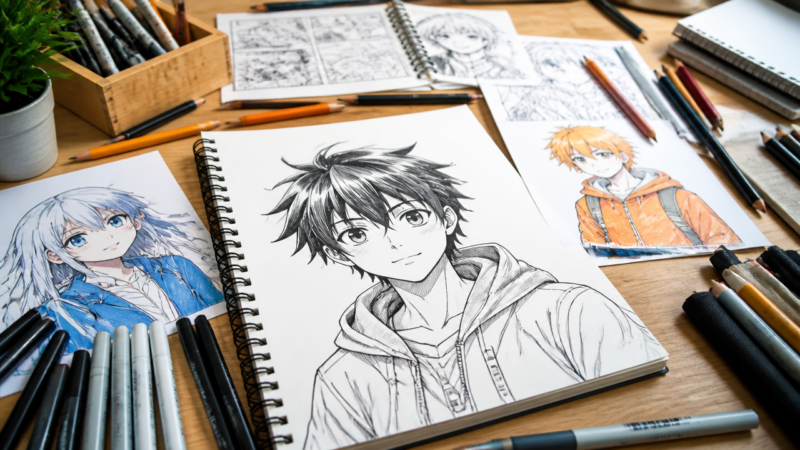
Keep a physical reference folder. Print panels from your favorite manga and pin them to a board. Having them visible means you draw them more.
Turn off your reference for the last two minutes. Try to finish the drawing from memory. This forces your brain to recall what it learned.
Draw the reference upside down once per week. This tricks your brain into seeing shapes instead of symbols, improving accuracy.
Method
What You Learn
Time per Session
Best For
Copy + compare (this guide)
Proportion, line confidence
20–40 minutes
Beginners and intermediates
Master study (same artist)
Style and technique
60–90 minutes
Intermediate artists
Gesture drawing (no reference)
Flow and speed
5–15 minutes
Advanced skill maintenance
Memory drawing
Visual recall
10–20 minutes
All levels
FAQ
Q: Are there free reference sources for manga artists?
Yes, you can use non-copyrighted photos, Pinterest boards, and video game screenshots. Many artists also save panels from their favorite manga to study without paying. Taking your own photos with a phone camera is another free option — pose yourself in front of a mirror and snap a picture.
Q: How do I use references without copying manga art?
Use guidelines to think of the whole figure first, then add details later. Focus on structure before perfecting small parts. Implement what you see into your own original style — tweak proportions, change the angle, or combine elements from two different references.
Q: Does practicing daily with references improve manga skills fast?
Drawing every day is the fastest path to improvement. Serious artists aim for several hours daily, noting mistakes and fixing them. Consistent practice with references shows weekly progress in anatomy, shading, and perspective.
Q: Will using reference images make my manga look better?
Yes. References improve your art by helping you understand how details are built. Exercises like memorizing an image for one minute, then drawing it from memory, boost your ability to recall and replicate exact details.
Q: When should beginners start using master studies for manga?
Start copying panels or pages from artists you love as soon as you have basic tool control. Choose one art style or mangaka and study their work until you can draw it from memory. This builds confidence for original pieces.
Q: What are common mistakes when using manga references?
Tracing instead of studying, focusing on details too early, and being perfectionistic are the three big ones. Beginners often skip guidelines or forget to tweak the reference into their own style. Always think in shapes first, then add detail.
Q: Is it normal to feel stuck when drawing manga with references?
Yes, feeling stuck on poses or backgrounds is normal for every artist. Even professionals use references to push through these blocks. The fix is not tracing — it is studying the structure underneath.
My Experience With How to Use Manga Art References to Level Up Fast
I spent my first year drawing anime eyes from memory. They all looked fine alone, but something was always off — the spacing, the angle, the tilt. I started copying manga panels the way I describe above: separate page, no tracing, compare afterward. The first time I overlayed my drawing with the original and saw how far off I was, I felt like an idiot. But I also knew exactly what to fix.
The comparison step is the secret that nobody tells you. You think you have drawn a perfect copy until you see the differences. Once you see them, you cannot unsee them. Your eye gets sharper. Your next drawing gets closer.
After a month of this, I could sketch a face from reference in under ten minutes that would have taken forty minutes before. I stopped guessing where the eyes went. I stopped drawing hands that looked like mittens.
This method works because it is honest. You are not pretending to be good. You are measuring yourself against the best and fixing what is wrong.
What reference skill are you trying to level up fastest?
Latest Updates
As of early 2026, digital reference tools have made this process even faster. Apps like Clip Studio Paint now include 3D reference models you can pose directly on your canvas, then draw over. These are not cheat sheets — they are the same construction methods I describe above, just built into the software. The principle stays the same: study the structure, copy accurately, compare honestly, repeat.
References
Canson. (n.d.). Manga: Selecting your drawing tools. https://en.canson.com/expert-advice/manga-selecting-your-drawing-tools
Crafts. (n.d.). Magnificent Manga: 10 Beginner Drawing Manga Tips. https://www.craftsy.com/post/drawing-manga-tips
NumberAnalytics. (n.d.). Mastering Manga in Digital Art. https://www.numberanalytics.com/blog/mastering-manga-in-digital-art
Domestika. (n.d.). Essential Tools to Draw Manga Characters and Comics Easily. https://www.domestika.org/en/blog/10690-essential-tools-to-draw-manga-characters-and-comics-easily
WikiHow. (n.d.). How to Draw Manga: 3 Easy Methods with Example Drawings. https://www.wikihow.com/Draw-Manga
CLIP STUDIO TIPS. (n.d.). Digital Manga 101 – Step By Step + Tips and Tricks. https://tips.clip-studio.com/en-us/articles/9748
A Teacher with 5 years of experience. Our Expertise, is reliable to meet your full Academic development needs . Worked on many crafts and construction projects offering services from design to development to deployment over the years. You will find many of my works in my business portfolio on request.