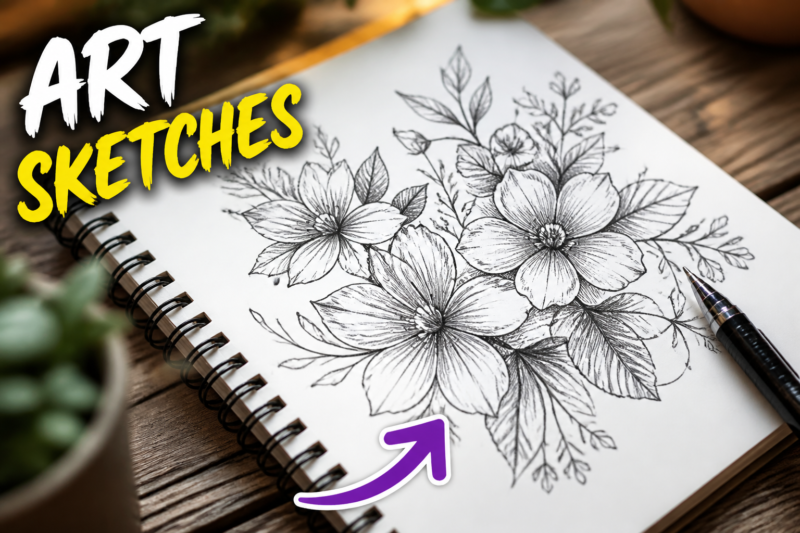
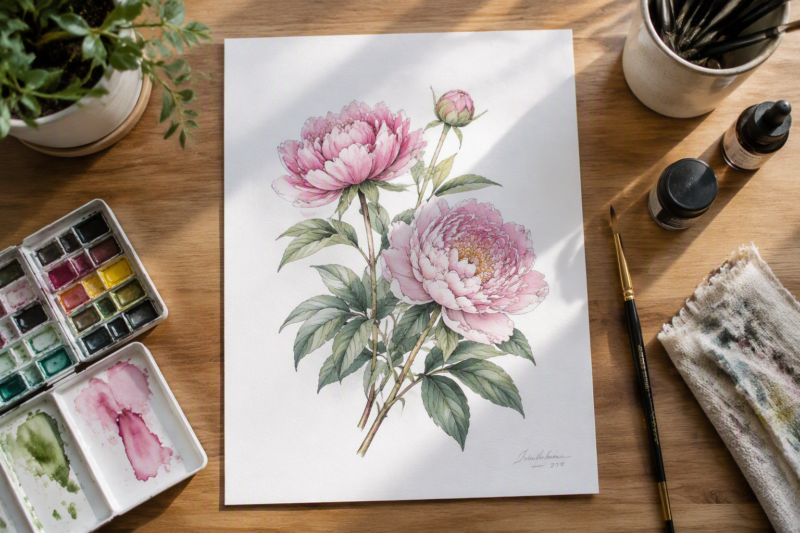
Do you ever look at a blank page and wonder how to turn simple shapes into beautiful flower doodles that brighten up your daily planning or personal art? Whether you want to decorate a seasonal bullet journal for summer or create a thoughtful handmade gift, mastering these simple botanical sketches brings a creative spark to any project. Learning to draw flowers does not require years of formal training. By focusing on fundamental shapes, you can create quick, beginner-friendly art that looks professional yet retains a charming, handcrafted feel.
Quick Questions and Answers
Question: What is the easiest way to draw flower doodles?
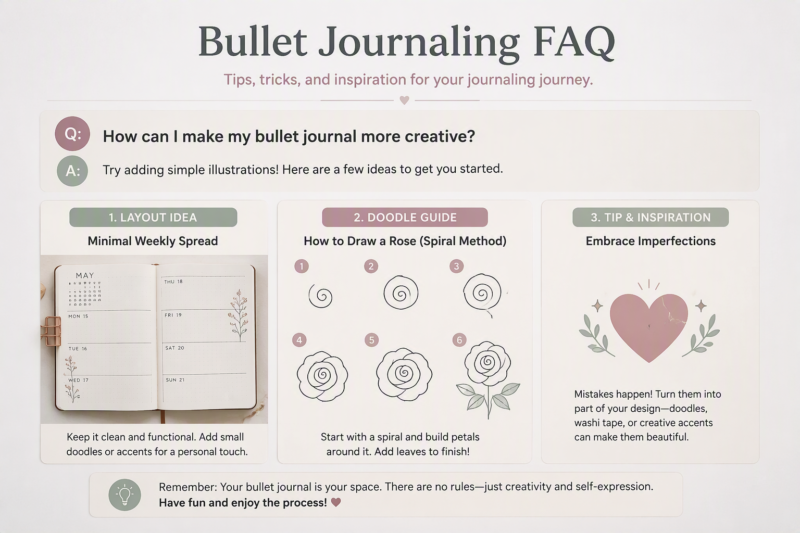
Answer: The easiest method is to start with a simple center shape, usually a circle, then add petals around it and finish with a stem and leaves. Several tutorials recommend light guide marks first, such as circles or cross lines, so the flower stays balanced while still looking hand-drawn. This approach keeps the drawing beginner-friendly and fast.
Question: What tools do you need for flower sketch doodles?
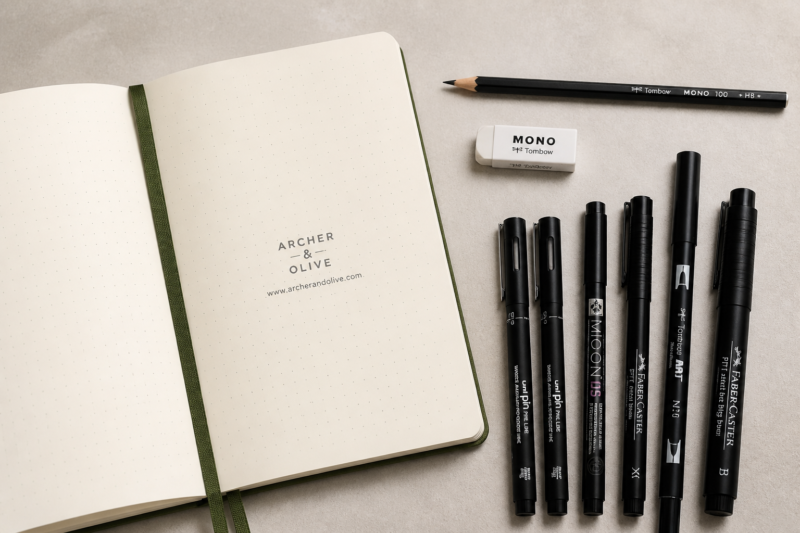
Answer: Most beginner flower doodle tutorials use only a pencil, eraser, and pen or fine liner. Some also recommend notebooks and pens with different tip widths so you can sketch lightly and then ink details with more control. A ruler is not required for the flower shapes themselves.
Question: How do you start a simple flower sketch?
Answer: A common start is to draw a small circle or spiral for the center, then place petals around it. Some tutorials add an X or vertical-and-horizontal guide through the center before drawing the petals. This makes it easier to keep the flower even without needing to measure each petal exactly.
Key Takeaways
Always map your composition with light pencil guidelines before committing to ink.
Variation in line thickness creates depth and prevents your drawings from looking flat.
Irregularity in petals is a feature, not a bug; it makes your flowers look natural.
What You Need
Item
Purpose
Notes
Sketchbook
Provides a smooth surface
Archer and Olive notebooks are great for preventing bleed.
HB Pencil
Maps out basic structures
Keep your lines light so they are easy to erase later.
White Eraser
Removes guide marks
Use a soft eraser to avoid damaging the paper fibers.
Fine-Tip Liners
Creates crisp final outlines
Use varying sizes for different details.
Thick-Tip Pens
Fills in dark or bold areas
Great for adding contrast to centers or leaves.
Mapping Your Flower Structure
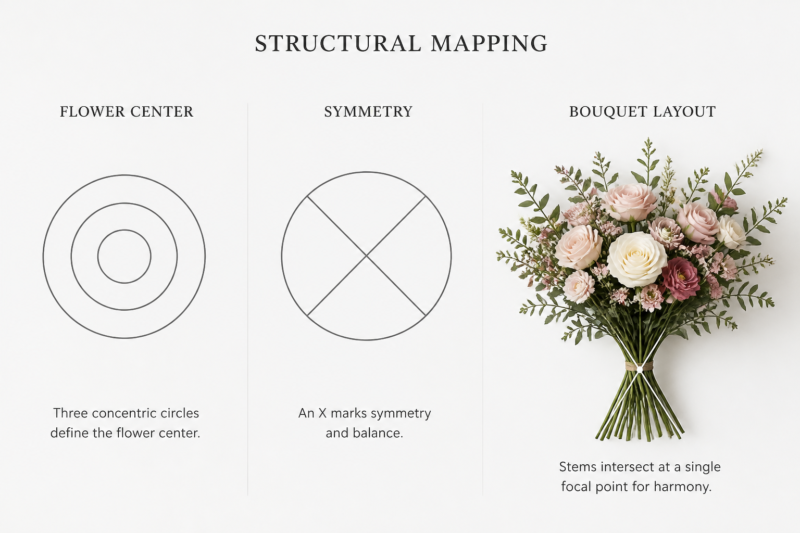
Circles are the secret weapon for any beginner artist. For simple blooms, draw three concentric circles to define the center. This gives you a clear target for petal placement.
If you struggle with symmetry, try using a circle with an X and a vertical line through the center. This divides the space into even quadrants. It acts like a map for your petals, ensuring they stay balanced around the core.
When you want to arrange a bouquet, layout is everything. Draw varying sizes of guide circles across your page. Ensure all your stems intersect at a single point and fan out below. This creates the illusion of a realistic, gathered arrangement without much effort. If you need inspiration for other floral projects, check out 12 Creative Watercolor Craft Ideas for Beginners to build your confidence.
Step-by-Step Sketching Process
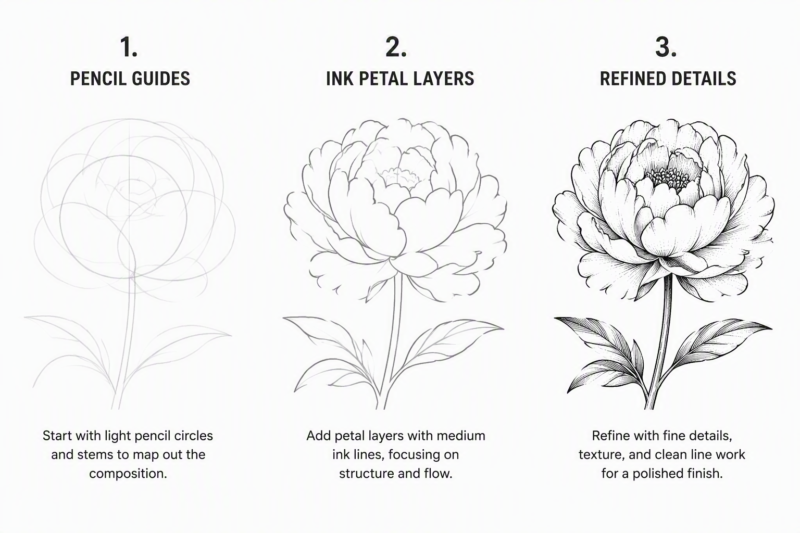
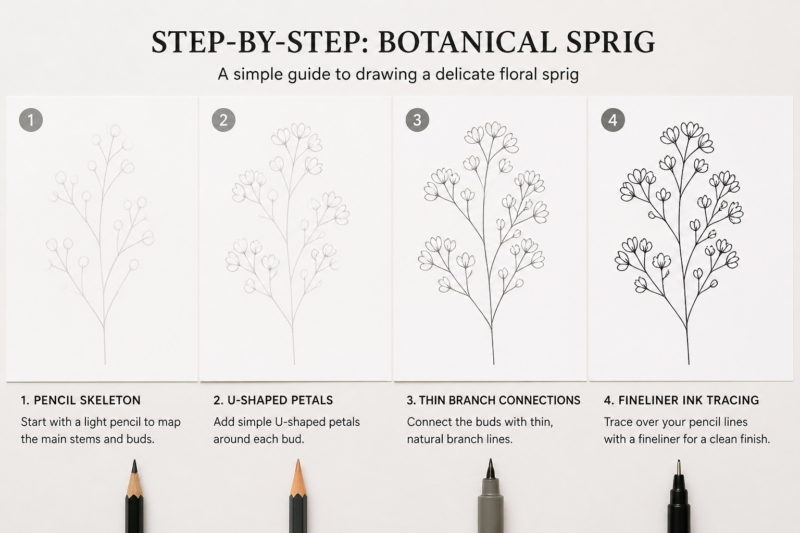
Step 1: Draw your light pencil skeleton
Start by mapping out where your flowers will sit. Lightly sketch simple stems and circular flower heads. Keep your pencil pressure very low. You want these lines to disappear later without leaving deep indentations on the paper.
Step 2: Add petal shapes
Using your center circle as an anchor, draw ovals or U-shapes around it. Do not worry about making them identical. Nature is messy, and your doodles should reflect that.
Step 3: Connect smaller blossoms
Add thin branches coming off your main stems. Attach tiny tear-shaped or oval leaves to these branches. These small additions add life to the composition. It creates a lush, filled-in look.
Step 4: Use a fine liner to trace the ink
Go over your pencil work with a fine-tip pen. As you trace, feel free to overlap petals. Overlapping adds volume and depth to the drawing. According to Christine Britton, using fine liners to define these edges helps keep the artwork looking crisp and intentional.
Step 5: Erase all visible pencil guidelines
Wait for the ink to dry completely. A smudge can ruin an otherwise perfect doodle. Once dry, take your soft eraser and gently clear away the pencil marks. The result is a clean, professional-looking floral piece.
Step 6: Refine with texture
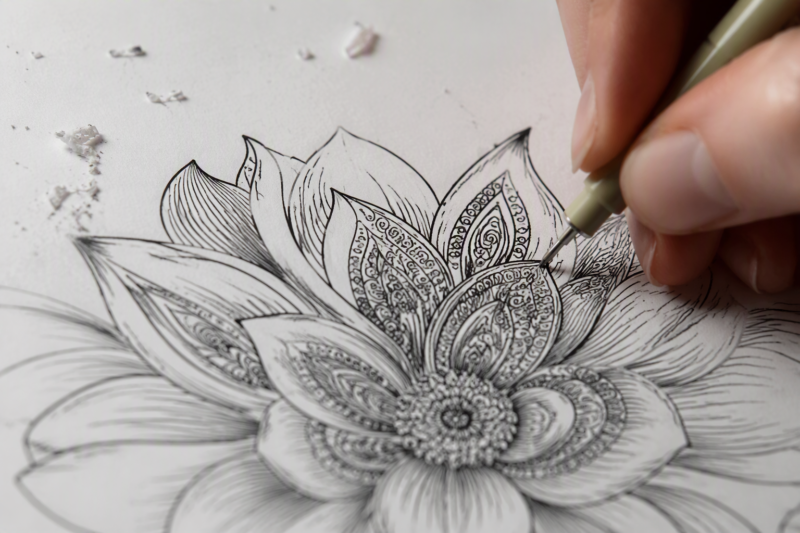
Add tiny dots, swirls, or loops inside the center of your flowers. These small details provide visual texture. If you find your journal is still feeling a bit empty, you might enjoy exploring 10 Practical Art Journal Therapy Ideas to Reduce Stress for more ways to fill your pages.
Mistakes to Avoid
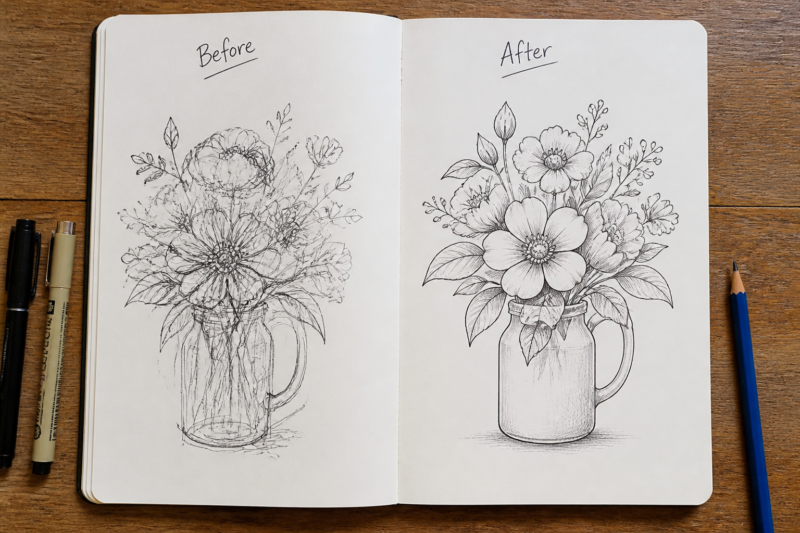
Skipping the pencil draft is the most common pitfall. Many people try to ink directly, which often leads to permanent, wobbly lines. Pencil is your safety net.
Uniform line weight makes a drawing feel flat. If every line is the same thickness, the flower loses its character. Try to vary your pressure or use different pen tips to create shadows and highlights.
Over-crowding the page stops you from practicing core shapes. Start with one solitary flower. Once you understand the structure of a single bloom, building a full garden page becomes much easier.
Troubleshooting Your Doodles
Smudging ink is frustrating, especially after you have put in the work. Give your pen enough time to settle. Some papers absorb ink slower than others, so a few extra seconds of patience goes a long way.
Stiff, perfect petals often look artificial. If your flower feels too rigid, try drawing slightly different sized petals next time. You can also wobble your hand slightly while drawing the outer edges to create a soft, organic curve.
Lost detail happens when a drawing lacks contrast. If your doodle looks like a gray blob from a distance, go back in with a thicker pen. Darken the center or the undersides of leaves to make the image pop off the page. If you are interested in trying similar activities with younger family members, consider looking into 12 Easy Flower Crafts Kids Will Love.
FAQ
Q: Can beginners draw flowers without tracing?
Yes, beginner-friendly flower doodles are designed to be drawn freehand. The tutorials often say to use light pencil sketches, guide circles, or simple shape frameworks rather than tracing. That allows you to erase mistakes and adjust petal shapes as you go.
Q: Why do flower doodles look uneven sometimes?
Uneven petals are normal and often intentional in doodle art. Several tutorials explicitly encourage irregular, wobbly, or slightly different petal shapes because that gives the drawing a more natural handmade look. The result is usually better than forcing every petal to be identical.
Q: How long does a simple flower doodle take?
A single simple flower doodle can usually be completed in a few minutes, depending on how much detail you add. Tutorials that focus on bullet journal spreads and beginner sketches emphasize quick construction, starting from basic guide shapes and adding only a few finishing details. More layered flowers and bouquets take longer because they include multiple blooms and leaves.
Q: What is the best order for drawing a flower doodle?
The typical order is center first, petals second, then stem and leaves, and finally texture or decorative details. Some tutorials add pencil guidelines before any final pen work, which helps the artist control symmetry and spacing. That sequence is repeated across multiple beginner flower lessons.
Q: How do you make flower doodles look more realistic?
You can make them look more realistic by varying petal size and angle, overlapping petals, and adding small interior lines or dots. One tutorial recommends using different pen thicknesses to build crisp outlines and visible detail. Light shading or layered lines around the center also helps add depth.
Q: What are common mistakes in flower drawing tutorials?
Common mistakes include making every petal identical, pressing too hard with pencil guidelines, and adding details before the main shape is established. The tutorials repeatedly suggest light sketching first and allowing irregular shapes, which prevents stiff-looking flowers. Skipping stems and leaves can also make the doodle feel incomplete.
Q: How can you use flower doodles in art projects?
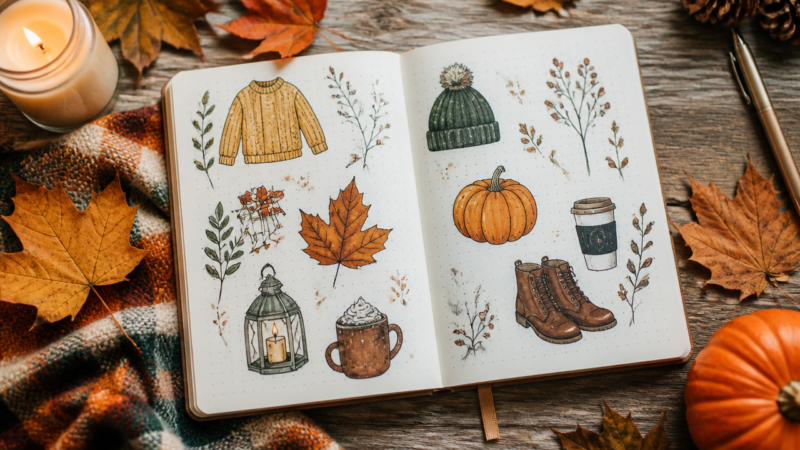
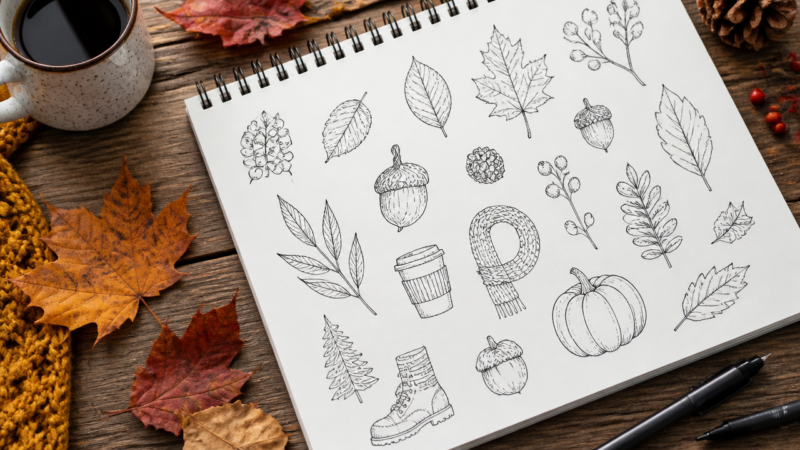
Flower doodles are commonly used in bullet journal spreads, cards, wall art, and scrapbook decorations. The sources show that the same basic flower structure can be scaled up into bouquets or simplified into tiny mini blooms. This makes the technique flexible for both practice pages and finished artwork.
My Experience With How to Draw Flower Doodles the Easy Way
I remember the first time I tried sketching flowers in my planner. Everything looked like lopsided triangles. It was honestly a bit discouraging until I realized I was trying to make everything “perfect.” Once I stopped chasing perfection and started using the concentric circle method, things finally clicked. The trick really is the pencil guide. If you don’t map out the spacing first, you’re essentially flying blind.
I’ve learned that a slightly messy petal is much more appealing than a stiff, geometric one. It adds that human touch that makes a doodle feel special. One expert tip I swear by is changing your pen tip. Using a thick-nib pen for the center and a fine-liner for the petals creates an instant professional depth that makes your work look like you’ve been doing this for years. Don’t worry if your first few attempts end up in the bin. That’s just part of the process. I still end up with a few “abstract” flowers on busy days, but I’ve learned to just turn those into interesting leaves. Have you found a particular flower shape that you find easier to draw than others?
Conclusion
Creating botanical art is a relaxing way to spend a few quiet moments. By sticking to these simple steps, you can build up your skills one doodle at a time. Grab your favorite pen and start with those basic circles today. You will be surprised by how quickly your pages fill with life.
References
Christine Britton. (n.d.). How to Draw Beautiful Flower Doodles. Christine Britton. https://www.christinebritton.com/doodle-drawings-flowers/
Planning Mindfully. (n.d.). How to Draw Easy Flower Doodles for Bullet Journal Spreads. Planning Mindfully. https://www.planningmindfully.com/flower-doodles/
The Petite Planner. (n.d.). 11 Simple Step-by-Step Floral Doodles. The Petite Planner. https://thepetiteplanner.com/11-simple-step-by-step-floral-doodles/
A Teacher with 5 years of experience. Our Expertise, is reliable to meet your full Academic development needs . Worked on many crafts and construction projects offering services from design to development to deployment over the years. You will find many of my works in my business portfolio on request.