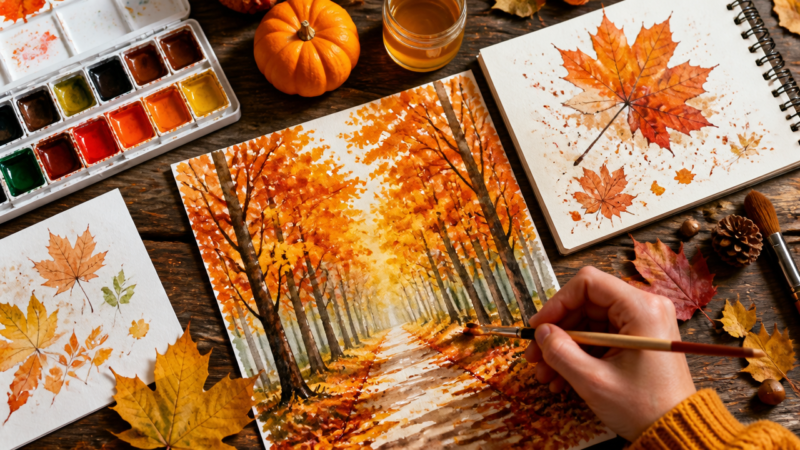

Start your watercolor journey with these simple and fun projects that anyone can master!
Watercolor painting is one of the most enjoyable art forms for beginners. The colors flow and blend in beautiful ways, creating magical effects that surprise even experienced artists. You don’t need expensive supplies or years of training to create something wonderful. With just a few basic colors, some water, and paper, you can start painting today.
These seven projects are perfect for people who are just starting their watercolor adventure. Each one teaches you important skills while creating something lovely to hang on your wall or give as a gift. Remember, there’s no such thing as a mistake in watercolor – only happy accidents that make your art unique!
Materials you will need
Here are five basic materials you need to do a simple watercolor animal project—nothing fancy, just the essentials 🎨🐾
- Watercolor Paints
A basic watercolor set (pan or tube) is enough. Student-grade paints work perfectly for simple animals. Check Discounted prices on Aliexpress - Watercolor Paper
Thick paper (preferably 200–300 gsm) so it doesn’t warp when wet. Regular drawing paper won’t hold water well. - Paintbrush
One round brush (size 4–8) can handle outlines, details, and washes. - Palette
For mixing colors. A plastic palette, ceramic plate, or even a clean lid works. - Water Container
You can check prices for each on Temu. click here to see discount prices on temu
or Aliexpress
Project 1: Watering Can Flower Vase
This charming project combines two simple shapes to create a delightful garden scene. A watering can filled with colorful flowers makes the perfect beginner painting because it’s forgiving and cheerful.
What You’ll Learn:
- Basic shape painting
- Color mixing
- Wet-on-dry technique
Step-by-Step Guide:
Start by sketching a simple watering can shape with light pencil lines. The can should look like a cylinder with a spout and handle. Paint the watering can with a light wash of gray or blue-gray color. While it’s still damp, add darker shadows to give it shape.
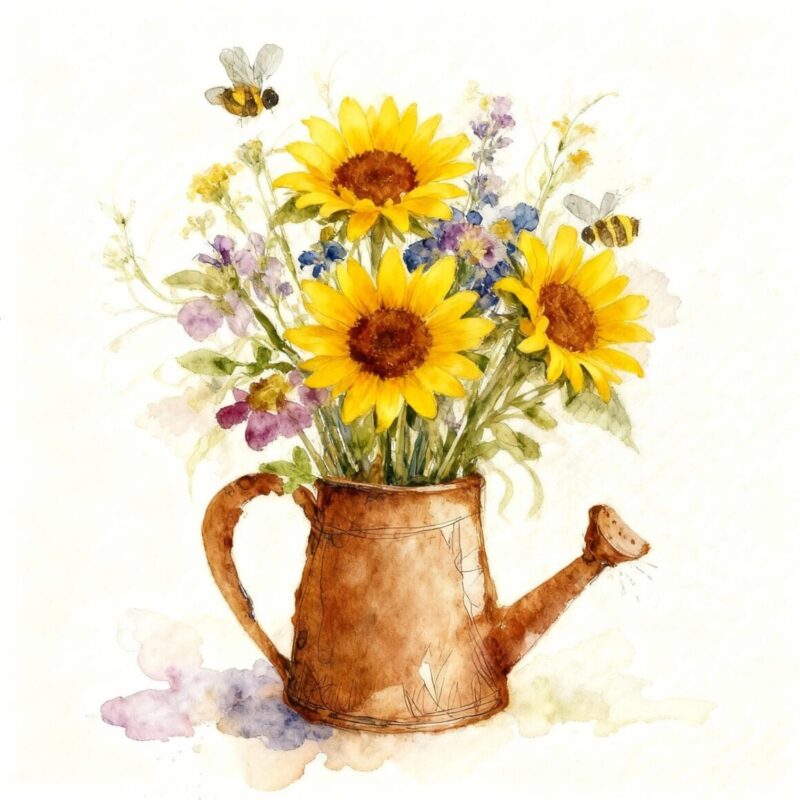
Next, add simple flower shapes coming out of the top. Use bright colors like pink, yellow, and purple. Don’t worry about making perfect flowers – loose, simple shapes work best. Add some green stems and leaves using vertical brushstrokes. Finally, paint a simple shadow under the watering can using a light gray wash.
Project 2: Autumn Pumpkin
Pumpkins are perfect for watercolor beginners because they have a simple, round shape and beautiful orange colors. This project teaches you about light, shadow, and creating texture.
What You’ll Learn:
- Working with warm colors
- Creating dimension with light and shadow
- Adding texture and details
Step-by-Step Guide:
Draw a large circle, then add vertical curved lines to create the pumpkin’s sections. Start with a light orange wash covering the entire pumpkin. While the paint is still wet, add touches of red and yellow to create variety in color.
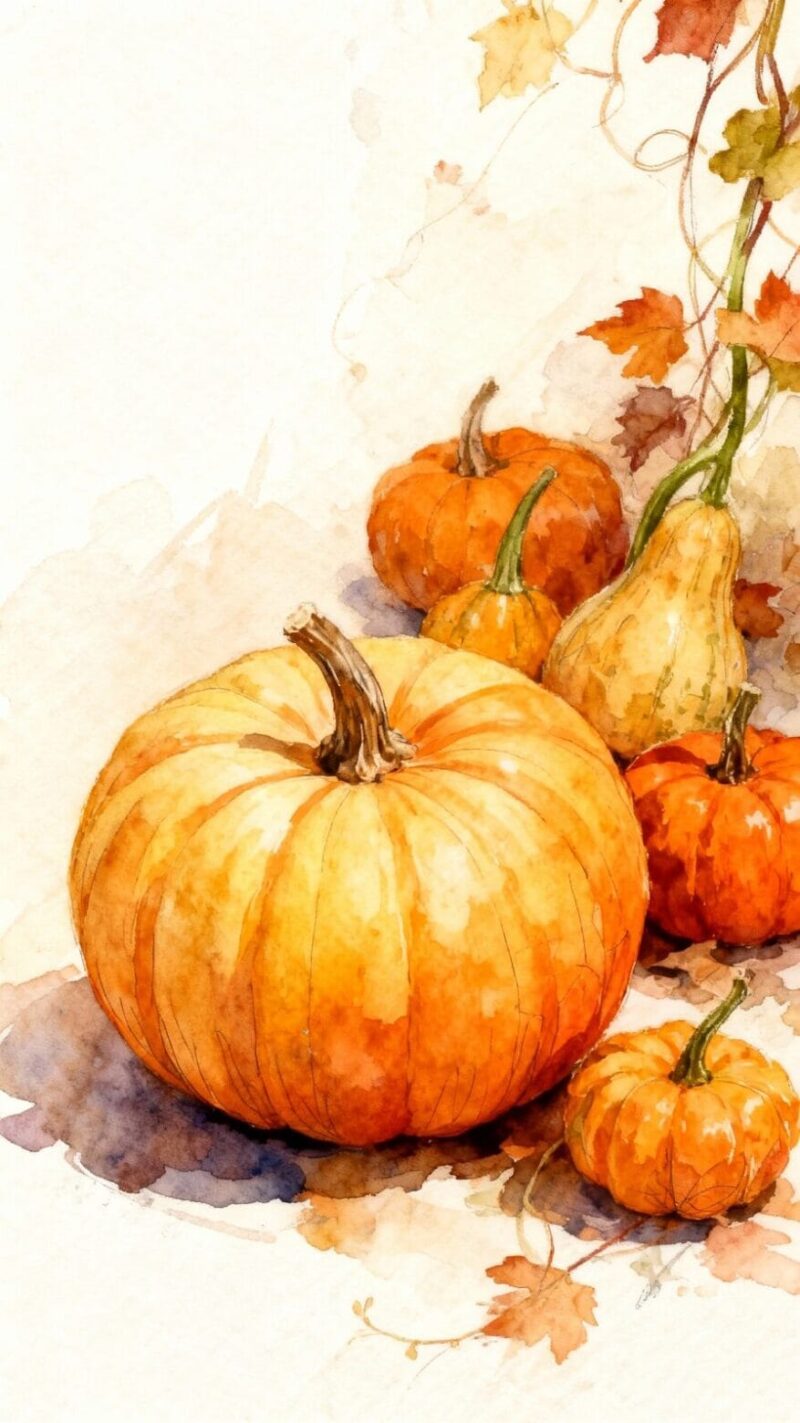
Once dry, add darker orange or brown shadows in the creases between sections. This gives your pumpkin its round, full shape. Paint the stem at the top using brown and green colors. Add a few leaves around the stem for extra detail. Finally, create a simple ground shadow using purple or gray mixed with orange.
Project 3: Sweet Baby Duck
This adorable duckling is perfect for practicing soft, fluffy textures and gentle color blending. Baby animals are always popular subjects and make wonderful gifts.
What You’ll Learn:
- Painting soft, fluffy textures
- Working with yellow tones
- Creating cute expressions
Step-by-Step Guide:
Sketch a simple oval for the body and a smaller circle for the head. Add a triangle beak and small oval for the wing. Begin with a light yellow wash over the entire duck, leaving white spots for highlights.

While the yellow is still damp, add touches of orange and light brown to create warmth and dimension. Paint the beak with bright orange. Add a small black dot for the eye, leaving a tiny white spot to make it sparkle. Use light blue or purple to paint simple water around the duck’s feet. Add small ripples with horizontal brushstrokes.
Project 4: Simple Sunset Sky
Sunsets are magical to paint and teach you one of watercolor’s most important techniques – wet-on-wet blending. This project creates beautiful results every time.
What You’ll Learn:
- Wet-on-wet technique
- Color gradation
- Creating atmosphere
Step-by-Step Guide:
First, wet your entire paper with clean water using a large brush. While the paper is still wet, apply yellow paint at the horizon line. Above the yellow, add orange, then red, then purple at the top. The colors will blend naturally on the wet paper.
Work quickly while the paper is damp. If you want clouds, use a clean, damp brush to lift some paint away, creating lighter areas. You can add a simple silhouette of trees or mountains at the bottom once everything is dry.
Project 5: Friendly Butterfly
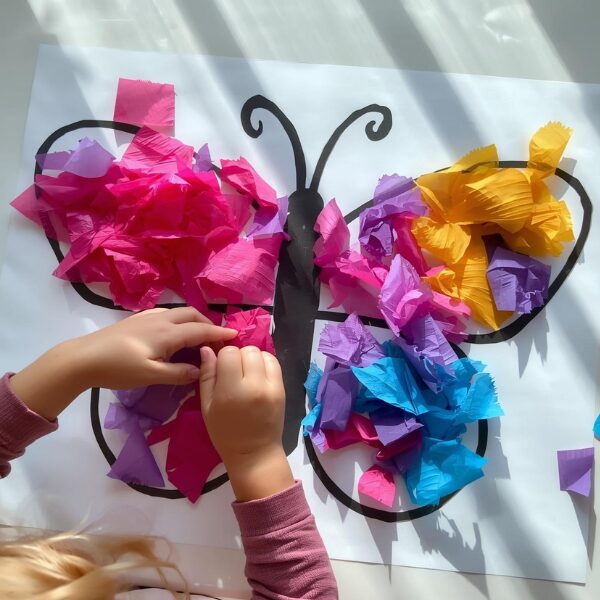
Butterflies are perfect for experimenting with bright colors and symmetrical designs. They’re simple enough for beginners but can be as detailed as you want.
What You’ll Learn:
- Symmetrical painting
- Bright color combinations
- Detail work with brush tips
Step-by-Step Guide:
Draw a simple butterfly shape with four wings and a thin body down the center. Start by painting each wing with bright colors – try blue, purple, pink, or orange. Make sure both sides match.
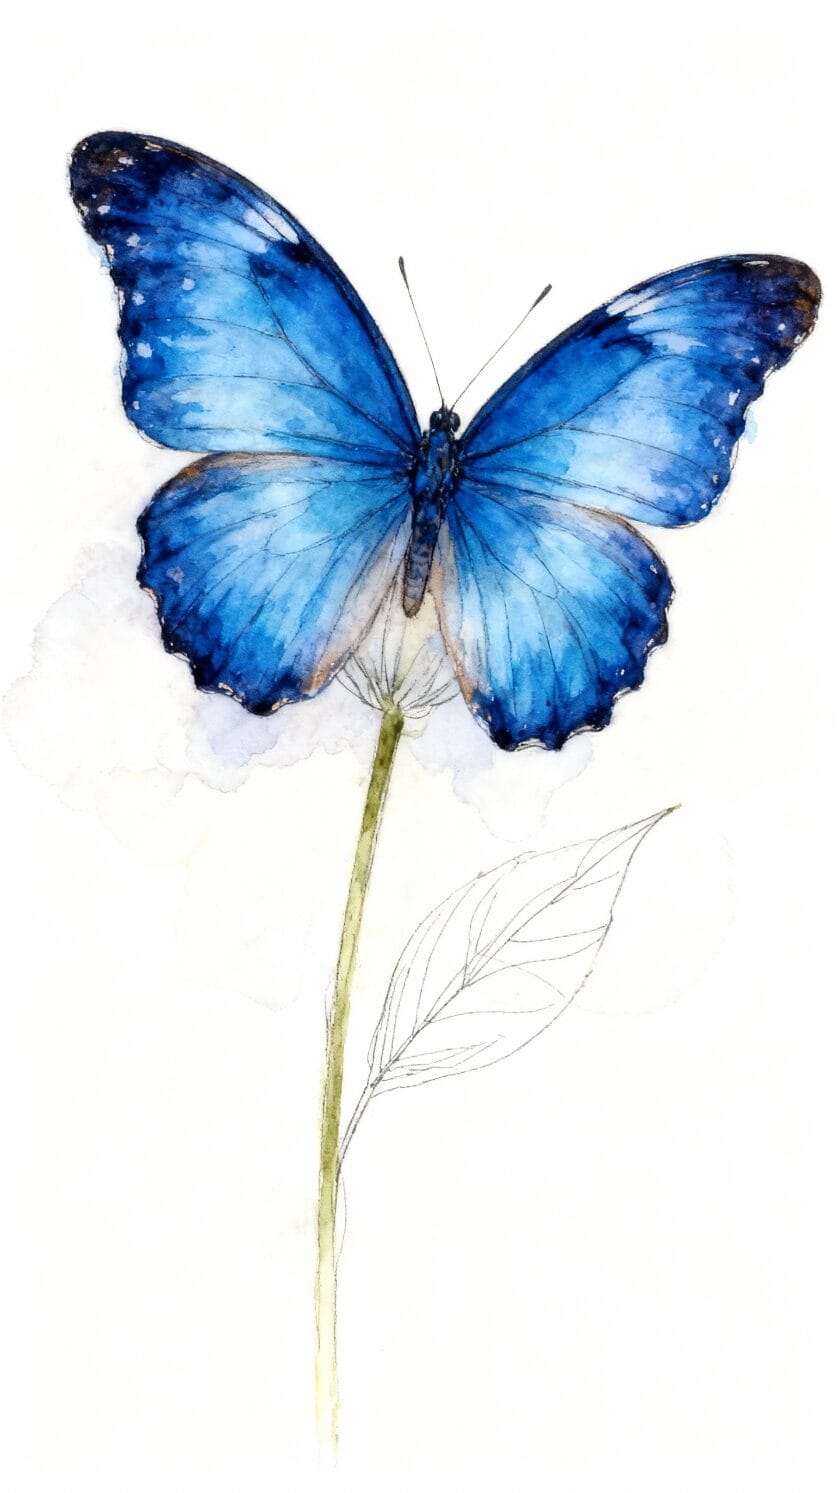
While the wing colors are still wet, you can drop in other colors to create natural blending. Once dry, add patterns like spots or stripes using darker colors. Paint the body black or dark brown, and add simple antennae with small dots at the ends.
Project 6: Peaceful Tree
Trees are wonderful subjects because they can be as simple or detailed as you want. This project teaches you about painting different textures and natural shapes.
What You’ll Learn:
- Painting organic shapes
- Creating texture
- Using earth tones
Step-by-Step Guide:
Start with the trunk using brown paint. Make it wider at the bottom and narrower as it goes up. Add branches that get smaller as they extend outward. For the leaves, use a technique called “dabbing” – load your brush with green paint and gently touch the paper to create leaf-like textures.
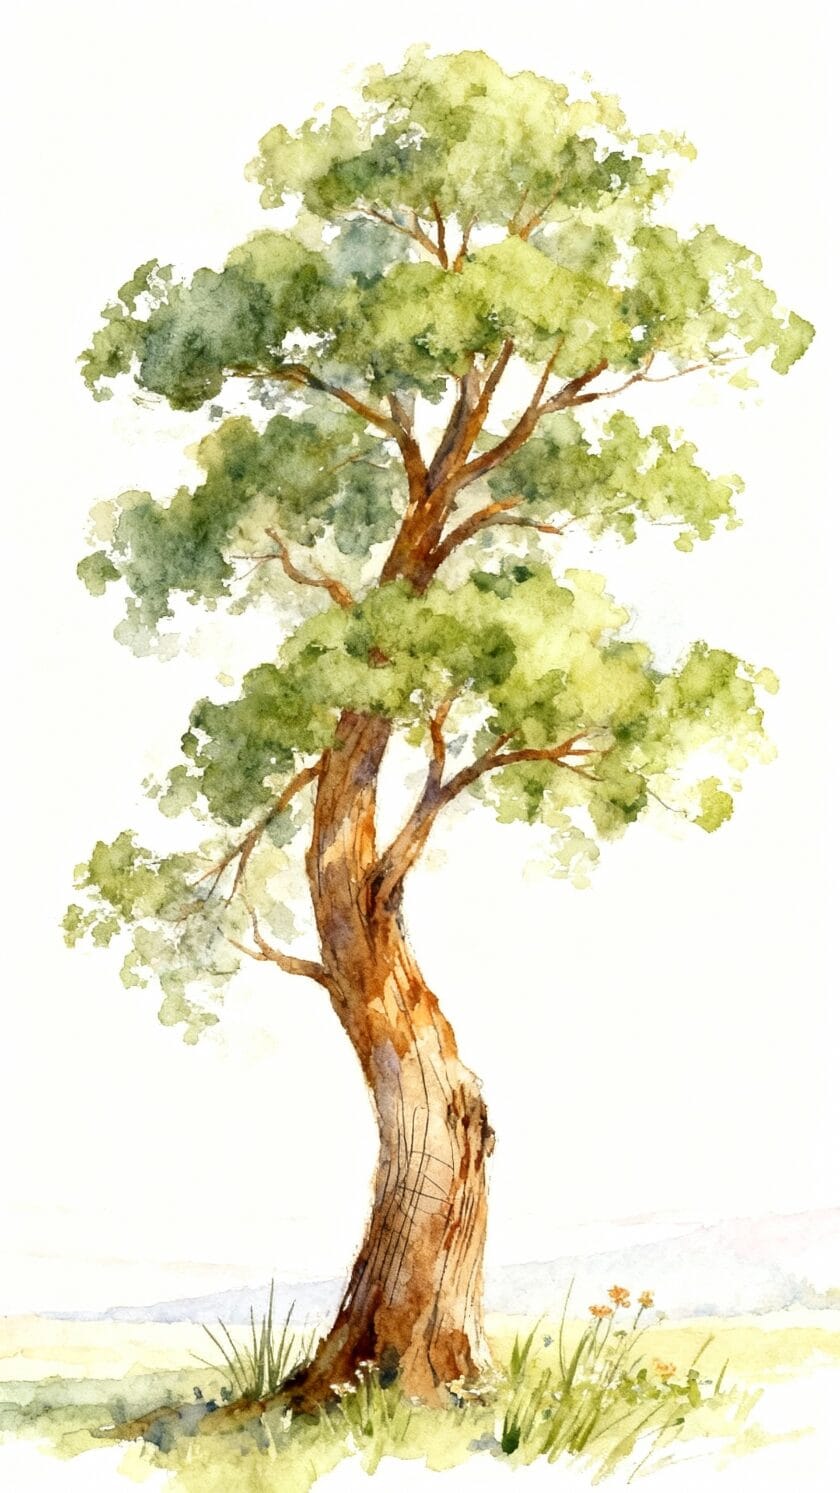
Use different shades of green for variety. Add some yellow-green for highlights and darker green for shadows. You can add a simple grass line at the bottom and maybe some falling leaves for extra charm.
Project 7: Cheerful Rainbow
Rainbows are pure joy to paint and perfect for practicing color order and smooth blending. This project always makes people smile!
What You’ll Learn:
- Color order and theory
- Smooth color transitions
- Creating perfect arcs
Step-by-Step Guide:
Lightly sketch two curved lines to make a rainbow band. Remember the color order: red, orange, yellow, green, blue, indigo, violet. Start with red at the top, then add orange next to it while the red is still slightly damp so they blend together.

Continue with each color, always painting the next one while the previous is still a little wet. This creates smooth transitions. Add simple white clouds at each end of the rainbow and maybe some raindrops falling from a gray cloud above.
Materials you will need
Here are five basic materials you need to do a simple watercolor animal project—nothing fancy, just the essentials 🎨🐾
- Watercolor Paints
A basic watercolor set (pan or tube) is enough. Student-grade paints work perfectly for simple animals. Check Discounted prices on Aliexpress - Watercolor Paper
Thick paper (preferably 200–300 gsm) so it doesn’t warp when wet. Regular drawing paper won’t hold water well. - Paintbrush
One round brush (size 4–8) can handle outlines, details, and washes. - Palette
For mixing colors. A plastic palette, ceramic plate, or even a clean lid works. - Water Container
You can check prices for each on Temu. click here to see discount prices on temu
or Aliexpress
Essential Tips for Success
- Start Light: You can always add more color, but it’s hard to take it away. Begin with light washes and build up gradually.
- Clean Water is Key: Change your water often to keep colors bright and clean.
- Let It Dry: Unless you’re blending colors on purpose, let each layer dry completely before adding the next.
- Embrace Mistakes: Watercolor surprises are often the most beautiful parts of your painting.
- Practice Basic Strokes: Spend time just making lines, dots, and washes to get comfortable with your brush.
- Use Good Paper: Watercolor paper makes a huge difference in how your paint behaves.
Getting Started
You don’t need expensive supplies to begin. A basic watercolor set with red, blue, yellow, and brown will mix to create most colors you need. Add a few brushes in different sizes, some watercolor paper, and two jars of water – one for cleaning brushes and one for clean water.
The most important thing is to start painting. Each project will teach you something new, and every painting will be better than the last. Don’t worry about making masterpieces right away. Focus on having fun and learning something with each brushstroke.
Watercolor painting is a journey of discovery. These seven projects will give you a strong foundation and plenty of confidence to try more challenging subjects later.

A Teacher with 5 years of experience. Our Expertise, is reliable to meet your full Academic development needs . Worked on many crafts and construction projects offering services from design to development to deployment over the years. You will find many of my works in my business portfolio on request.