People are making really cool art and crafts with simple tissue paper. Tissue paper is cheap, colorful, and easy to rip, fold, or glue. It can also do “magic” things when it gets wet. After watching a bunch of tutorials, I made a list of ideas I actually want to try (and some I already tested). Here are 14 tissue paper art ideas that feel creative but still beginner-friendly.
1) Magic Tissue Paper + Water Surprise
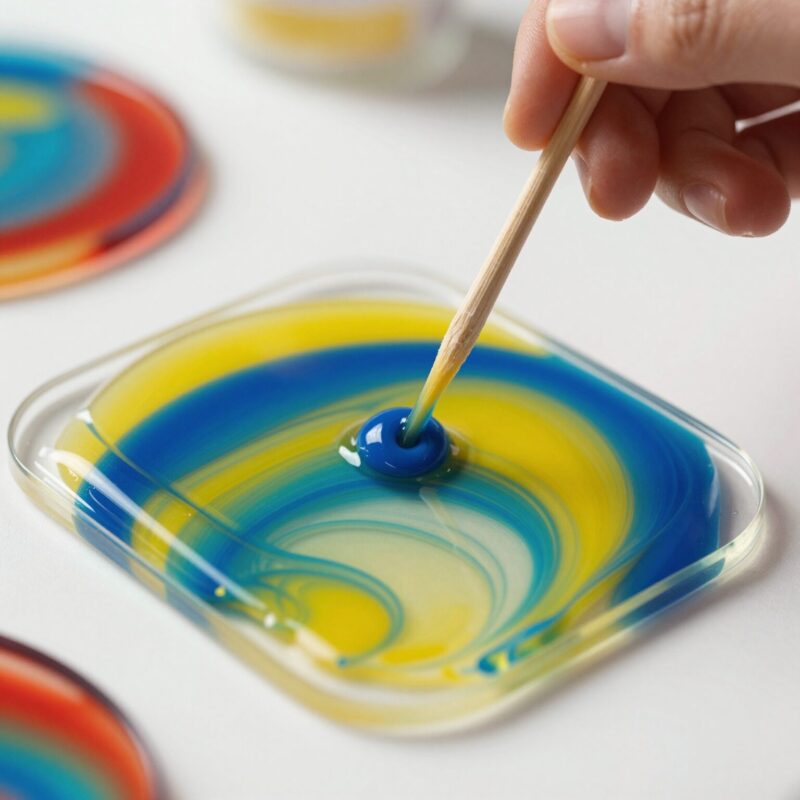
This idea feels like a science experiment and an art project at the same time. I saw a super short video where tissue paper color spreads when water touches it, and it looks like a hidden design appears. I would use this when I want quick results (and a “wow” effect). I like that I don’t need fancy tools—just tissue paper and water.
Source
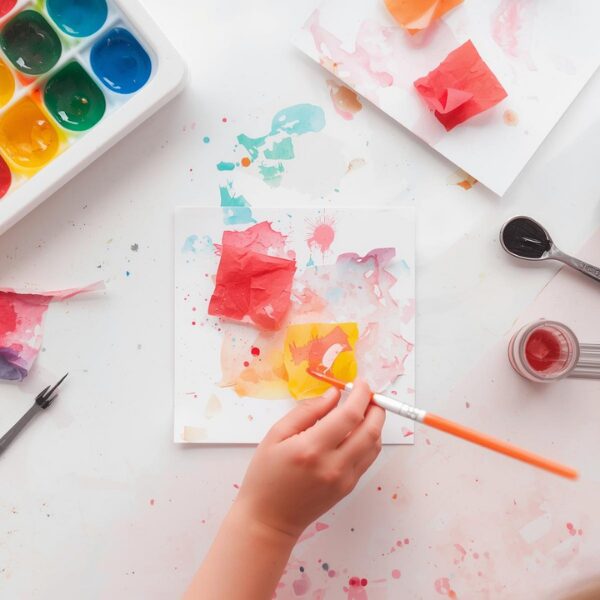
What I use: bleeding tissue paper (or very colorful tissue), white paper, water, paintbrush.
How I do it: I place tissue pieces on paper, dab water, wait, then peel the tissue off carefully.
2) Tissue Paper “Painting” (Color Transfer Art)
This one is like painting, except the tissue paper helps make the color. I watched a short clip where someone presses wet tissue paper onto paper and the colors blend into a soft, dreamy look. If I want my art to look smooth and shaded without being a perfect painter, I’d pick this idea.
Source

Tip I learned: Don’t rub too hard. I press gently so the paper doesn’t tear.
3) Textured Tissue Paper Canvas Art (3D Look)
If I want my art to pop out instead of staying flat, this is my favorite style. In one tutorial, the artist crumples or shapes tissue paper, glues it down, and then paints over it. The wrinkles become texture, kind of like a raised pattern.
Source
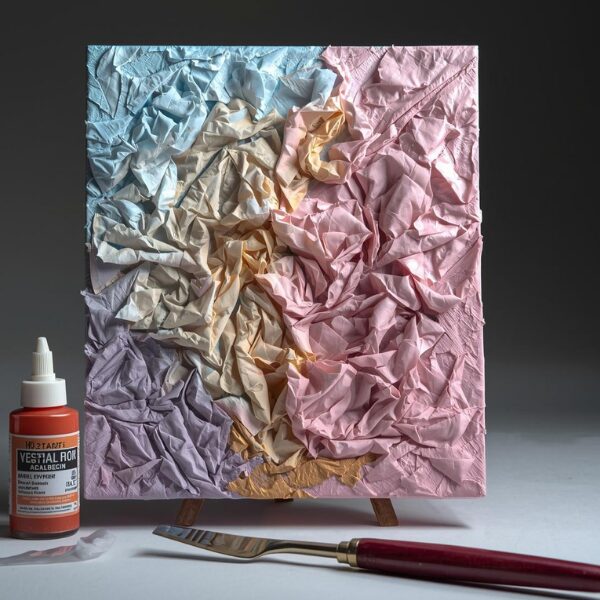
What I use: tissue paper, glue, cardboard/canvas paper, paint (optional).
My idea: I’d shape tissue into clouds, waves, or flower petals, then paint the whole thing one color for a clean look.
4) Torn Tissue Paper Landscape (Sunset, Ocean, Mountains)
I love this because I don’t even need scissors. I tear tissue into pieces and layer them like a collage to make a picture. I can make a sunset by stacking orange, pink, and purple strips. Tearing gives the edges a soft look, which makes the scene feel more natural than sharp cut lines.

How I do it: background first (sky), then midground (mountains), then foreground (trees or grass).
5) Tissue Paper Flowers (Classic, But Always Pretty)
This is the craft I see the most in videos, and now I understand why. Tissue flowers look fancy, but the steps are mostly folding, pinching, and fluffing. I’d use them for a gift, a room decoration, or even a school project display.
Source
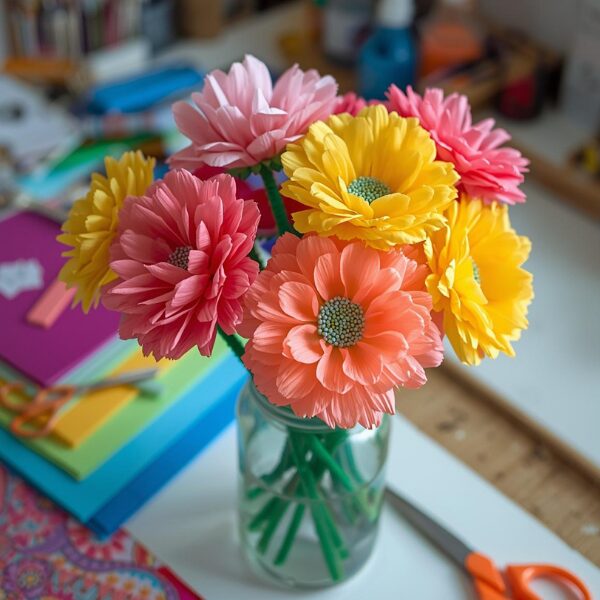
What I use: tissue paper sheets, pipe cleaner/string, scissors.
My tip: I round the corners before fluffing so the petals look softer.
6) Giant Tissue Paper “Backdrop” Flowers
Once I learn the basic tissue flower, I’d level it up by making them huge. Big flowers would look amazing on a wall for birthdays, presentations, or spirit week. I’ve seen videos where people make large versions by using bigger sheets and more layers.
Source
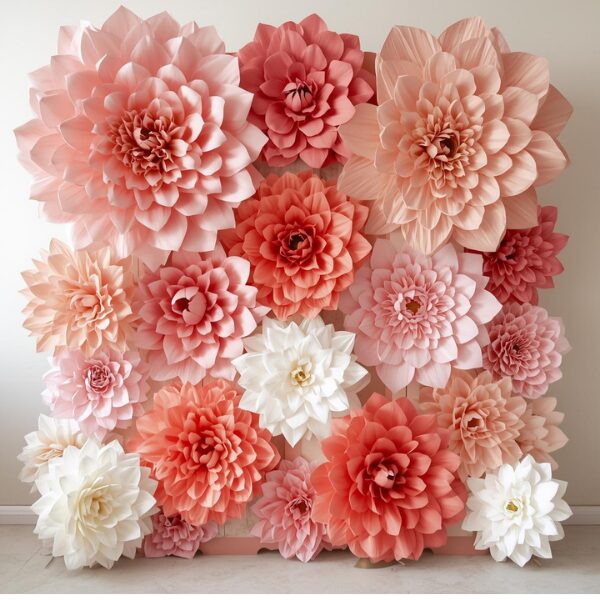
Extra tip: More layers = fuller flower, but it also takes more time to fluff.
7) Tissue Paper Pom-Poms (Party Decoration Art)
These are like tissue flowers, but they’re more round and fluffy, like a cloud. I like how they make any space look festive. The video I found shows how to assemble and fluff them so they look even on both sides.
Source
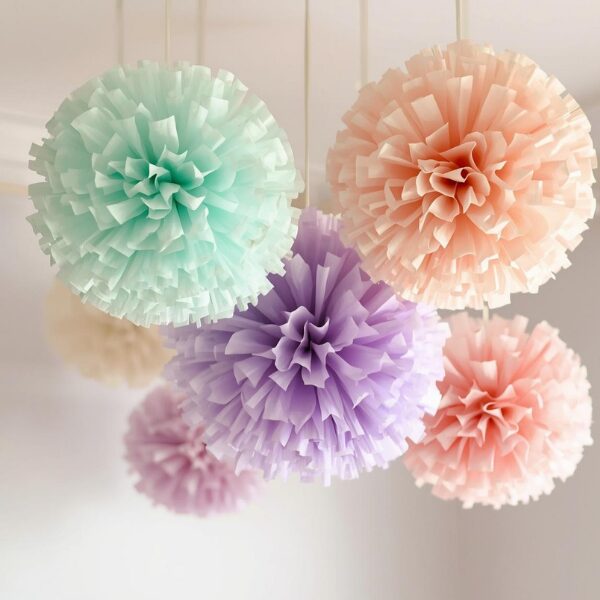
What I use: tissue paper, string, scissors.
What I’d do with them: hang them from the ceiling, or use them as photo background decor.
8) Tissue Paper Suncatcher (Stained-Glass Effect)
This idea is colorful and looks best when sunlight shines through it. A lot of people use clear contact paper, add tissue pieces, and then stick it on a window. I like that it turns “random scraps” into something bright and organized.
Source
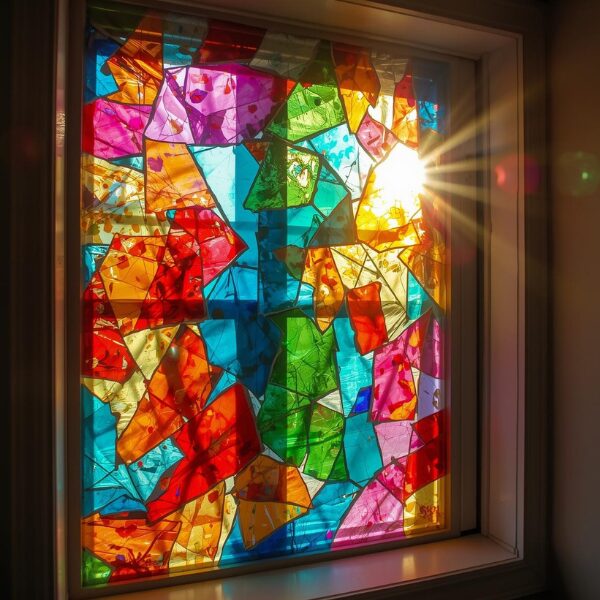
My tip: I keep the tissue pieces small so the design looks like a mosaic.
9) Tissue Paper Mosaic Suncatcher (With a Frame)
This is similar to the suncatcher above, but it often includes a paper frame shape, like a circle, heart, or any outline. I saw a tutorial where the crafter uses tissue squares like little tiles. The finished piece looks like a mini window in a cathedral.
Source
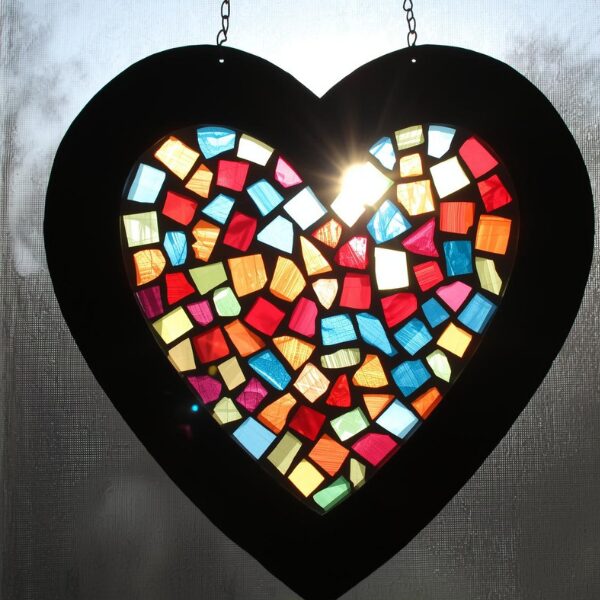
Frame ideas I’d try: butterfly, star, the first letter of my name.
10) Tissue Paper Collage Art (Layering Like a Pro)
Collage is basically “building” a picture from pieces instead of drawing every detail. I watched a video showing how tissue paper can be layered to create depth. The cool part is that tissue paper can be slightly see-through, so the colors mix when you overlap them.
Source
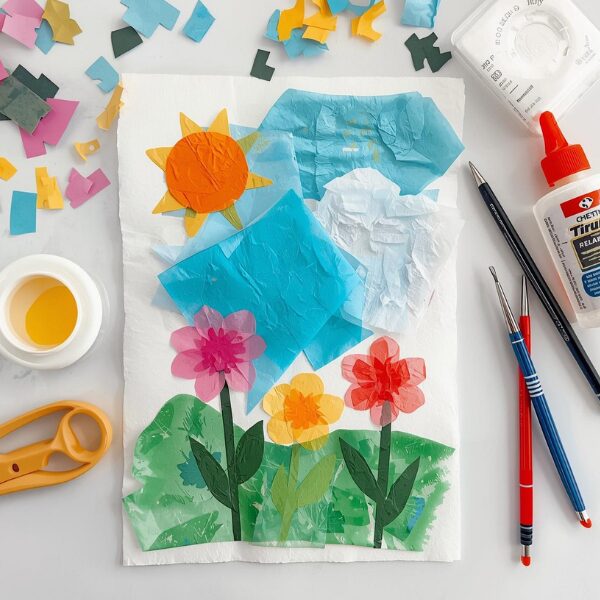
My tip: I start with big shapes, then add small pieces for details (like eyes, stars, or patterns).
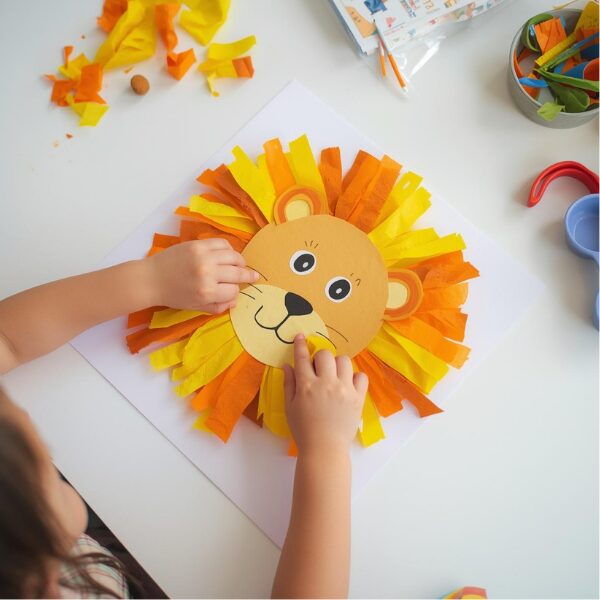
11) Torn Tissue Paper Lion (Fluffy Mane Craft)
Sometimes I like making crafts that look fun and colorful without drawing too much. A tissue paper lion is perfect for that. I can draw a simple lion face, then tear small pieces of yellow, orange, and brown tissue paper to make the fluffy mane around it.
Easy themes for this craft: lion, sun, chick, or flower.
What I like about it: tearing tissue paper is easy for little hands, and the mane looks big and fluffy.
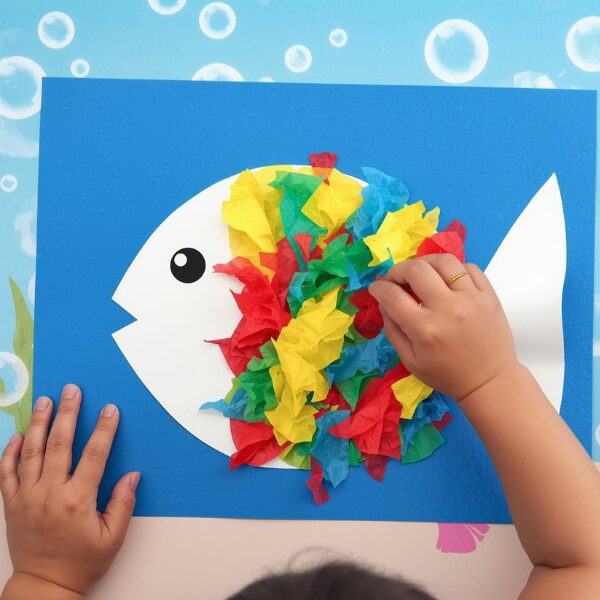
12) Tissue Paper Fish (Bright Ocean Craft)
This fish craft looks very colorful and fun. I can cut out a simple fish shape and glue bright tissue paper pieces on it to make shiny scales.
Kids can use colors like blue, red, yellow, and green to make the fish look like it’s swimming in the ocean.
Extra idea: glue the fish on blue paper and add bubble circles to make an underwater scene.
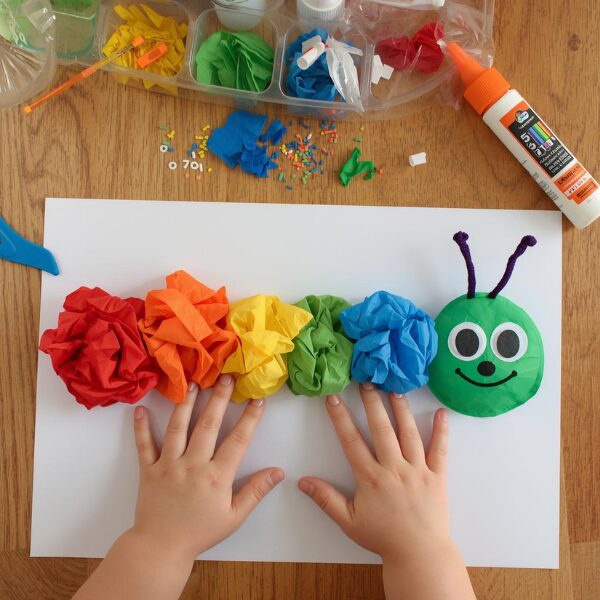
13) Tissue Paper Caterpillar (Cute Bug Craft)
This is a tiny craft but really fun. I can roll or crumple small balls of tissue paper and glue them in a row to make a caterpillar body.
Then I can add:
- small paper eyes
- little antenna
- tiny legs
What I like about it: I can make caterpillars in many colors like rainbow caterpillars.
14) Tissue Paper Butterfly (Colorful Wings)
Butterflies are perfect for tissue paper because their wings are bright and colorful. I can draw a big butterfly outline and glue small pieces of tissue paper inside the wings.
Kids can mix colors like pink, purple, yellow, and blue to make beautiful butterfly wings.
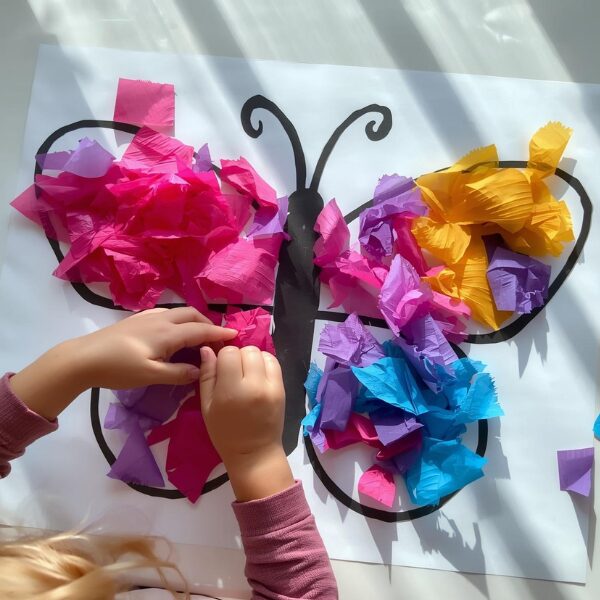
Extra idea: hang the butterfly near a window so the light makes the colors look bright.
My Final Thoughts
What I like most about tissue paper art is that it’s not intimidating. I don’t have to be “perfect” at drawing to make something that looks awesome. Tissue paper is also forgiving—if I don’t like a piece, I can tear a new one in two seconds. If I had to pick the best projects to start with, I’d choose the magic tissue paper water surprise, a suncatcher, and a simple collage. Then, once I’m more confident, I’d try the fish with light or fashion dress design.

A Teacher with 5 years of experience. Our Expertise, is reliable to meet your full Academic development needs . Worked on many crafts and construction projects offering services from design to development to deployment over the years. You will find many of my works in my business portfolio on request.