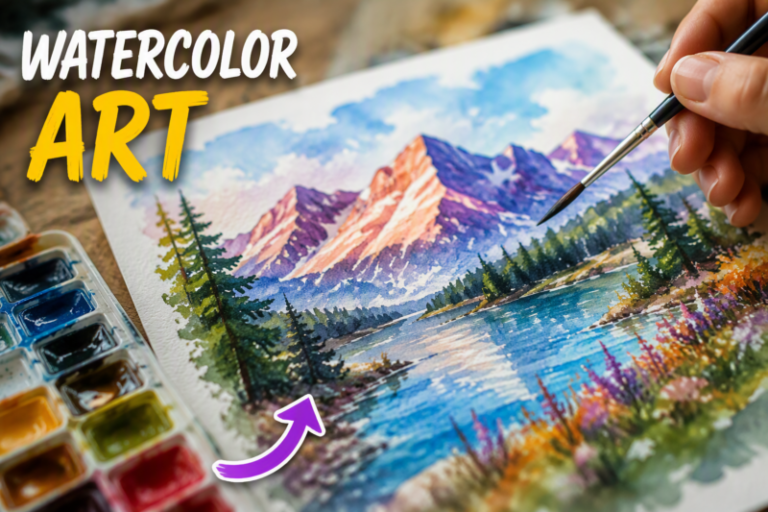

Starting your watercolor journey can feel exciting and scary at the same time.
Watercolor painting teaches you patience, helps you relax, and lets you express your creativity in wonderful ways. The best part about watercolors is that even your “mistakes” can turn into something beautiful. Those happy accidents often become the most interesting parts of your painting!
In this article, we will explore five inspiring watercolor tutorials designed just for beginners. Each project will teach you important techniques while creating something you can be proud of. Remember, the goal is not perfection – it’s about learning, having fun, and discovering what watercolors can do.
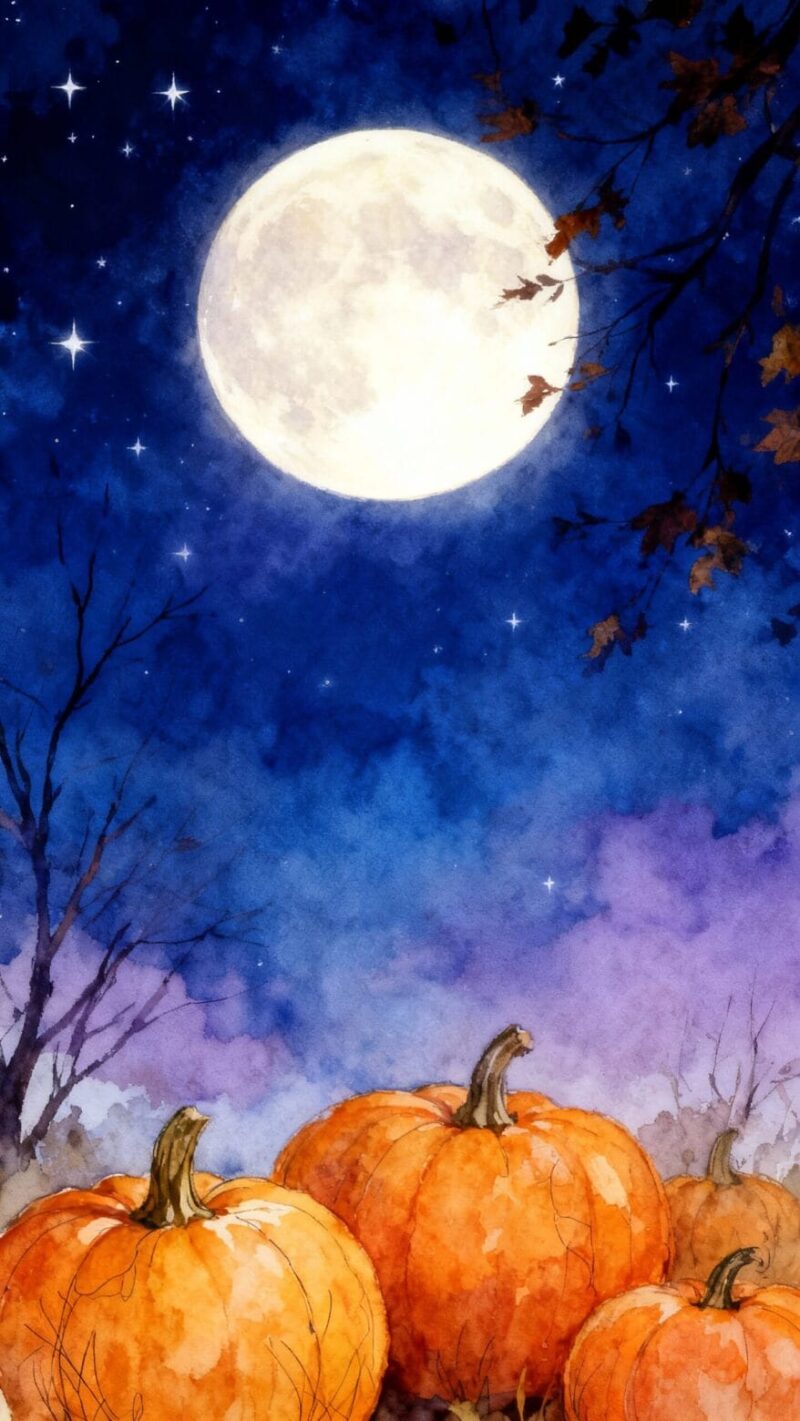
Tutorial 1: Simple Sunset Sky
What You’ll Learn:
This project teaches you the wet-on-wet technique, which is the foundation of watercolor painting. You’ll also learn about color blending and creating smooth gradients.
Materials Needed:
- Yellow, orange, and purple watercolor paints
- Large flat brush or round brush
- Watercolor paper
- Clean water and paper towels
Step-by-Step Instructions:
- Use clean water to wet the top half of your paper with your brush
- While the paper is still wet, paint a yellow stripe across the middle
- Add orange paint above and below the yellow, letting the colors blend naturally
- Add a small amount of purple at the very top, watching it flow into the orange
- Let the painting dry completely to see your beautiful sunset
Helpful Tip: Don’t worry if the colors mix more than you expected. Sunsets in nature have lots of color mixing too! The wet-on-wet technique creates soft, dreamy effects that are perfect for skies.
Tutorial 2: Cherry Blossom Branch
What You’ll Learn:
This project focuses on brush control and creating simple shapes. You’ll practice making small dots and lines, which are basic skills for many watercolor paintings.
Materials Needed:
- Brown and pink watercolor paints
- Small round brush
- Watercolor paper
- Pencil for light sketching
Step-by-Step Instructions:
- Lightly sketch a simple branch shape with your pencil
- Use brown paint to paint over your branch lines
- Let the branch dry for a few minutes
- Mix pink paint with a little water to make it lighter
- Use the tip of your brush to make small pink dots along the branch for flowers
- Add a few dots floating around the branch like falling petals
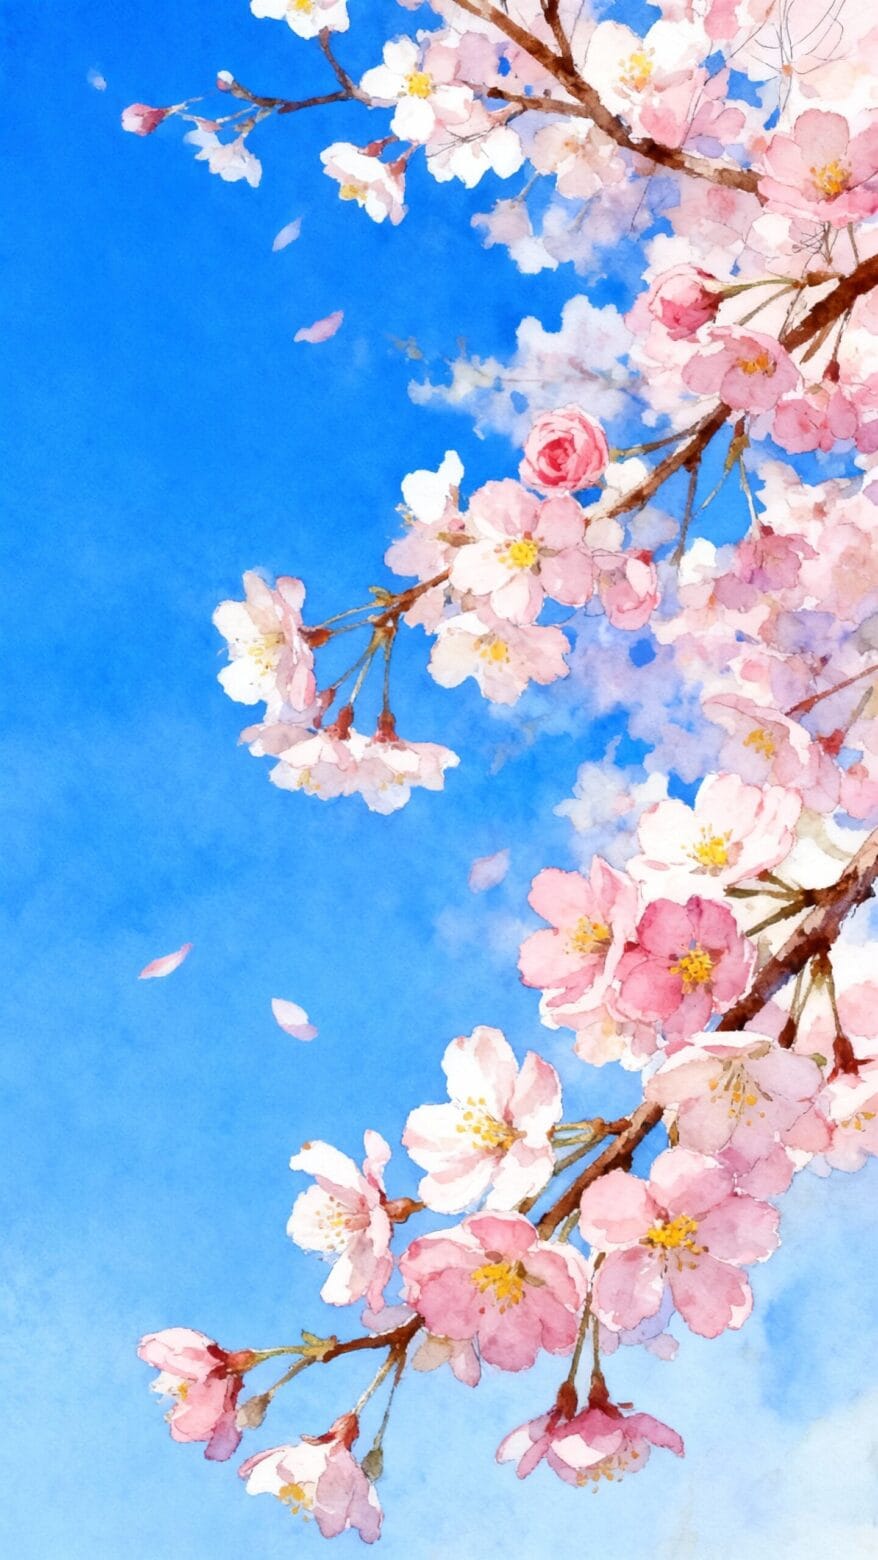
Helpful Tip: If your pink dots look too dark, add more water to your paint. Watercolor is all about finding the right balance between paint and water. Practice making dots on a separate piece of paper first!
Tutorial 3: Simple Mountain Landscape
What You’ll Learn:
This tutorial teaches you about layering colors and creating depth in your paintings. You’ll also learn how different amounts of water create different effects.
Materials Needed:
- Blue, green, and gray watercolor paints
- Medium round brush
- Watercolor paper
- Clean water
Step-by-Step Instructions:
- Paint the top third of your paper with light blue for the sky
- Let the sky dry completely
- Mix gray paint and paint simple triangle shapes for distant mountains
- Let the mountains dry
- Use darker green to paint hills in front of the mountains
- Add darker green details in the foreground for trees or bushes
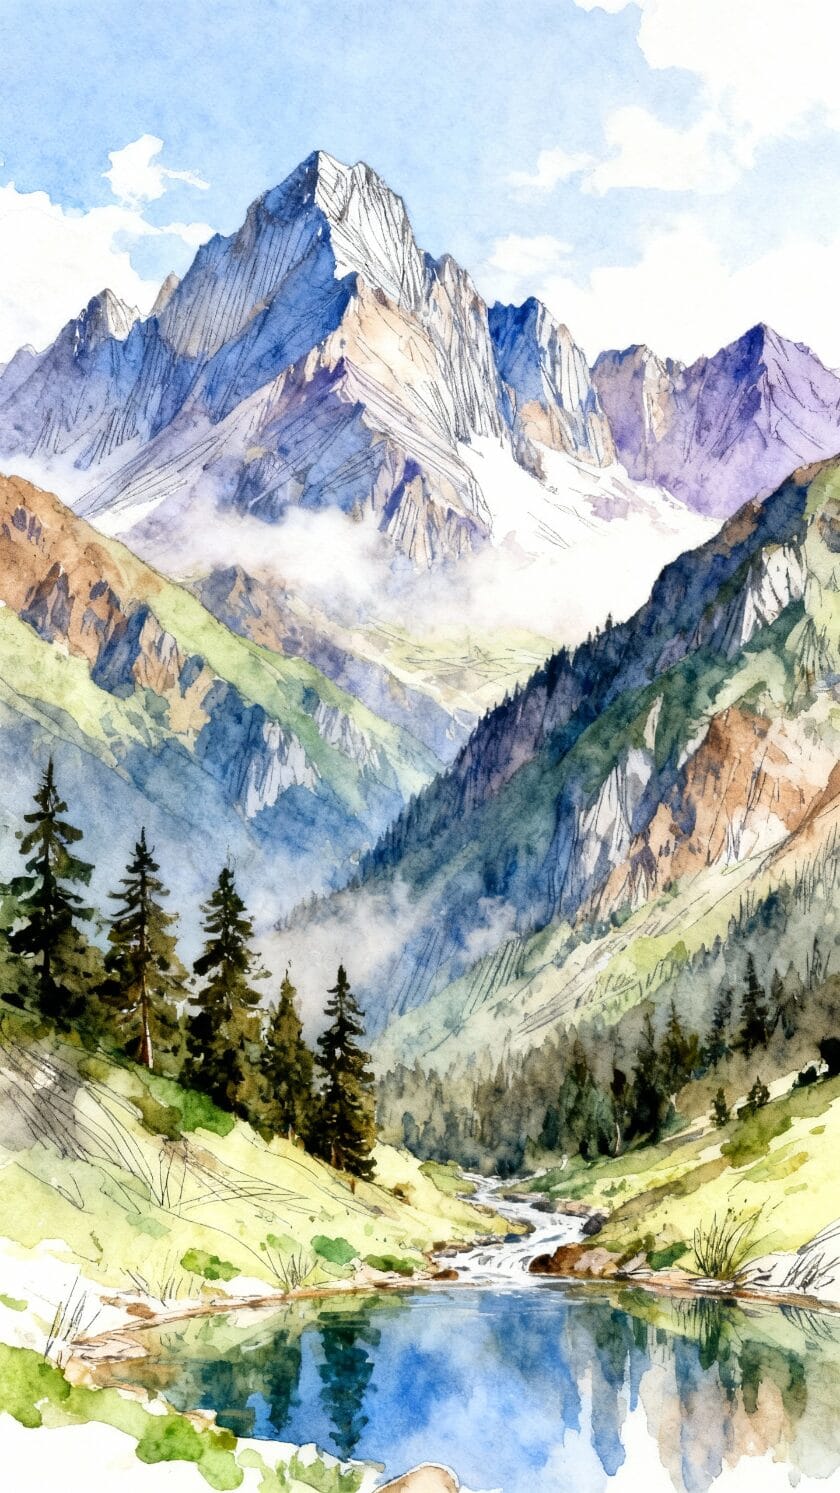
Helpful Tip: The key to this painting is letting each layer dry before adding the next one. This creates clear separation between the sky, mountains, and hills. If you’re impatient, use a hair dryer to speed up drying time!
Tutorial 4: Colorful Butterfly
What You’ll Learn:
This project combines everything you’ve learned so far: brush control, color mixing, and layering. You’ll also practice painting symmetrical shapes.
Materials Needed:
- Red, blue, yellow, and black watercolor paints
- Small and medium round brushes
- Watercolor paper
- Pencil for sketching
Step-by-Step Instructions:
- Lightly sketch a simple butterfly shape with four wings
- Paint the top wings with light yellow, leaving them wet
- Add small amounts of red and blue to create orange and green areas
- Paint the bottom wings with light blue
- Let the wings dry, then add small details with darker colors
- Use black paint to add the butterfly’s body and antennae
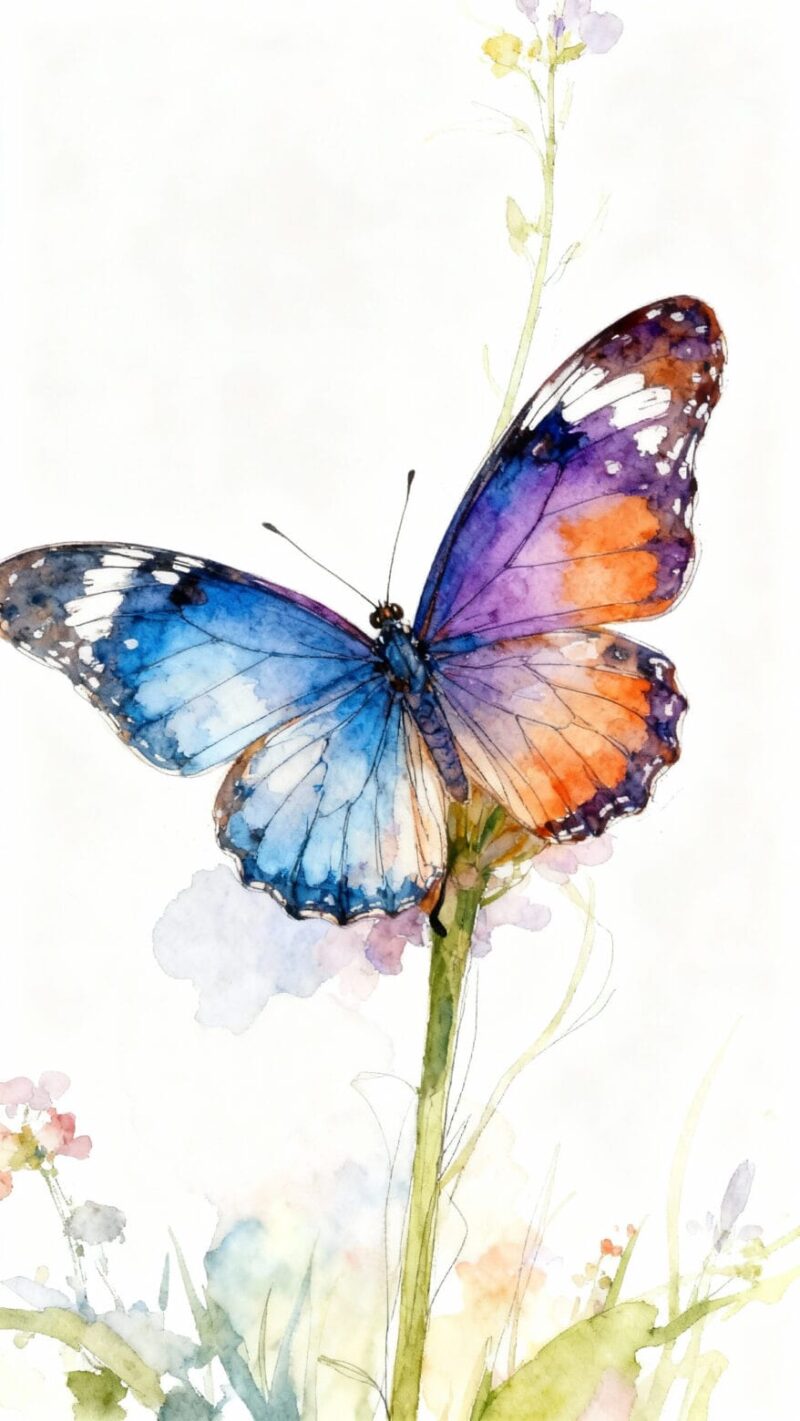
Helpful Tip: Don’t try to make both wings exactly the same. Real butterflies aren’t perfectly symmetrical either! Focus on making your butterfly colorful and cheerful rather than perfect.
Tutorial 5: Ocean Waves
What You’ll Learn:
This final project brings together all your new skills. You’ll practice advanced wet-on-wet technique, color gradients, and creating movement in your painting.
Materials Needed:
- Blue, green, and white watercolor paints
- Large and small round brushes
- Watercolor paper
- Salt (optional, for texture)
Step-by-Step Instructions:
- Wet your entire paper with clean water
- Paint wavy horizontal lines with light blue across the paper
- Add darker blue in some areas while the paper is still wet
- Drop in small amounts of green paint to create depth
- While still wet, sprinkle a little salt on some areas for texture
- Let everything dry, then brush off the salt
- Add white foam details on top of some waves when completely dry
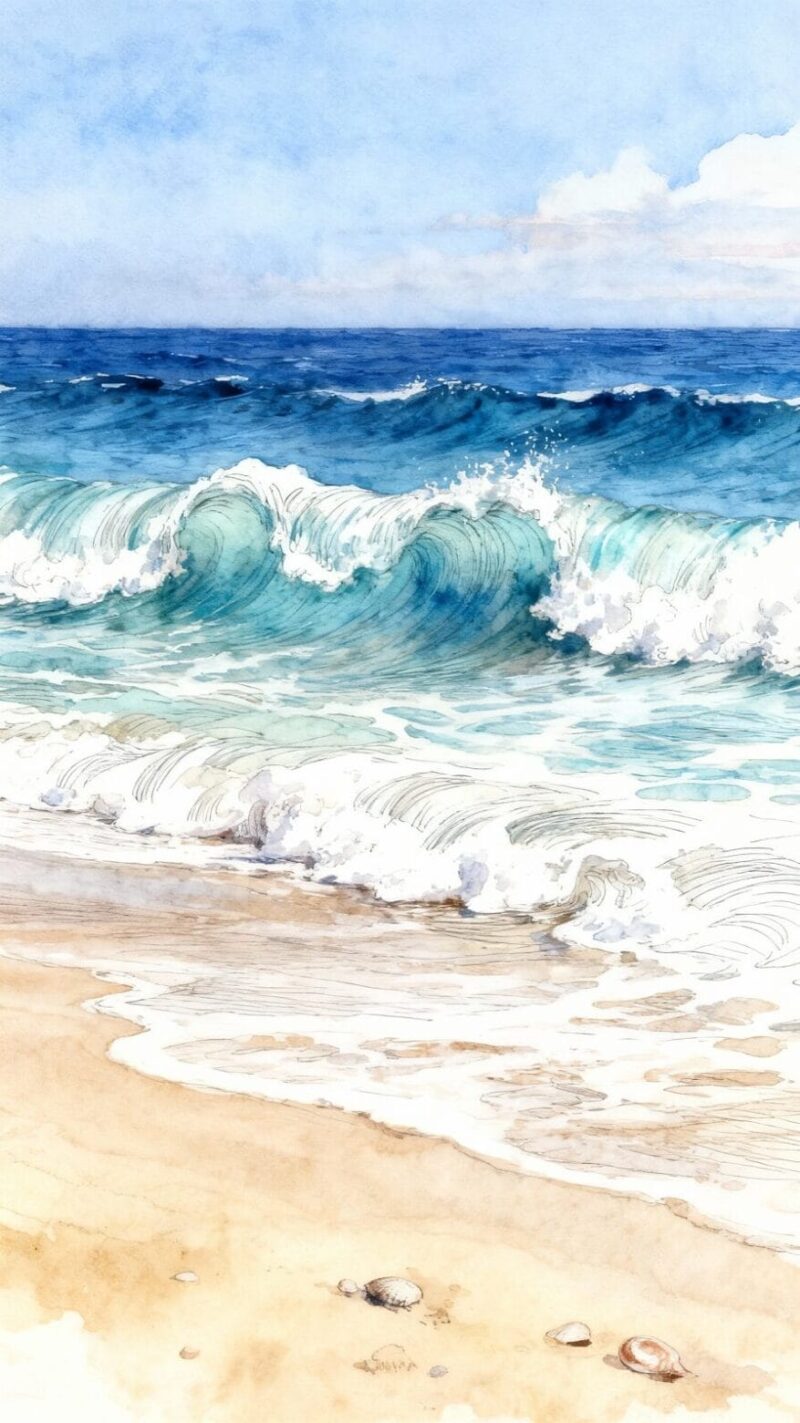
Helpful Tip: The salt creates beautiful crystalline textures that look like sparkling water. If you don’t have salt, you can create texture by dabbing areas with a clean, damp brush or paper towel while the paint is still wet.
Keep Painting and Growing
Congratulations! You’ve just completed five watercolor tutorials that have taught you the most important techniques in watercolor painting. You’ve learned wet-on-wet blending, brush control, layering, color mixing, and creating texture. These skills will help you with any watercolor project you try in the future.
Remember, becoming good at watercolor painting takes time and practice. Every professional artist started exactly where you are now. They made mistakes, learned from them, and kept painting. The most important thing is to enjoy the process and celebrate your progress, no matter how small it might seem.
Don’t be discouraged if your paintings don’t look exactly like you imagined. Watercolor has a mind of its own, and that’s what makes it so special. Sometimes the most beautiful effects happen when we let the paint do what it wants to do. Trust the process and embrace those happy accidents.
Keep experimenting with these techniques. Try painting the same subject multiple times with different colors or approaches. Paint what makes you happy – flowers, animals, landscapes, or abstract designs. The more you paint, the more confident you’ll become.
Most importantly, remember that art is about expressing yourself and having fun. There’s no wrong way to paint with watercolors as long as you’re enjoying the journey. Keep your brushes ready, your creativity flowing, and never stop learning. Your next masterpiece is just one brushstroke away!

A Teacher with 5 years of experience. Our Expertise, is reliable to meet your full Academic development needs . Worked on many crafts and construction projects offering services from design to development to deployment over the years. You will find many of my works in my business portfolio on request.