

I’m super excited to share How to Doodle and Draw a Book for beginners. You might think drawing books sounds boring, but trust me, once you get the hang of it, you’ll be amazed at how cool and creative your book doodles can become. I’ve been doodling for years, and books are honestly one of the most fun things to draw because they’re everywhere around us and you can make them as simple or as fancy as you want.
Getting Started: The Basic Book Cover Shape
Let’s start with the most basic book ever – a simple closed book lying flat. This is going to be your foundation for everything else we’ll learn today, so don’t skip this part even if it seems too easy!
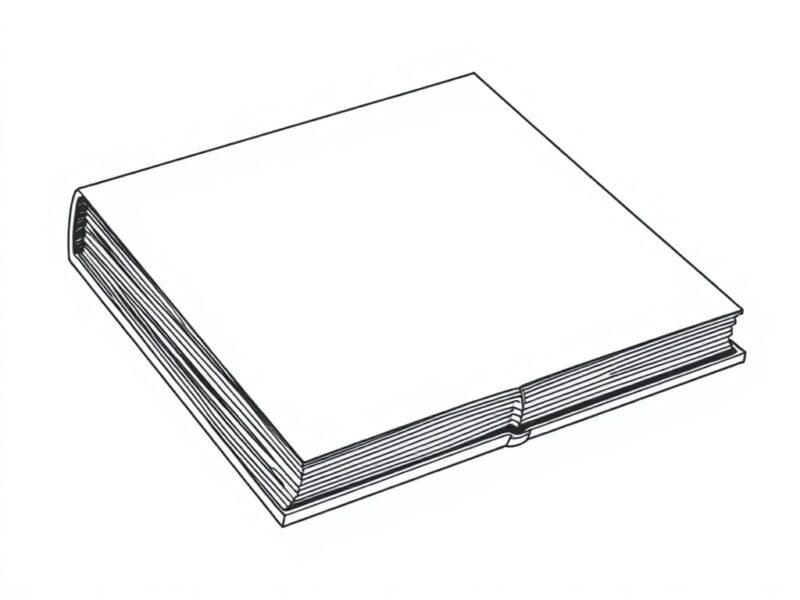
Step 1: Draw a rectangle. It can be any size you want, but I usually make mine about twice as wide as it is tall. This is going to be the front cover of your book.
Step 2: Now we need to give it some thickness because real books aren’t flat like paper, right? Draw another rectangle right next to your first one, but make it much thinner – maybe about one-fourth the width. This represents the spine of the book.
Step 3: Connect the two rectangles by drawing lines from the corners of the front cover to the corresponding corners of the spine. Boom! You’ve just drawn your first 3D book!
I remember when I first learned this technique, I was so proud of myself. It felt like magic – turning a flat rectangle into something that looked three-dimensional! Don’t worry if it doesn’t look perfect right away. I must have drawn hundreds of these basic books before I got comfortable with the shape.
Adding Perspective: Making Your Books Look Real
Now that you’ve mastered the basic book, let’s make things more interesting by learning about perspective. This is where your books start looking like they’re actually sitting on a table or shelf instead of floating in space.
The key thing I learned about perspective is that objects farther away look smaller, and lines that go back into the distance seem to meet at a point. For books, this means the back edges should be slightly smaller than the front edges.
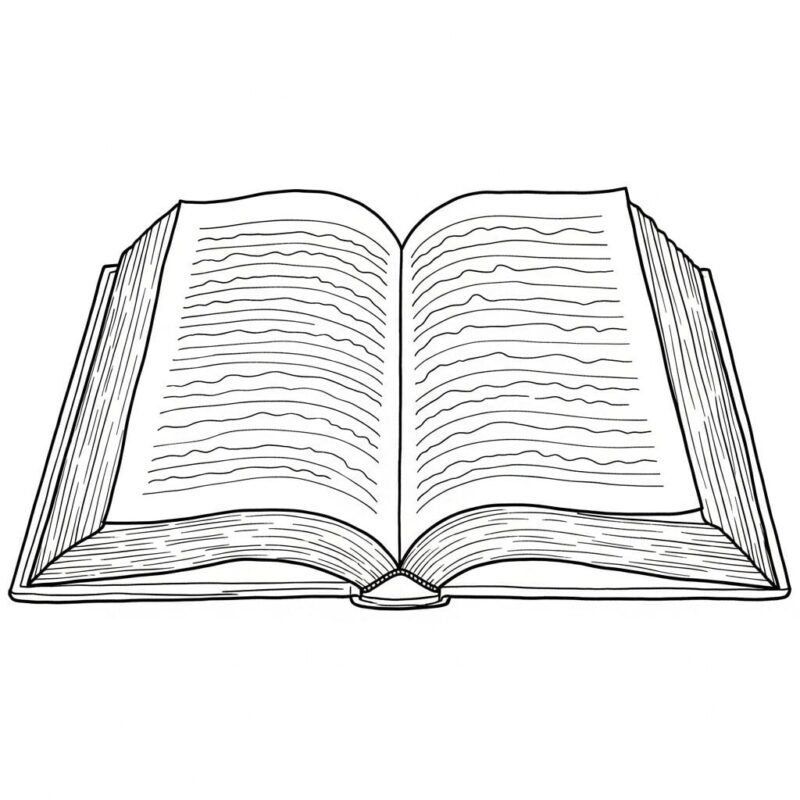
Step 1: Start with your rectangle for the front cover, just like before.
Step 2: Instead of making the spine rectangle the same height, make it just a tiny bit shorter. This creates the illusion that it’s going away from you.
Step 3: When you connect the corners, make sure the back edges are slightly shorter than the front ones.
This small change makes such a huge difference! When I show people this trick, they always get excited because suddenly their books look so much more realistic.
Drawing Open Books: My Personal Favorite
Okay, this is where things get really fun! Open books are probably my favorite type to doodle because they have so much personality. There’s something magical about drawing a book that looks like it’s ready to be read.
The secret to drawing open books is understanding that you’re basically drawing two rectangles that meet in the middle, but they’re tilted toward each other like they’re having a conversation.
Step 1: Draw two rectangles side by side, but angle them slightly so they form a very wide “V” shape. These will be your open pages.
Step 2: In the middle where they meet, draw a thin line going down. This is the spine of the open book.
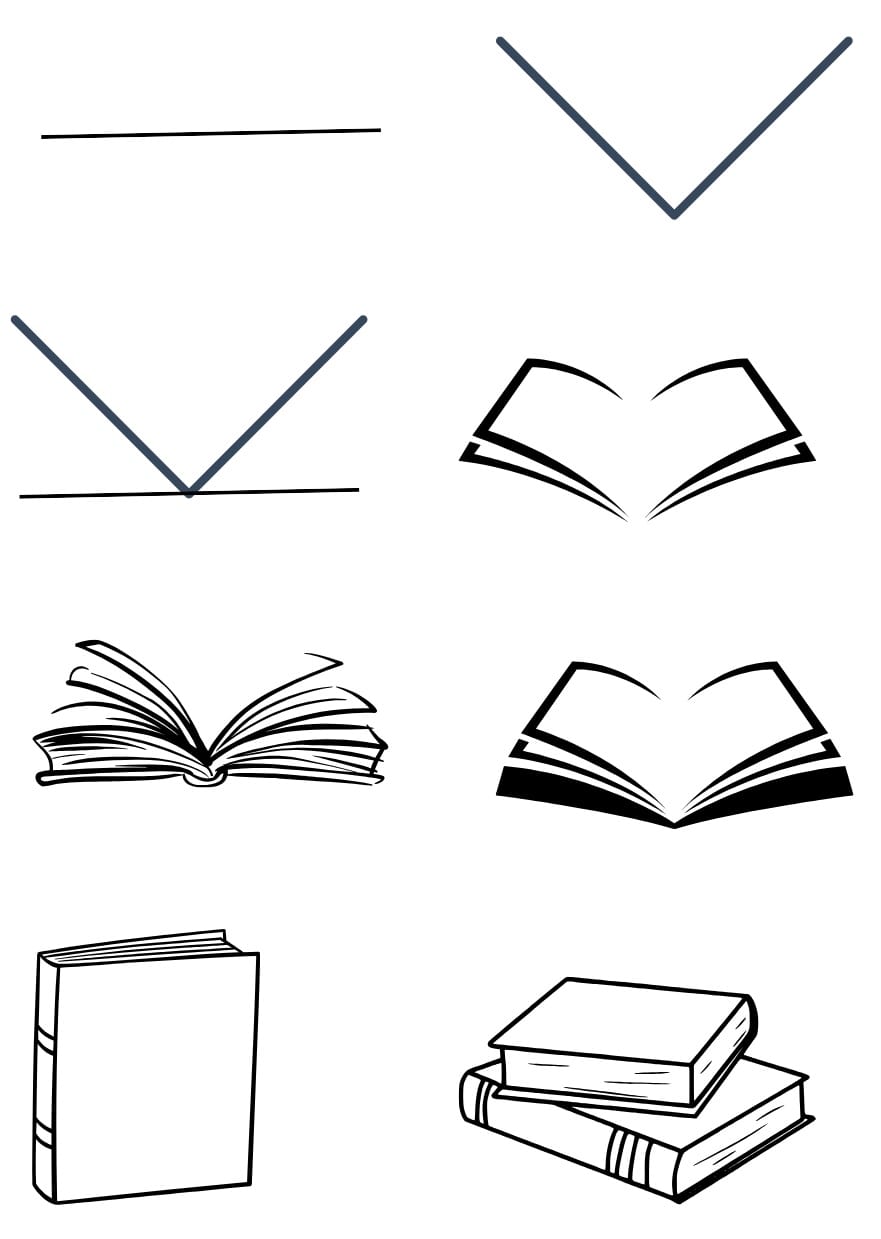
Step 3: Add some curved lines on each page to represent the text. Don’t worry about making them perfect – just draw gentle wavy lines across each page.
Step 4: Add a little thickness to the bottom of each page by drawing thin rectangles underneath them.
When I first tried drawing open books, I made them too flat. The trick I learned is to really emphasize that “V” shape – it makes all the difference between a book that looks open and one that just looks like two rectangles.
Creating Epic Book Stacks
Now we’re getting into advanced territory! Stacked books are so cool because they add height and dimension to your drawings. Plus, they’re perfect for creating interesting compositions.
The key to good book stacks is variety. I always make sure each book in my stack is a different size and thickness. Real bookshelves never have identical books, so your drawings shouldn’t either!
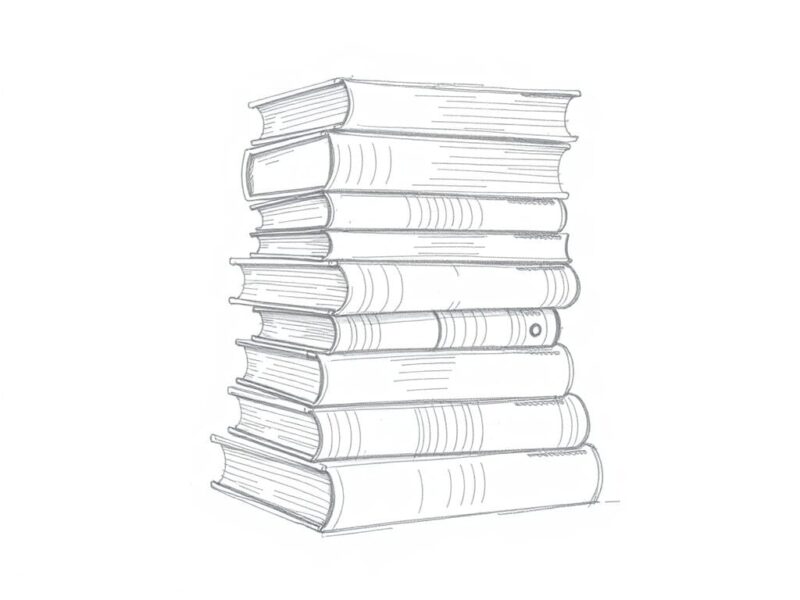
Step 1: Start with your biggest book at the bottom. Use the basic 3D book technique we learned earlier.
Step 2: Add the second book on top, but make it a different size. Maybe shorter and thicker, or longer and thinner.
Step 3: Keep adding books, varying the sizes. I usually don’t go higher than four or five books because it starts looking unstable.
Step 4: For extra fun, tilt one of the books slightly so it’s not perfectly aligned with the others.
One thing I love doing with book stacks is imagining what kinds of books they might be. The thick one could be a dictionary, the thin one might be a poetry book, and the medium one could be an adventure novel!
Adding Awesome Details
This is where your books really come to life! Details are what transform a basic shape into something that tells a story.
Bookmarks and Ribbons
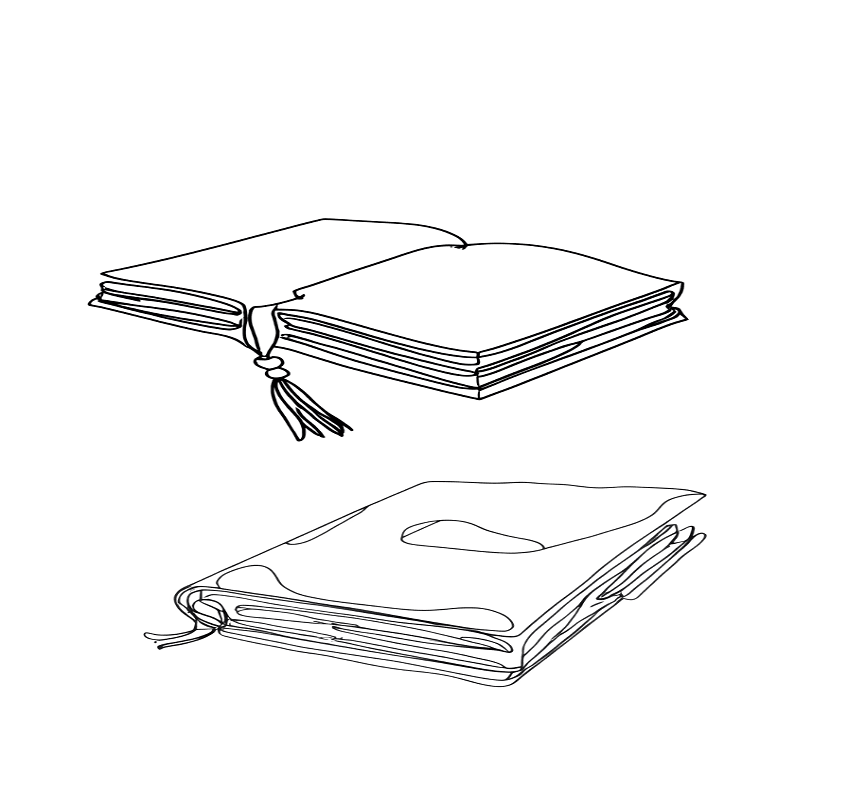
Bookmarks are super easy to add and they make your books look like someone is actually reading them. Just draw a thin rectangle sticking out from between the pages, and add a little decorative end – maybe a tassel or a notched edge.
Book Covers and Titles
This is where you can get really creative! I love adding fake titles to my book doodles. You can write real book titles you love, or make up silly ones like “How to Train Your Hamster” or “The Secret Life of Socks.”
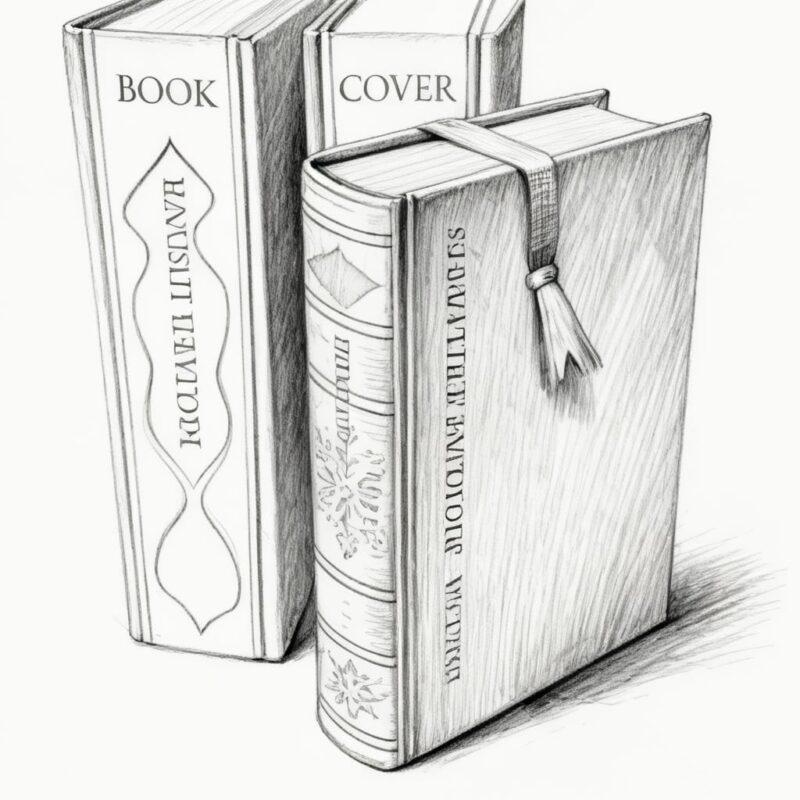
For cover designs: Try adding simple geometric shapes, stars, hearts, or even tiny doodles on the covers. Keep it simple – you don’t want to overcrowd the cover.
For spines: Add the title vertically along the spine, just like real books have.
Wear and Tear
Real books show their age, and adding these details makes your doodles more believable. Draw slightly curved pages to show the book has been read many times, or add a few scuff marks on the cover.
Creative Variations That Will Blow Your Mind
Once you’ve mastered the basics, it’s time to get weird and wonderful with your book doodles! These are some of my favorite creative spins on regular books.
Flying Books
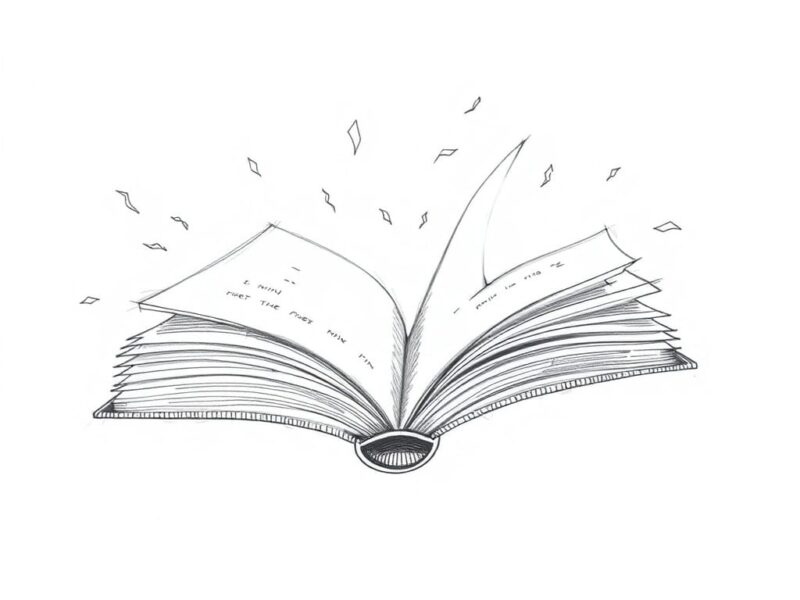
Draw open books with their pages fluttering like wings. Add some motion lines around them to show they’re moving through the air. It’s like giving your books superpowers!
Tiny Book Worlds
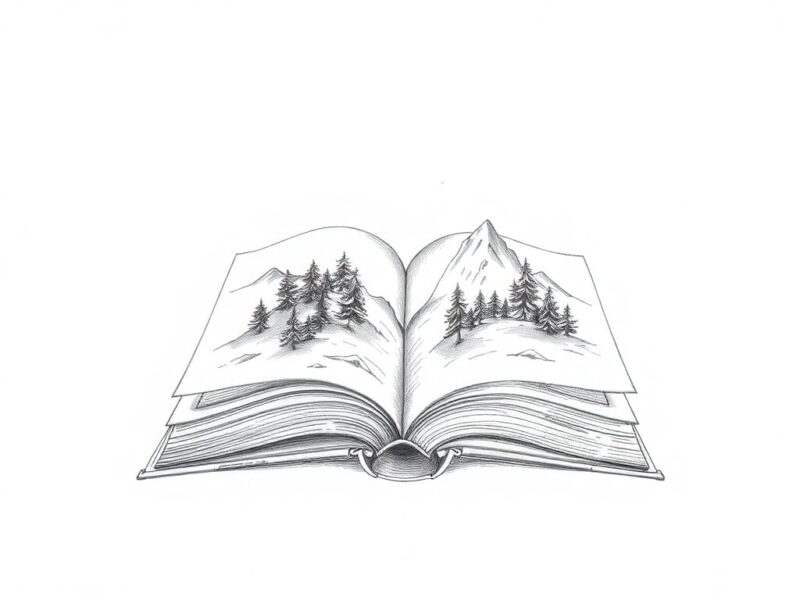
This is so cool – draw an open book, but instead of text on the pages, draw tiny landscapes or cityscapes. It’s like the book contains an entire world inside it!
Book Characters
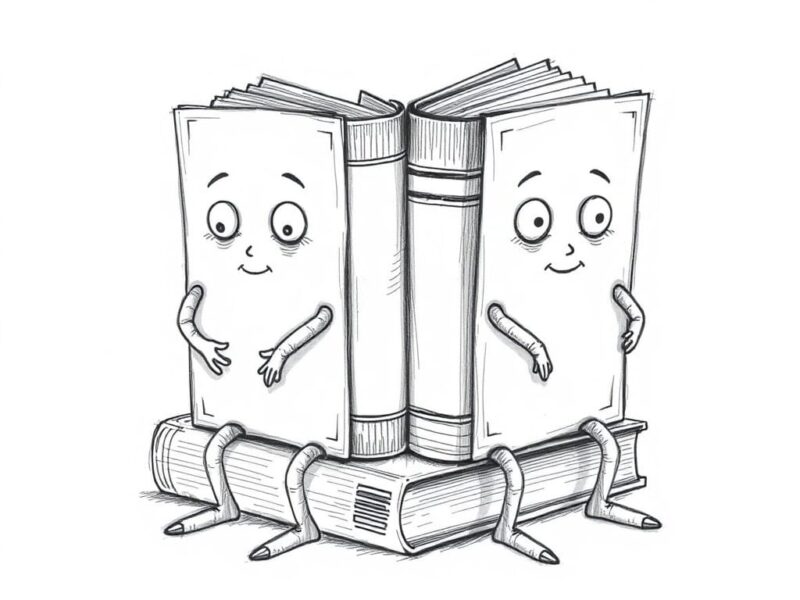
Give your books personalities! Add simple faces on the covers, or draw little arms and legs sticking out from the sides. I have a whole collection of book characters with different expressions.
Magical Books
Add sparkles, stars, or even tiny magical creatures around your books. Draw wavy lines coming out of open books to show magical energy flowing from the pages.
Making Your Book Doodles Personal
The best book doodles are the ones that mean something to you. Here are some ideas for making your drawings special:
Draw your favorite real books! If you love “Harry Potter,” draw a stack with those titles. If you’re into graphic novels, make your books look like comics with colorful covers.
Create books for your friends and family. Draw a cookbook for someone who loves to bake, or a music book for your friend who plays piano.
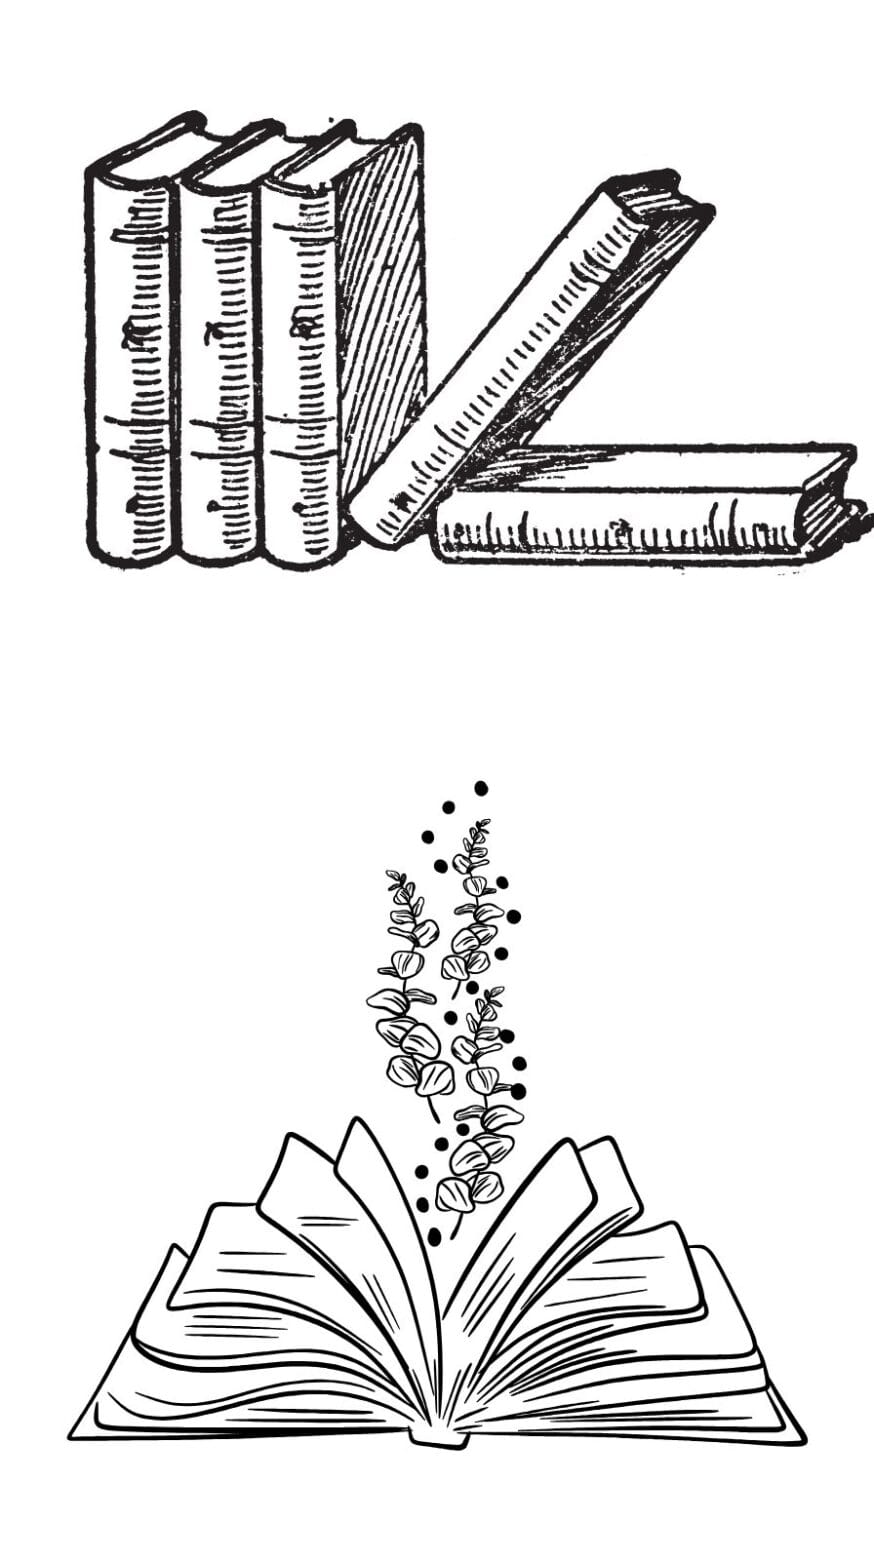
Make seasonal books – draw spooky books for Halloween with dark covers and mysterious titles, or bright, cheerful books for summer with sunny designs.
Practice Makes Perfect (And Fun!)
I know everyone says this, but it’s really true with doodling – the more you practice, the better and more creative you’ll get. But here’s the secret I’ve learned: don’t just practice the same thing over and over. Challenge yourself with new ideas!
Try drawing books in different positions – propped against a wall, falling through the air, or stacked in impossible ways. Experiment with different styles – maybe cartoon-like books with exaggerated features, or super realistic ones with detailed textures.
Keep a doodle journal where you can practice your book drawings every day. I still do this, and it’s amazing to look back and see how much my style has evolved!
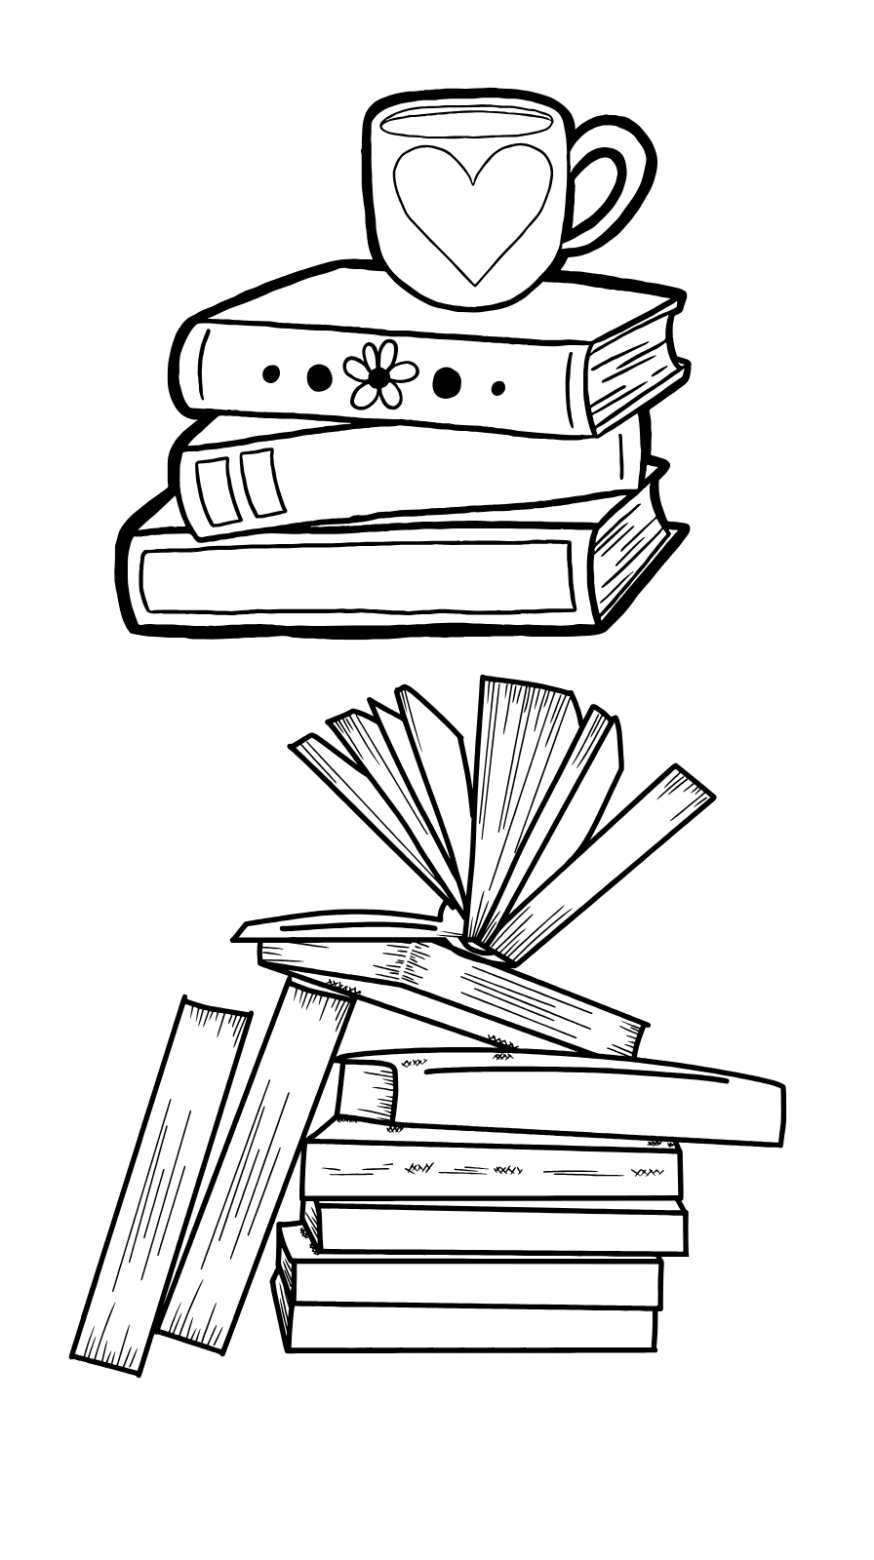
Remember, there’s no “wrong” way to doodle books. If you want to draw a book that’s purple with polka dots and has octopus tentacles for bookmarks, go for it! The whole point is to have fun and express your creativity.
So grab your pencil, find some paper, and start doodling! Before you know it, you’ll be creating entire libraries of amazing book art. And who knows? Maybe your doodles will inspire you to read more books too. Happy doodling!

A Teacher with 5 years of experience. Our Expertise, is reliable to meet your full Academic development needs . Worked on many crafts and construction projects offering services from design to development to deployment over the years. You will find many of my works in my business portfolio on request.