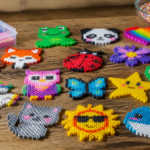
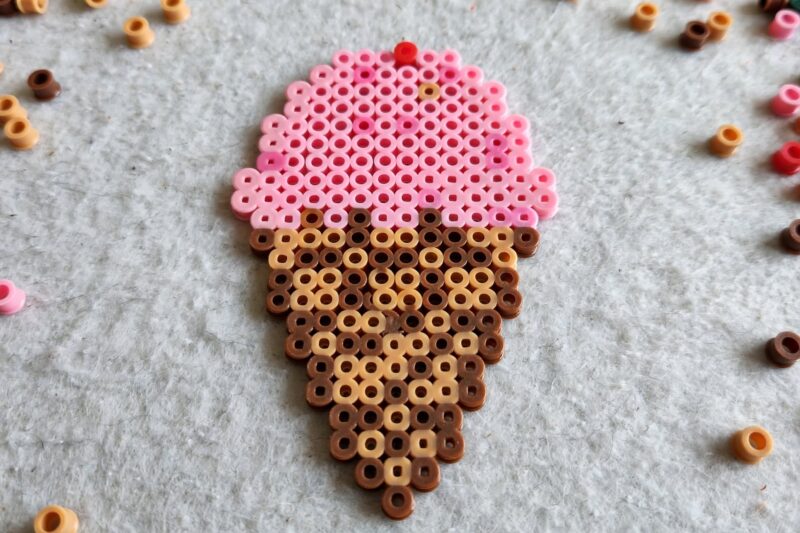
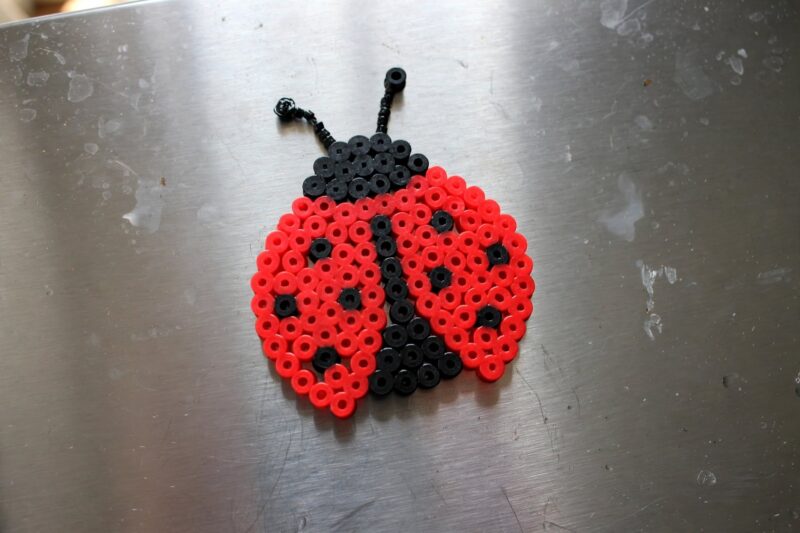
Melt beads (also called Perler, fuse, or Hama beads) turn into solid pixel art after a quick iron. Place the colorful tubes on a pegboard, cover with parchment paper, and fuse on medium heat. Cool flat and you have coasters, keychains, magnets, and more. Recent pattern collections and craft kits show these beads stay popular for both kids and adults. Most small designs finish in under thirty minutes. The process is simple enough for beginners yet open-ended enough for detailed designs. A single mixed pack of beads can produce many finished pieces before you need a refill.
Quick answer: Fuse melt beads on a pegboard with parchment paper and medium iron heat for 10-20 seconds per side. Create 12 projects including coasters, keychains, bookmarks, magnets, ornaments, and 3D shapes. Cool under a heavy book for a flat finish and add rings or magnets as needed.
Current guides confirm medium heat with steam off works best. The beads join at the edges while holes often stay open. Official brand projects and independent blogs list the same core tools: pegboards, parchment, iron, and mixed color packs.
| Project | Grid Size | Time | Level |
|---|---|---|---|
| Coasters | 20-25 beads | 20-35 min | Easy |
| Keychains | 10-15 beads | 15-25 min | Easy |
| Bookmarks | 8-12 beads | 10-20 min | Easy |
| Magnets | 12-18 beads | 15-25 min | Easy |
| 3D Shapes | Multiple | 40-60 min | Varies |
Average Time (minutes)
1. Fruit Slice Coasters
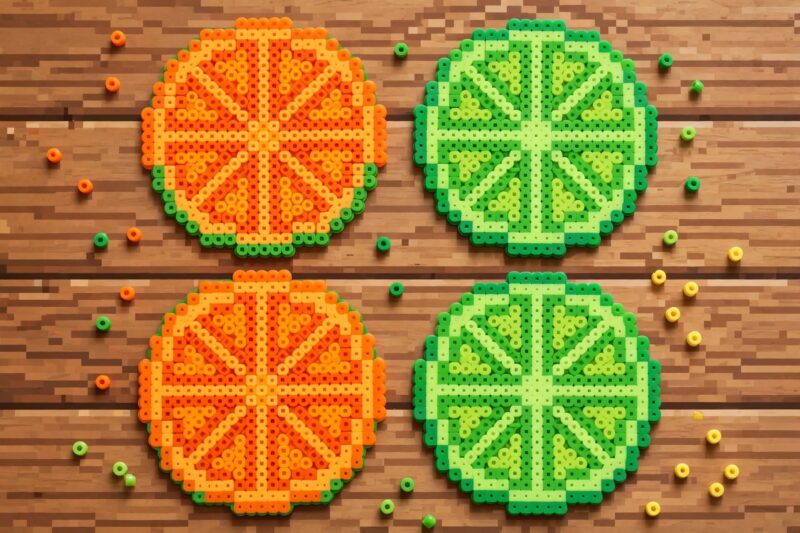
Fill a round or square pegboard with orange, yellow, green, or red beads in a simple slice pattern. Fuse both sides. Cool under a book. The plastic surface resists light moisture and looks bright on a table. Make a matching set of four for summer gatherings. Iron until edges join but keep some hole detail for texture. Count the beads for each color before you start so you do not run short. A heavier book keeps the coaster perfectly flat while it cools. Wipe with a damp cloth if needed; the plastic does not absorb liquid the way paper does.
2. Character Keychains
Create small pixel versions of favorite characters or animals on a mini board. Fuse, cool, and add a metal split ring through an open bead hole or a glued jump ring. These make quick party favors or bag charms. Keep the design under 15 beads wide so it finishes fast and stays light. Leave at least one bead hole open near the top edge for the ring. Strong plastic-safe glue works if the hole is closed. These keychains hold up to daily use better than paper versions.

3. Melty Bead Bookmarks

Fuse a small motif such as a heart, star, or letter. Glue or clip it onto a paperclip or punch a hole and add a ribbon tail. The plastic top protects pages and marks your place. Recent craft lists still feature this as a top beginner project. Use leftover beads from larger designs. A paperclip base is faster than sewing or punching. The finished bookmark slides easily between pages and does not leave marks. Make several at once while the iron is hot.
4. Fridge Magnets
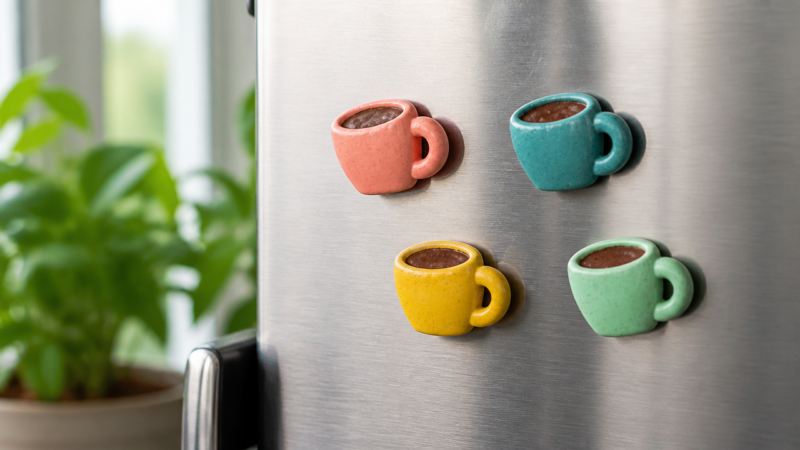
Fuse simple shapes or initials. Glue a small magnet disc to the back with strong craft adhesive. Stick them on the fridge or locker. Bright colors show well and the plastic cleans easily. Make a family set with each person’s initial or favorite icon. Choose magnets strong enough for the size of the piece. Press the magnet firmly and let the adhesive cure fully before hanging. These magnets also work on metal whiteboards or filing cabinets.
5. Holiday Ornaments
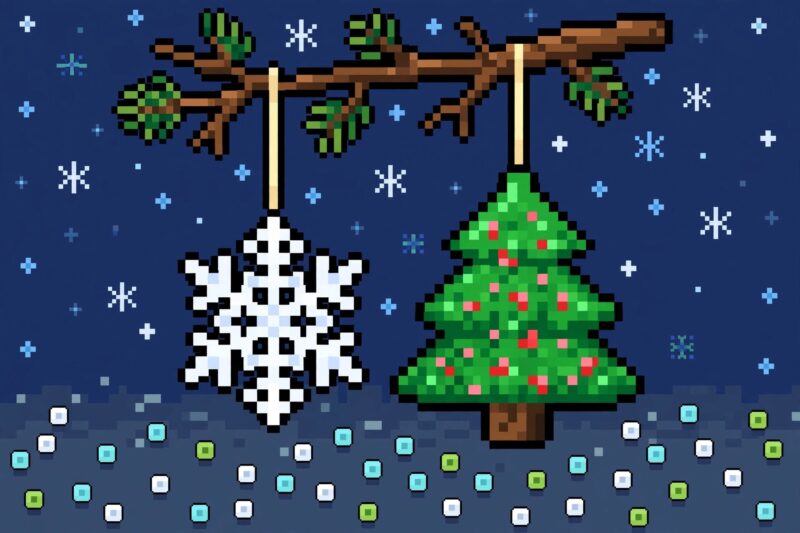
Design snowflakes, trees, or candy canes on a hexagon or square board. Fuse lightly so holes remain for string. Thread ribbon or fishing line through and hang. These store flat and last for years. Match colors to your tree theme for a cohesive look. A lighter fuse keeps the ornament flexible enough for hanging without cracking. Clear fishing line disappears against the tree. Pack them between tissue for storage so the edges stay clean.
6. Pixel Art Wall Pieces
Build larger designs across one or two pegboards. Fuse carefully, cool under weight, and hang with command strips or small nails. Game characters, animals, and abstract patterns all work. Plan the colors ahead so you do not run short mid-project. Connect multiple boards with tape if the design spans more than one. Iron section by section for even heat. A finished wall piece becomes a bright, permanent decoration that needs almost no maintenance.

7. 3D Boxes and Figures
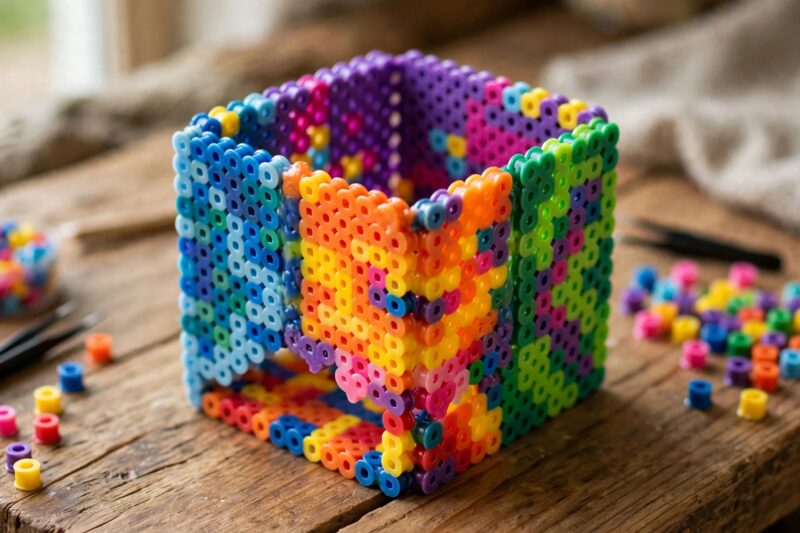
Fuse flat panels for sides, base, and lid. Join the edges with a small amount of hot glue or strong craft glue once cool. Recent 3D house and planter tutorials use this method. Iron the panels a bit longer for extra rigidity so the box stands firm. Dry-fit the panels before gluing so the corners meet cleanly. A thin line of glue is stronger than a thick blob. These boxes hold small gifts or desk items and look playful on a shelf.
8. Minecraft-Style Sprites
Copy simple block characters or tools onto the pegboard. The square grid matches the game style perfectly. Fuse and display as magnets or keychains. Current pattern collections keep these designs updated and popular with younger crafters. Start with classic green creeper faces or simple tools. The limited color palette makes counting easy. Once you finish one, the next goes faster because the pattern logic is familiar.
9. Name or Initial Tags
Spell a short name or single letter in bold bead colors. Fuse and add a jump ring or string. Use as backpack tags, gift labels, or desk markers. Keep letters large enough to read from a short distance. Mix background and letter colors for contrast. Outline the letter first, then fill the center. A solid background helps the name stand out. These tags survive school bags and outdoor use better than paper labels.
10. Mini Gift Boxes
Fuse four side panels and a base. Glue them into a cube and add a simple lid. Fill with small treats or notes. These work well as party favors. Iron longer for strength so the box holds its shape when filled. Measure the panels so they meet at clean right angles. A small lid that sits on top is easier than a hinged design for beginners. Guests enjoy the handmade look and can keep the box afterward.
11. Hair Clips and Pins
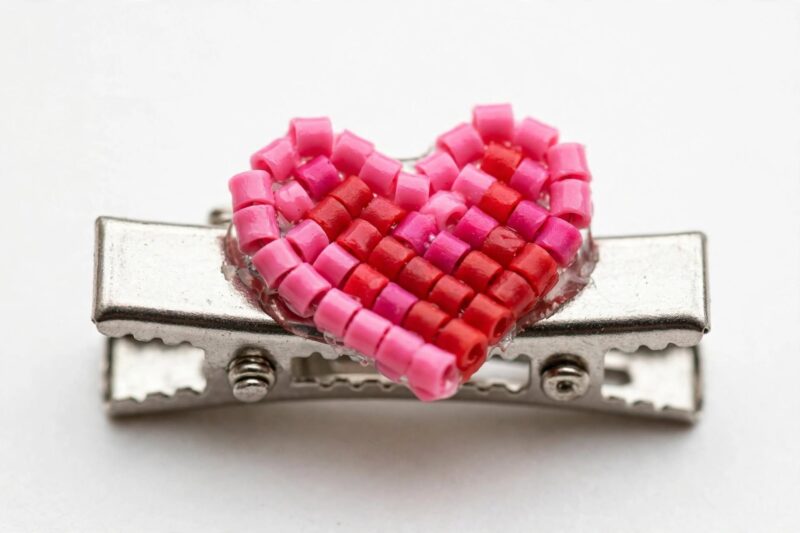
Fuse tiny motifs and glue them onto plain metal clips or barrettes. The bright pixel designs stand out against hair. Use strong plastic-safe adhesive. Keep the bead piece small so the clip stays comfortable. Test the weight on the clip before final gluing. A flat back on the bead piece helps it sit level. These clips make cheerful everyday accessories or party favors for younger guests.
12. Pattern Practice Boards
Use leftover beads to fill random patterns or color gradients. Fuse and keep as practice pieces or abstract art. This uses scraps and builds skill with heat timing. Display the best ones as mini wall art or fridge pieces. Gradients teach color blending without a strict pattern. Practice pieces also show how different iron times change the final look. Nothing goes to waste and every session improves your control.
| Idea | Best Size | Extra Item | Finish Tip |
|---|---|---|---|
| 1. Fruit Coasters | Round 20+ | None | Iron both sides |
| 2. Keychains | Mini | Split ring | Leave one hole open |
| 3. Bookmarks | Small motif | Paperclip or ribbon | Light fuse |
| 4. Magnets | 12-18 | Magnet disc | Strong glue on back |
| 5. Ornaments | Hex or square | Ribbon | Keep holes open |
| 6. Wall Pieces | Large board | Hanger | Cool under weight |
| 7. 3D Boxes | Multiple panels | Glue | Longer iron time |
| 8. Minecraft | Variable | None | Match game colors |
| 9. Name Tags | Letters | Jump ring | High contrast |
| 10. Gift Boxes | Cube panels | Glue | Firm fuse |
| 11. Hair Clips | Tiny | Clip base | Plastic-safe glue |
| 12. Practice | Any | None | Use scraps |
Core supplies for every project: melt beads in mixed colors, one or more pegboards, parchment or ironing paper, a household iron set to medium with steam off, and a flat surface for cooling. Optional extras include jump rings, magnets, ribbon, and strong glue for assembly. Always supervise children around the iron.
FAQ
What iron setting should I use?
Medium heat with steam turned off. Cover the beads with parchment paper and move the iron in slow circles for 10-20 seconds per side. Check often so the beads join without going flat.
Can I fuse melt beads without an iron?
Yes. A hair straightener works for small pieces. An oven at about 400°F for 8-12 minutes on an oven-safe pegboard is another option. Always use parchment and good ventilation.
How do I keep the finished piece flat?
Cool it under a heavy book or flat board right after ironing. This prevents warping while the plastic sets.
Are melt beads safe for young children?
The beads themselves are non-toxic, but the iron and hot plastic need adult handling. Young children can place beads on the board with help.
What is the best way to store leftover beads?
Keep them sorted by color in small containers or the original trays. This makes the next project faster and reduces waste.
Conclusion
Melt beads offer bright, lasting crafts that suit almost any skill level. The twelve ideas above range from quick keychains and magnets to coasters, ornaments, and simple 3D boxes. All start with the same steps: place, cover, iron, cool. Begin with a small motif so you learn the heat timing. Then try larger patterns or multi-panel pieces. Keep a mixed bead kit and a few pegboards ready. You will finish more projects and use up leftovers instead of letting them sit. Sort beads by color after each session so the next project starts faster. Pick one design today, heat the iron, and turn a handful of plastic tubes into something you can use or give away. The finished pieces last for years with almost no care beyond an occasional wipe.
References
- MakeBead. “How to Melt Perler Beads: 5 Ways (Iron, Oven, Heat Gun).” 2026. https://makebead.com/how-to-melt-perler-beads/
- Kids Activities Blog. “18 Cute & Easy Perler Bead Crafting Ideas.” 2026. https://kidsactivitiesblog.com/63599/18-perler-bead-crafts/
- DIY Candy. “The Best Perler Bead Patterns (Over 1,750 Free Designs!).” 2026. https://diycandy.com/best-perler-bead-patterns/
- PerlerPattern. “Minecraft Perler Bead Patterns Collection (Updated 2026).” 2026. https://perlerbeads.co/blog/minecraft-perler-bead-patterns-2026
- Beads.co. “How to Melt Perler Beads Without an Iron | Safe Alternatives.” 2025. https://beads.co/how-to-melt-perler-beads-without-an-iron/
- Accio. “Perler Beads Top Sellers: Trending Crafts in 2025.” 2026. https://www.accio.com/business/perler-beads-top-sellers
- DIY Candy. “Perler Beads How To: Ultimate Guide for Beginners!” 2026. https://diycandy.com/guide-to-perler-beads/

A Teacher with 5 years of experience. Our Expertise, is reliable to meet your full Academic development needs . Worked on many crafts and construction projects offering services from design to development to deployment over the years. You will find many of my works in my business portfolio on request.