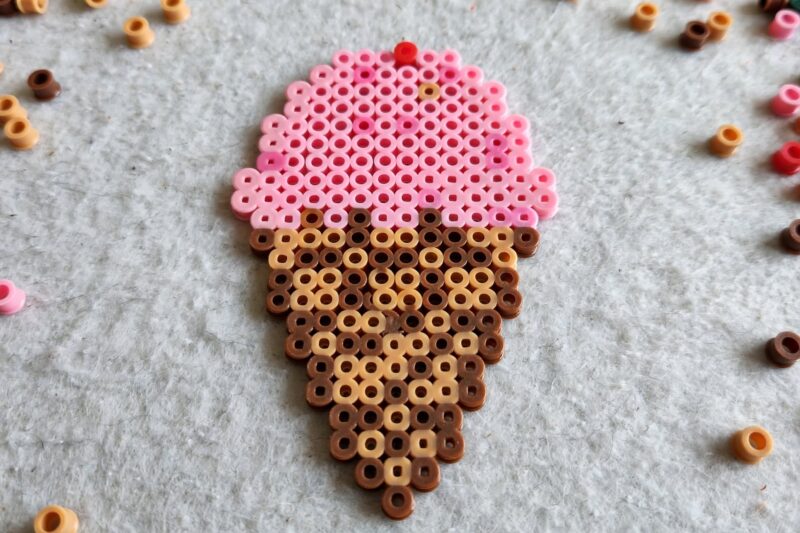
Small perler bead patterns are perfect for a quick project, since each one only takes a few minutes and doesn’t use very many beads. They fit on a mini pegboard, so they are great for practicing bead placement, using up leftover colors, or making a whole batch of little charms in one sitting. This list covers cute animals, birds, and simple shapes that work well as keychains, magnets, or just cute little desk decorations. Whether you are working through a bucket of mixed beads or just want something to finish before dinner, these small designs are an easy way to keep the crafting going without committing to a big multi-day project.
Quick Answer
Good small perler bead patterns include a baby duck, sparrow, love heart, flower, and simple keychain charm shapes like a star or paw print. These designs fit on a mini pegboard, use just a handful of colors, and can usually be finished and fused in one short sitting, which makes them a great pick for beginners or quick gift projects.
| Detail | What To Know |
| Pegboard size needed | Mini/Small |
| Skill level | Beginner |
| Colors needed per design | Varies, usually 2-4 |
| Time to place beads | A few minutes each |
| Pattern | Main Colors | Best Used As |
| Baby Duck | Yellow, orange | Keychain, magnet |
| Sparrow | Brown, tan, black | Magnet, ornament |
| Cute Keychain Star | Any two colors | Bag charm |
| Love Heart | Red, pink | Bracelet charm, gift tag |
| Flower | Pink or purple, yellow, green | Magnet, hairclip |
| Ladybug | Red, black | Magnet, keychain |
| Bumblebee | Yellow, black, white | Keychain |
| Mini Cat Face | Gray or orange, pink | Bag charm |
| Rubber Duck | Yellow, orange | Keychain |
| Strawberry | Red, green | Magnet, charm |
| Paw Print | Brown or black | Keychain, bracelet charm |
| Mini Rainbow | Six rainbow colors | Magnet, ornament |
| Cherry Pair | Red, green | Keychain, earring |
Roughly How Many Beads Each Small Pattern Uses
Bead count is an estimate for a typical mini pegboard version of each design. Larger versions of the same pattern will use more beads.
1. Baby Duck
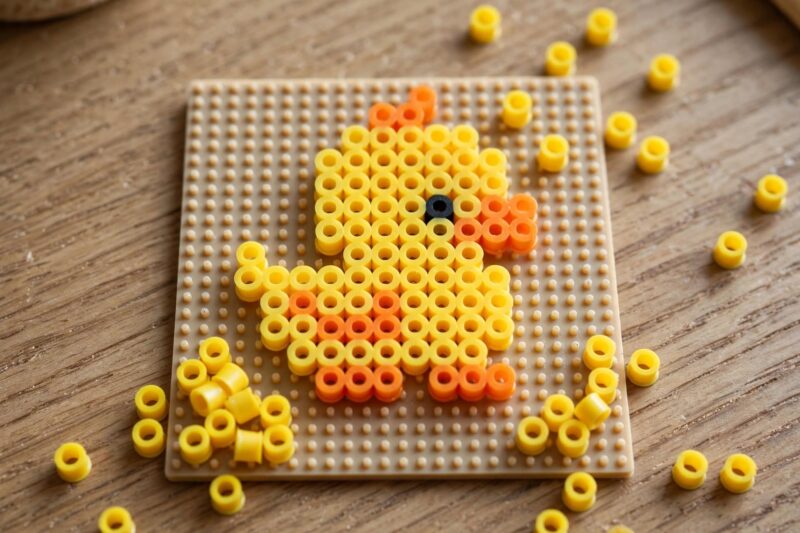
A baby duck is a soft round shape that works great on a mini pegboard. Build the body in yellow, rounding out the top for the head and tapering slightly at the tail. Add a small orange triangle on the side of the head for the beak and a tiny orange rectangle underneath for the feet. One black bead for the eye finishes it off. This design looks especially cute as a set of three or four ducks lined up in slightly different poses, like one with its head turned or one sitting versus standing.
2. Sparrow
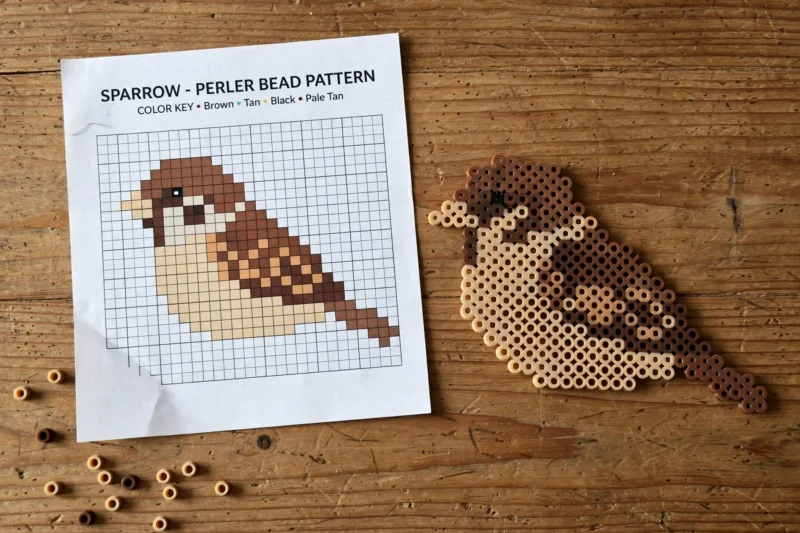
A sparrow pattern uses warm browns and tans, which makes it a nice change from the bright colors used in most small designs. Shape a rounded oval body in medium brown, then add a lighter tan patch on the belly and a streak of dark brown or black across the head for the classic sparrow marking. A small black beak point and one black eye bead complete the face. Because sparrows are plain compared to more colorful birds, this pattern is a good one for practicing subtle color shading with just two or three brown tones.
3. Cute Keychain Star
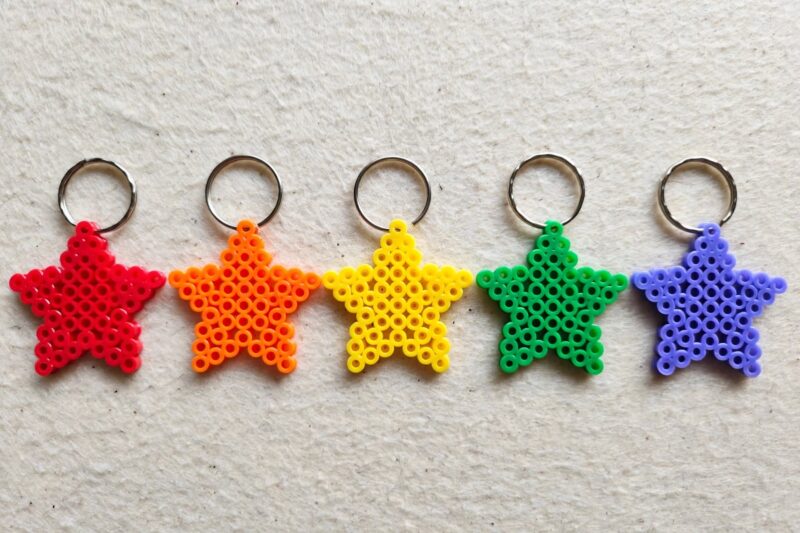
A star shape is one of the fastest small patterns to finish, since it is really just five points built out from a center block. Pick one bright color for the whole star, or use two colors and alternate them point by point for a candy-like look. Leave one of the top points slightly longer so there is room to loop a keychain ring through without crowding the shape. This pattern is a good one to repeat in a bunch of different colors for a matching set of bag charms.
4. Love Heart
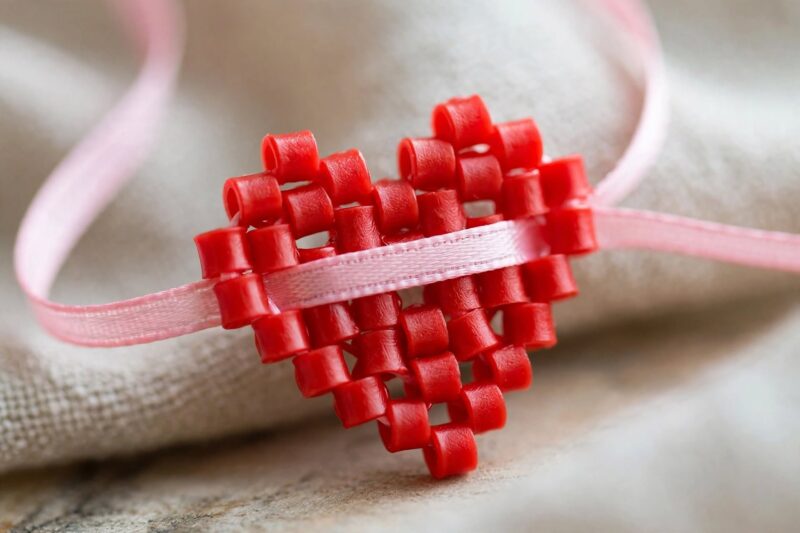
A small heart uses the same diagonal shape as a full-size heart pattern, just built on fewer rows. Use one solid red or pink for a classic look, or outline the heart in a darker shade with a lighter fill in the middle. Because the pattern is so small, it fuses quickly and holds up well as a bracelet charm or a gift tag threaded onto ribbon. Making a handful of hearts in different shades of pink and red is an easy way to fill a mini pegboard session.
5. Flower
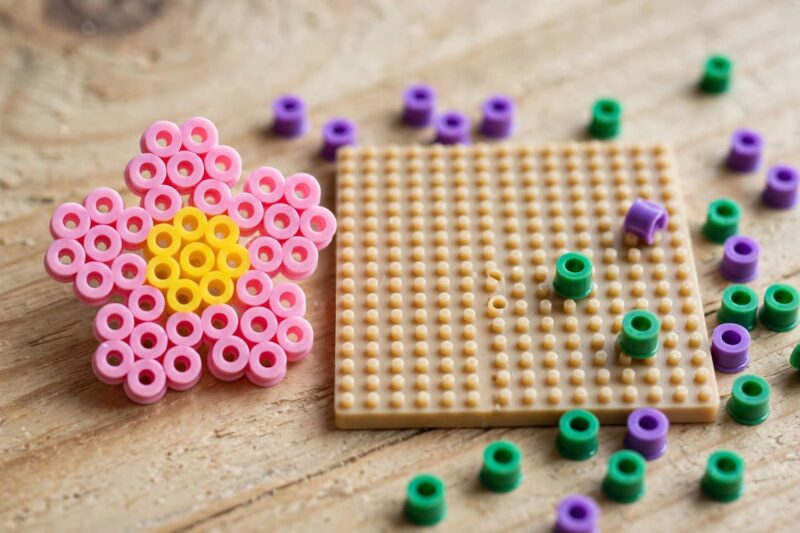
A small flower pattern uses four or five petal blocks arranged around a center dot, plus a short stem and one or two leaf shapes if there is room on the pegboard. Pink, purple, or red all work well for the petals, with a yellow center bead to make the middle pop. Because the petals are small individual blocks, this pattern is easy to customize just by swapping the petal color, so it is a good one to make a whole garden of in different shades.
6. Ladybug
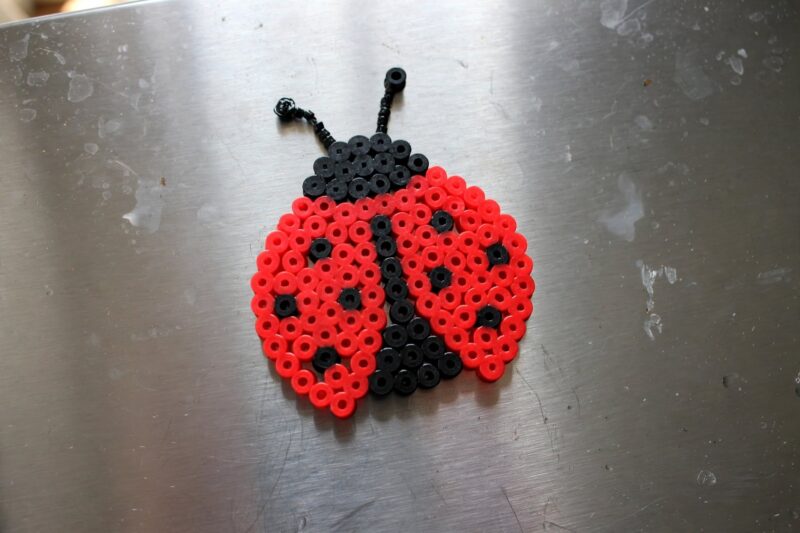
A ladybug is a rounded red dome with a thin black line down the middle and a handful of black dots scattered across the top for spots. Add a small black head at the front with two thin antennae poking out if the pegboard has room. This pattern only needs red and black, which makes it one of the simplest two-color bugs to build, and it looks great as a magnet or clipped onto a plant pot.
7. Bumblebee
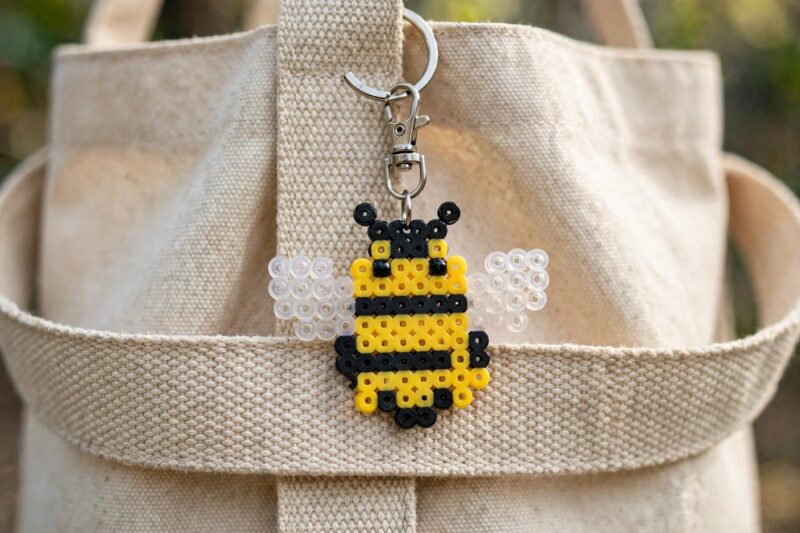
A bumblebee pattern alternates yellow and black stripes across a rounded oval body, with two small white or light gray wing shapes on the back. Add one black dot for the eye and thin black antennae at the front. Because the stripes are simple horizontal rows, this is an easy pattern to keep symmetrical, and the black and yellow combination stands out nicely against most keychain backgrounds.
8. Mini Cat Face
A mini cat face uses the same basic shape as a full-size cat pattern, just condensed onto a smaller pegboard. Build a rounded square head in gray, orange, or black, with two small triangle ears at the top. Add a lighter patch for the inner ears, two small eye beads, and a tiny pink nose. Keeping the whiskers as just two or three short bead lines rather than long thin strands helps the design hold together better once it is fused.
9. Rubber Duck
A rubber duck pattern is slightly different from the baby duck design above since it uses one solid block of yellow for a chunkier, toy-like shape rather than a softer rounded body. Build the body as one solid yellow mass, add a small orange beak block on one side, a single black eye bead, and a small white or light bead near the top to suggest a shine. This design is a classic bathtime-toy look that works well as a keychain for kids.
10. Strawberry
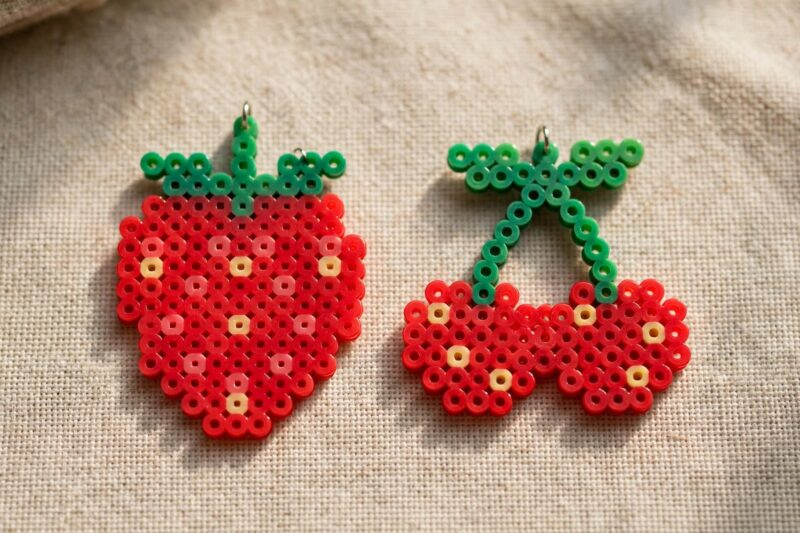
A strawberry pattern is a red teardrop shape dotted with small yellow seed beads, topped with a short green cap and stem. Build the red body first, rounding the bottom into a point, then scatter single yellow beads across the surface for seeds. The green cap sits as a short zig-zag row at the top. This pattern is quick to finish and pairs nicely with the cherry pattern below if you want a matching fruit-themed set.
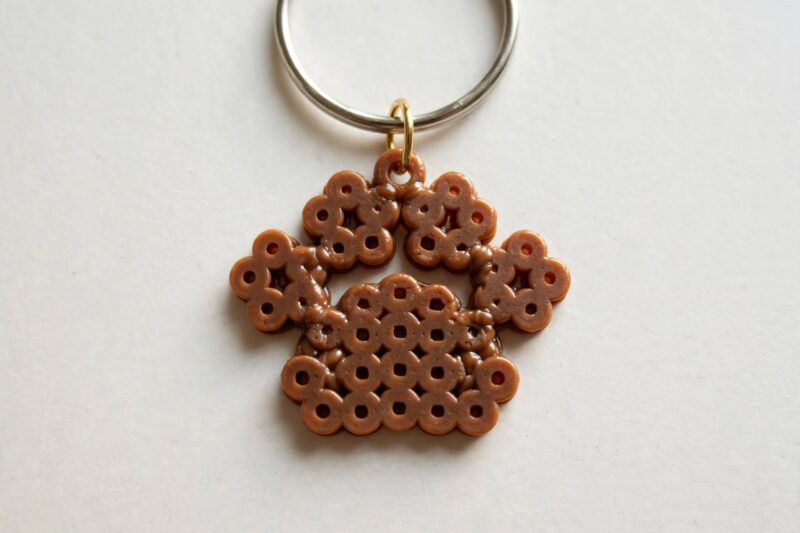
11. Paw Print
A paw print pattern is just five rounded shapes, one larger oval for the main pad and four smaller circles above it for the toes. Brown or black both work well depending on whether you want it to look like a dog or cat paw. Because the shape has no fine detail, it is one of the fastest patterns on this list to place and fuse, and it works well strung onto a bracelet or clipped as a keychain for pet lovers.
12. Mini Rainbow
A mini rainbow condenses the classic rainbow arch pattern down to just a few rows so it fits on a small pegboard. Stack thin curved rows of red, orange, yellow, green, blue, and purple, then add one or two white or light blue beads underneath for a small cloud. Because each row is one solid color, this pattern is quick to place and forgiving if you need to swap a color partway through.
13. Cherry Pair
A cherry pair pattern is two small red circles connected by a thin green stem, with a tiny highlight bead on each cherry for shine. Keep the stem curved rather than straight so the two cherries look like they are hanging together naturally. This pattern is small enough to finish in just a couple of minutes, which makes it a good last project to fill out a pegboard session or use up leftover red beads.
How Do You Turn A Small Pattern Into A Keychain?
Small patterns are especially good for keychains because they are light and finish quickly. Here is how to turn any design on this list into one.
- Choose a small pattern and place the beads on a mini pegboard, leaving one bead near the top edge free if you want an obvious spot for the loop.
- Fuse the design following the standard ironing method, covering it with parchment paper and ironing in slow circles on medium heat for about 10 to 20 seconds.
- Let the design cool completely, then flip it over and fuse the back side the same way for extra strength.
- Once fully cooled, use a small nail or the tip of scissors to gently widen one of the existing bead holes near the top edge.
- Thread a small metal keychain ring or split ring through the widened hole.
- Attach the ring to a keychain clip, zipper pull, or lanyard.
Why Are Small Patterns A Good Starting Point?
Small patterns let you finish an entire project in one short sitting instead of spreading a big design across several days. Because they use fewer beads, mistakes are easier to spot and fix before you get too far into the design, and there is less to unfuse if a color ends up in the wrong spot. Small patterns also use up leftover beads that are not enough to fill a bigger design, so they are a practical way to work through a mixed bead bucket without waste. For kids especially, finishing a whole project quickly keeps the activity fun instead of frustrating, which makes small patterns a good way to build confidence before moving on to bigger animals or detailed scenes.
What Mistakes Should You Watch For With Small Patterns?
The biggest risk with small patterns is over-ironing, since there are fewer beads to spread the heat across and thin parts like antennae, stems, or beaks can melt too far before the rest of the design is properly fused. Keep the iron moving constantly rather than holding it still over any one spot, and check the paper often on small pieces since they fuse faster than large ones. It also helps to place delicate parts like a stem or a beak at least two beads wide instead of one, since single-bead-wide details are the first thing to snap off once the finished piece is being handled as a keychain or bracelet charm.
Frequently Asked Questions
What size pegboard works best for small perler bead patterns?
A mini or small square pegboard works best since these patterns are compact and do not need much space. Several small pegboards side by side also let you work on multiple designs at once.
How many beads does a typical small pattern use?
Most small patterns like a heart, ladybug, or strawberry use somewhere between 30 and 100 beads. Slightly larger small patterns like a duck or sparrow may use closer to 100 to 150 beads.
Can small patterns be turned into earrings?
Small patterns like hearts, cherries, and flowers work well as earrings once fused. Attach an earring hook through one of the existing bead holes near the top of the design.
Why do thin parts break off small keychains?
Thin details like a single-bead-wide antenna or stem are the weakest point on any small design. Keeping delicate parts at least two beads wide helps them hold up to everyday handling.
Should small patterns be fused on both sides?
Fusing both sides makes a small keychain or bracelet charm much sturdier for daily use. A single-sided fuse is fine for a design that will just sit on display and not be handled often.
References
- Stitch Zoo, “Perler Bead Keychain: 36 Free Patterns With the Loop Built In” (2026)
- DIY Candy, “Bird Perler Beads (40+ Free Patterns!)” (2026)
- Fun Loving Families, “100 Animal Perler Bead Patterns, Designs and Ideas” (2026)
- Perler, “Standard Fusing Method” (2026)

A Teacher with 5 years of experience. Our Expertise, is reliable to meet your full Academic development needs . Worked on many crafts and construction projects offering services from design to development to deployment over the years. You will find many of my works in my business portfolio on request.