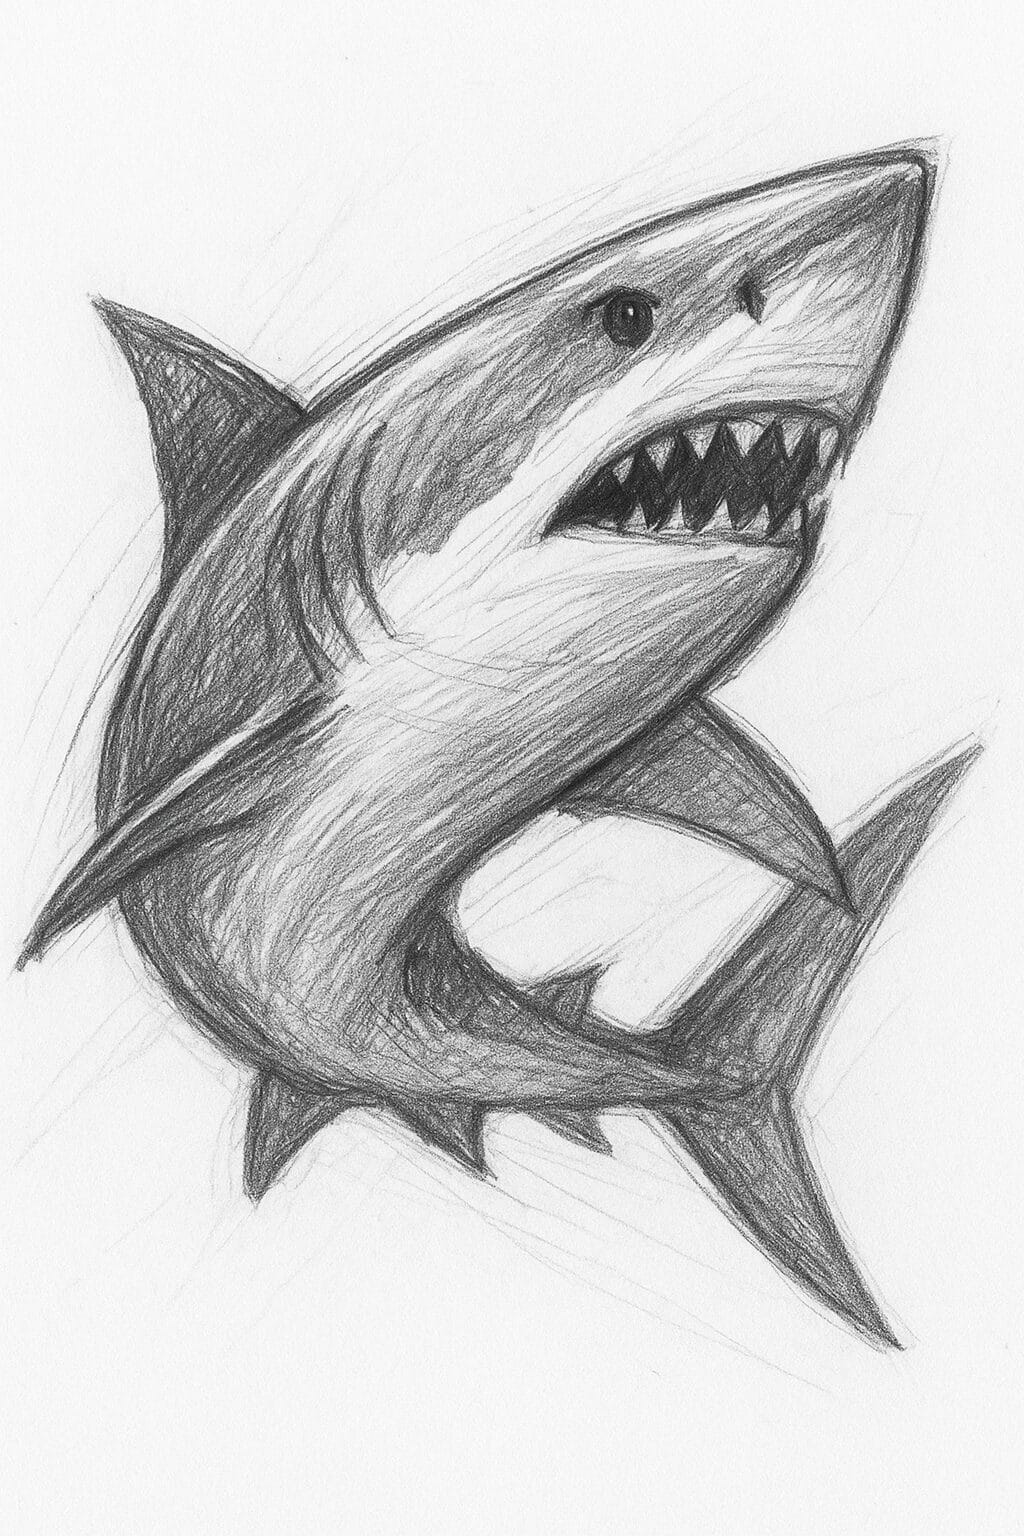
Drawing sharks might seem intimidating at first, but these apex predators are actually fantastic subjects for artists of all skill levels. There’s something incredibly satisfying about capturing the sleek, powerful form of a shark on paper – from the streamlined body that cuts through water to those distinctive triangular fins and that unmistakable jaw. Whether you’re a complete beginner who’s never drawn marine life before or someone looking to improve your animal drawing skills, sharks offer the perfect combination of simple shapes and dynamic movement that make them both challenging and rewarding to draw.
The beauty of learning to draw sharks lies in understanding their basic anatomy and proportions. Once you grasp the fundamental structure – essentially a torpedo-shaped body with strategically placed fins – you’ll find that sharks become much more approachable as drawing subjects. Plus, there are so many different species to explore, from the massive great white to the distinctive hammerhead, each offering unique characteristics and challenges. The key is starting with simple forms and gradually building up the details, which is exactly what we’ll do in this comprehensive tutorial.
Featured Tutorial Video
Let’s start with this excellent step-by-step drawing tutorial that breaks down the process beautifully:

“How to Draw a Shark Easy Step by Step” by Mister Brush – A clear 2-minute tutorial perfect for beginners
Table of Contents
- Essential Drawing Materials
- Understanding Shark Anatomy
- Basic Shapes and Construction
- Step-by-Step Drawing Process
- Adding Details and Features
- Shading and Texturing Techniques
- Different Shark Species Variations
- Common Mistakes and How to Avoid Them
- Conclusion
Essential Drawing Materials
Before we dive into drawing, let’s gather the right tools for the job. The good news is that you don’t need expensive supplies to create stunning shark drawings. Start with a basic set of drawing pencils – I recommend having at least an HB, 2B, and 4B pencil to give you a good range from light guidelines to darker details and shadows. A kneaded eraser is invaluable for lifting graphite and creating highlights, while a regular eraser works well for cleaning up mistakes.
Good quality drawing paper makes a significant difference in your final result. Choose paper with a slight tooth that can hold graphite well – medium-weight drawing paper or sketch paper works perfectly. You’ll also want a blending stump or tortillion for smooth shading effects, and a ruler can be helpful for initial construction lines. Optional but useful tools include a white gel pen for adding bright highlights and a mechanical pencil for fine details.
Understanding Shark Anatomy
To draw sharks convincingly, you need to understand their basic structure. Sharks are cartilaginous fish with a distinctive fusiform (torpedo-shaped) body that’s perfectly adapted for swimming. The body tapers from a broader middle section toward both the head and tail, creating that characteristic streamlined silhouette. This efficient shape minimizes water resistance and allows for incredible speed and maneuverability.
Pay attention to the fin placement – the dorsal fin sits prominently on the back, while the pectoral fins extend from the sides like wings. The tail fin, or caudal fin, is typically asymmetrical with the upper lobe being larger. The head features a pointed snout that varies between species, and the gills create distinctive slits along the sides. Understanding these anatomical features will help you create more accurate and believable shark drawings.
Basic Shapes and Construction
Every great shark drawing starts with basic shapes. Begin by drawing an elongated oval or torpedo shape for the main body – this should be widest about one-third of the way back from the head. The head can be represented by a triangle or cone shape that connects smoothly to the body. Don’t worry about making these initial shapes perfect; they’re just your construction foundation.
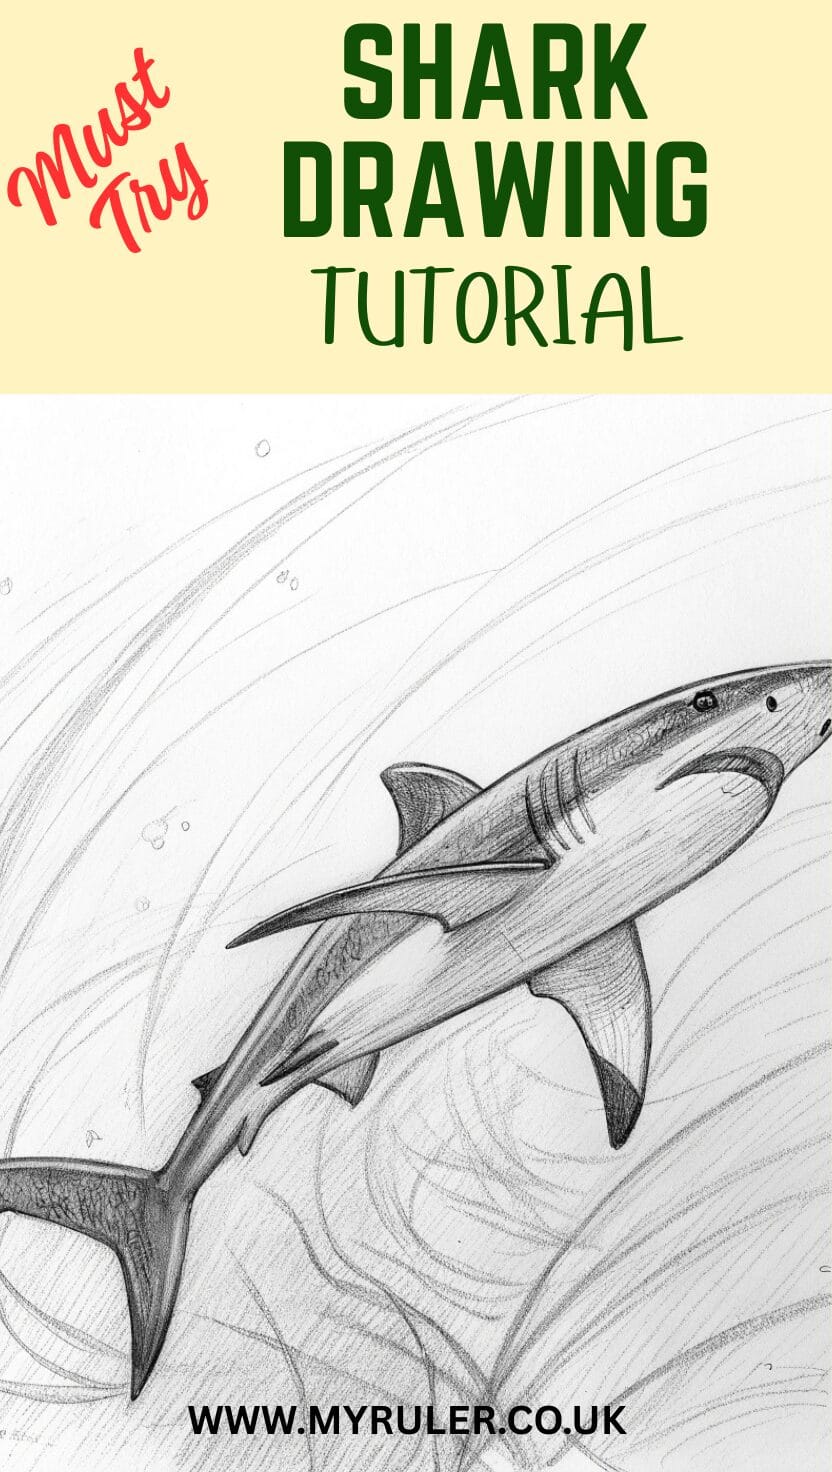
Next, add simple lines to indicate where the major fins will be placed. The dorsal fin can start as a triangle on top of the body, while the pectoral fins are like small wings extending from the upper sides. The tail fin is essentially a crescent shape at the back end. These basic shapes give you the skeleton of your shark drawing and help establish the proper proportions before you add any details.
Step-by-Step Drawing Process
Now let’s dive into the actual drawing process. Start by lightly sketching your basic torpedo shape for the body, keeping your pencil strokes loose and confident. Don’t press too hard – these are construction lines that you’ll refine later. Add the triangular head shape, making sure it flows smoothly into the body without any awkward connections.
Once you’re happy with the basic body shape, begin refining the outline. Smooth out any rough edges and create that characteristic shark silhouette. The top line of the body should have a gentle curve, while the bottom line creates the belly. Pay special attention to how the head connects to the body – it should be a seamless transition that maintains the streamlined form.
Add the fins using your construction lines as guides. The dorsal fin should have a curved leading edge and a straighter trailing edge. The pectoral fins extend outward and slightly downward, while the tail fin creates that distinctive shark tail shape. Remember that the upper lobe of the tail is typically larger and more curved than the lower lobe.
Adding Details and Features
With your basic shark shape established, it’s time to add the defining features that bring your drawing to life. Start with the eye – shark eyes are typically small, dark, and positioned on the sides of the head. The eye should be almond-shaped and tilted slightly, giving the shark that characteristic fierce expression. Add a small highlight to make the eye appear more three-dimensional.
The mouth is perhaps the most iconic shark feature. Depending on the angle of your drawing, you might show the mouth closed or slightly open to reveal those famous teeth. If drawing an open mouth, remember that shark teeth are triangular and overlap slightly. Don’t feel compelled to draw every single tooth – suggesting them is often more effective than trying to render each one individually.
Add the gill slits along the side of the head – these are typically five parallel curved lines that follow the contour of the head. The nostrils appear as small slits or holes near the tip of the snout. These details might seem minor, but they’re crucial for making your drawing look authentically shark-like rather than just a generic fish.
Shading and Texturing Techniques
Shading transforms a flat drawing into a three-dimensional representation. Sharks have a distinctive coloration pattern called countershading – they’re typically darker on top and lighter underneath. This natural camouflage helps them blend with the ocean depths when viewed from above and the bright surface when viewed from below.
Start by establishing your light source, then add shadows accordingly. The underside of the shark should be the lightest area, gradually getting darker as you move toward the top. Use your 2B and 4B pencils to build up the darker tones gradually. The area under the pectoral fins and along the belly line typically creates strong shadows that help define the three-dimensional form.
For texture, shark skin isn’t smooth like a typical fish – it has a slightly rough texture due to tiny tooth-like scales called denticles. You can suggest this texture with very light, random pencil strokes, but don’t overdo it. Sometimes less is more, and the overall form and shading are more important than trying to render every surface detail.
Different Shark Species Variations
Once you’ve mastered the basic shark form, you can explore the fascinating variety of shark species. Great white sharks have that classic torpedo shape with a conical snout and large triangular dorsal fin. Hammerhead sharks are instantly recognizable by their unique flattened head extensions that house their eyes and nostrils.
Tiger sharks have a more robust body with distinctive striped patterns, while nurse sharks have a more flattened appearance with barbels near their mouth. Whale sharks, despite being the largest fish in the sea, are gentle filter feeders with distinctive spot patterns. Each species offers unique drawing challenges and helps expand your artistic repertoire.
Common Mistakes and How to Avoid Them
One of the most frequent mistakes beginners make is drawing the shark’s body too rigid or geometric. Remember that sharks are living creatures with organic, flowing forms. Avoid making the body look like a submarine – it should have subtle curves and natural proportions. Another common error is making the head too large or too small relative to the body. Study reference photos to get a feel for proper proportions.
Many artists also struggle with fin placement. The dorsal fin shouldn’t look like it’s just stuck on top of the body – it should appear to emerge naturally from the shark’s back. Similarly, the pectoral fins need to look like they’re properly attached and positioned to support the shark’s movement through water.
Don’t forget about the tail fin’s asymmetrical nature. Many beginners draw it as a symmetrical fish tail, but the distinctive shark tail with its larger upper lobe is crucial for creating an authentic look. Finally, avoid over-detailing your drawing. Sometimes simple, confident lines are more effective than trying to render every tiny detail.
Conclusion
Drawing sharks is an incredibly rewarding artistic endeavor that combines technical skill with creative expression. By starting with basic shapes and gradually building up details, you can create compelling shark drawings regardless of your current skill level. Remember that improvement comes with practice, so don’t be discouraged if your first attempts don’t match your expectations.
The key to success lies in observation and patience. Study real sharks through photos and videos, paying attention to their proportions, movement, and distinctive features. Each drawing session is an opportunity to learn something new and refine your technique. Whether you stick with realistic representations or develop your own stylized approach, the fundamental principles we’ve covered will serve as your foundation.
Keep experimenting with different species, poses, and techniques. Try drawing sharks from various angles – profile views, three-quarter views, and even head-on perspectives. Challenge yourself with action poses showing sharks in motion, or create detailed studies focusing on specific features like the head or fins. The ocean is full of inspiration, and sharks offer endless possibilities for artistic exploration.

A Teacher with 5 years of experience. Our Expertise, is reliable to meet your full Academic development needs . Worked on many crafts and construction projects offering services from design to development to deployment over the years. You will find many of my works in my business portfolio on request.