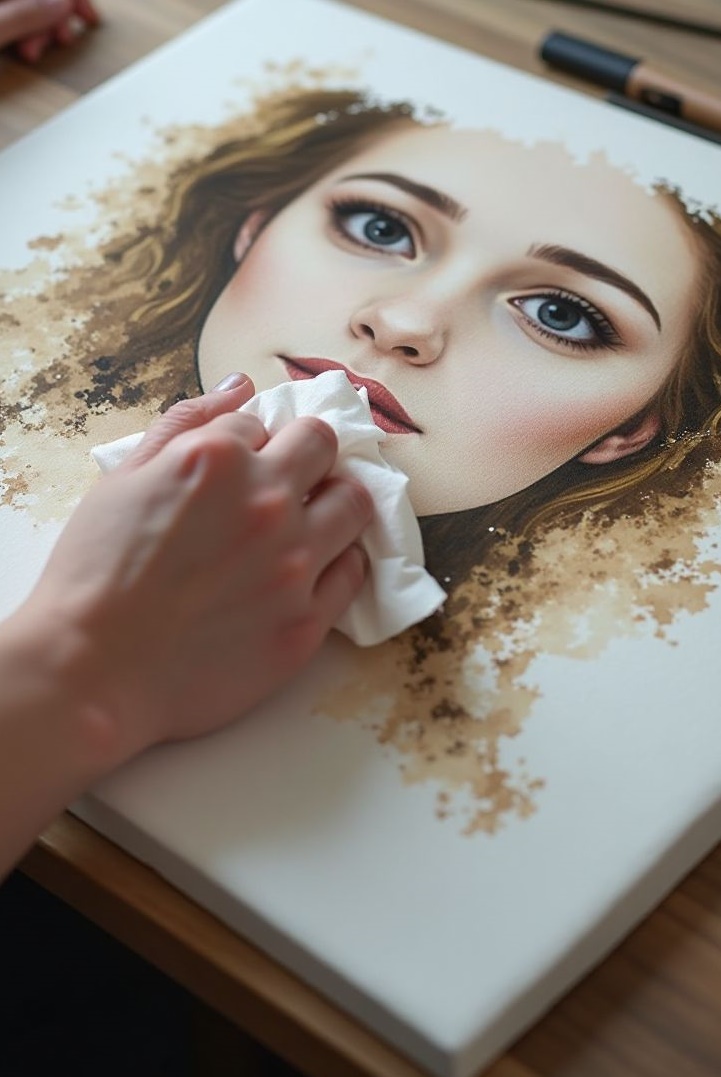

Have you ever wanted to transfer your favorite photos onto canvas or wood but thought you needed special gel medium or Mod Podge? Think again! In this article, we will reveal a surprisingly simple technique that uses just acrylic paint to create stunning photo transfers with bold, colorful, and beautifully unpredictable results.
Why This Method is a Game-Changer
Traditional photo transfer methods typically require gel medium, which can be expensive and requires specific application techniques. The acrylic paint method offers several advantages:
- Cost-effective: Uses supplies most artists already have
- Versatile: Works with both laser and inkjet prints
- Creative freedom: Allows for colorful, artistic backgrounds
- Forgiving process: Embraces the unpredictable nature of art
- No special equipment needed: Just paint, paper, and a surface
Materials You’ll Need
Essential Supplies:
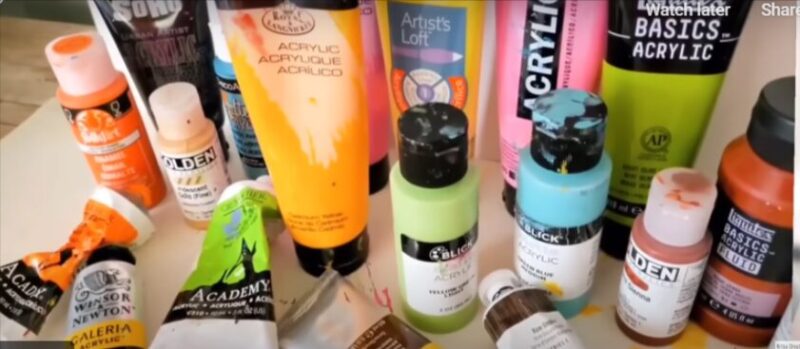
- Acrylic paints (soft body paints work best, especially semi-transparent ones)
- Surface: Flat wood panels (8×10 inches work well) or watercolor sketchbook pages
- Gesso (for priming wood surfaces)
- Printed photo: Laser or inkjet printer
- Thin printer paper (standard copy paper or Kokuyo letter-size thin paper)
- 1-inch flat paint brushes
- Soft sponge
- Utility knife or artist knife
- Water
- Semi-gloss and matte varnish (for sealing)
Optional Supplies:
- Book pages or text paper for layered backgrounds
- Hair dryer (for faster drying)
Understanding Paint Types
Not all acrylic paints are created equal for photo transfers. Through testing, it’s been determined that soft body paints work best for this technique. Here’s why:
- Soft body paints have a creamy consistency that allows proper paint-to-paper contact
- Semi-transparent paints let background textures show through, adding depth
- Heavy body paints are too thick and may not transfer as effectively
- Craft paints can work but may not provide the same quality results
Method 1: Laser Print Photo Transfer
Step 1: Prepare Your Image
Choose a bright photo with good contrast. The better the contrast, the clearer your transfer will be. Print your image using:
- A laser printer at home
- A photocopy from a local copy center
- Standard thin printer paper (not photo paper or heavy cardstock)
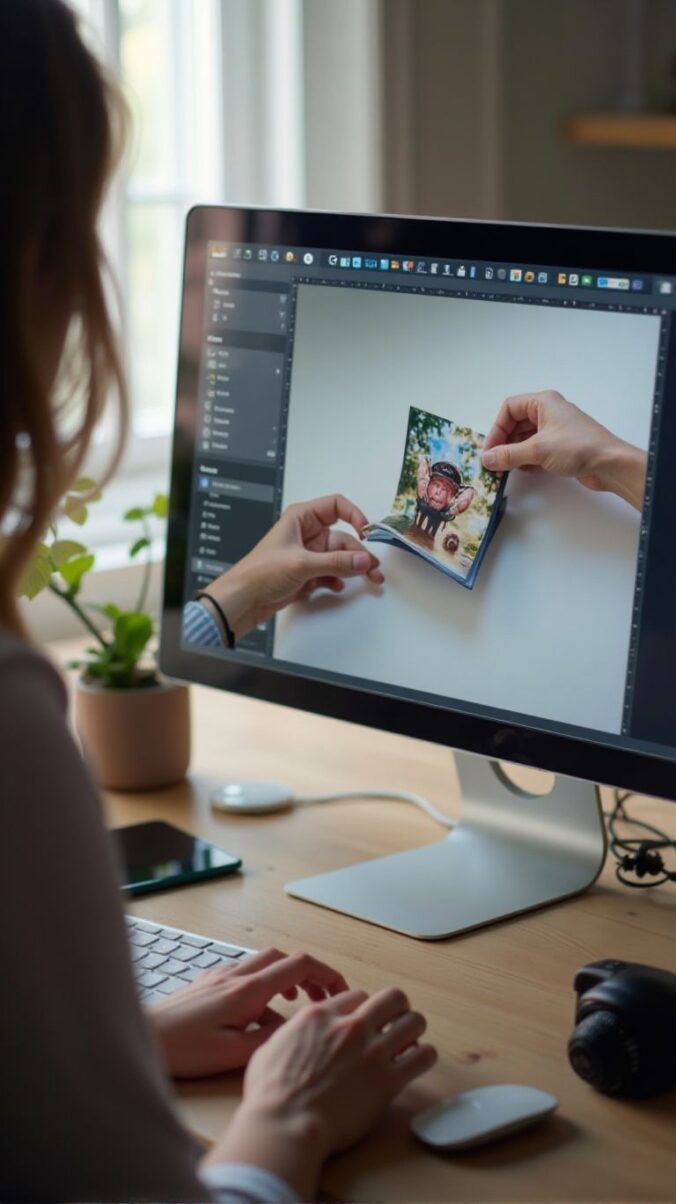
Important: The thinner the paper, the easier it will be to remove during the transfer process.
Step 2: Prepare Your Surface
If using wood:
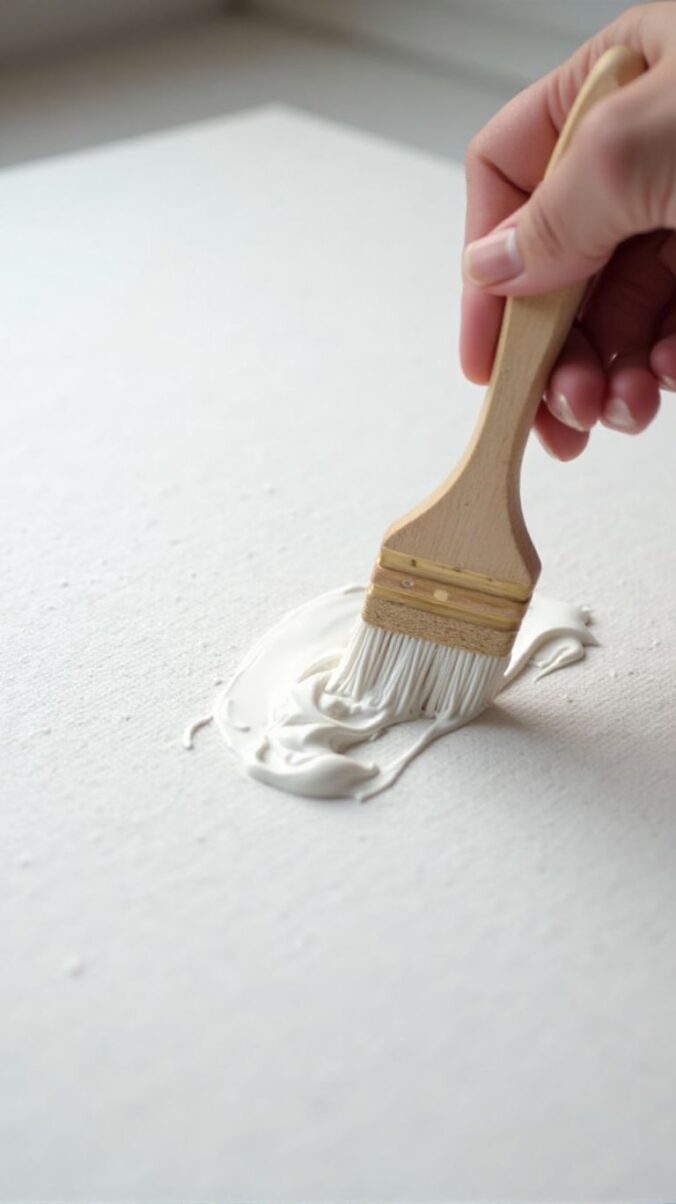
- Prime the wood panel with a coat of gesso
- This protects the wood and helps the paint adhere properly
- Let the gesso dry completely
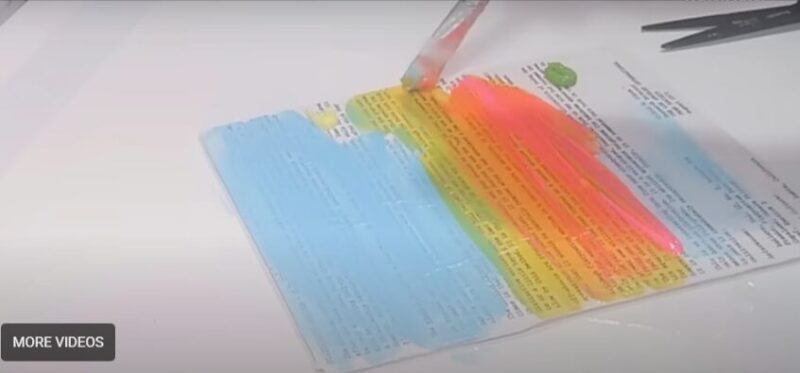
Pro Tip: For added visual interest, mount a book page or text paper over the gesso-coated wood before transferring. This creates a layered effect where text peeks through the final image.
Step 3: Apply the Paint
- Choose your acrylic colors (soft body, semi-transparent works best)
- Apply a generous layer of paint to your prepared surface
- Use multiple colors for a more artistic effect
- Critical: Apply enough paint! If you skimp, the paint will dry before you complete the transfer
Step 4: Place the Photo
- Position your printed photo face down onto the wet paint
- Press firmly and evenly across the entire surface
- Make sure there’s good contact between the paper and paint
- Smooth out any air bubbles
Step 5: Dry Completely
Best practice: Let the transfer air dry overnight
Quick alternatives:
- Use a hair dryer on low settings
- Place in direct sunlight
- Allow at least 1 hour minimum drying time
Step 6: Remove the Paper
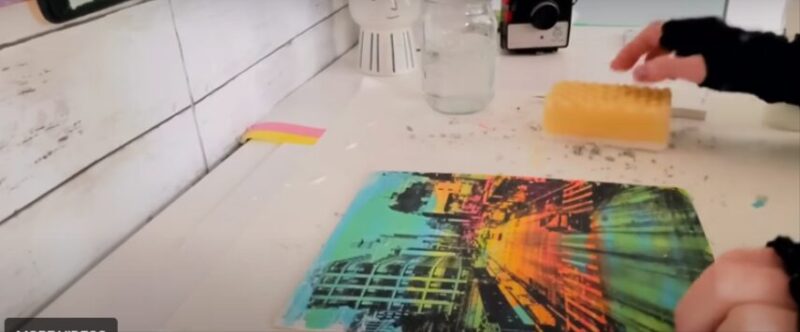
- First wetting: Wet the back of the transfer with clean water until the image is visible from the back
- Initial peel: Use an artist knife to help start peeling off the top layer of paper
- Dry briefly: Let the transfer dry for a few minutes
- Second wetting: Wet the surface again
- Final removal: Use a soft sponge to gently rub away the leftover paper pulp until the transfer is fully revealed
Step 7: Seal Your Work
- Apply a layer of semi-gloss varnish to protect the transfer
- Follow with a layer of matte varnish for a professional finish
- Allow to dry completely
Method 2: Inkjet Print Photo Transfer
The inkjet method is “pretty awesome and easy to do” according to the artist, and it works beautifully even with color photos.
Key Differences from Laser Transfer:
- Drying time is shorter: Only about 1 hour instead of overnight
- Works on more surfaces: Excellent for journal pages and mixed media work
- Color retention: Color photos transfer surprisingly well, creating vibrant, artistic results
- Paper removal: Often easier due to inkjet ink properties
Process for Inkjet Transfers:
Follow the same basic steps as the laser method:
- Print on thin paper (not photo paper)
- Prepare your surface (journal page or primed wood)
- Apply generous amounts of soft body acrylic paint
- Place photo face down onto wet paint
- Let dry for approximately 1 hour
- Wet and remove paper layers
- Seal with varnish
Special Note: While black and white photos typically stand out better over colorful backgrounds, don’t be afraid to experiment with color photos. The combination can create beautiful, unexpected results with interesting color interactions between the paint and printed image.
Tips for Success
Before You Start:
- Use thin paper: The thinner your printer paper, the easier the removal process
- High contrast images: Work best for clear, visible transfers
- Test first: Practice on scrap surfaces to get a feel for the technique
During the Process:
- Don’t skimp on paint: Generosity is key to successful transfers
- Work in one direction: When removing paper, use consistent motions
- Be patient: Rushing the paper removal can tear your transfer
- Keep water handy: You’ll need it for the removal process
After Transfer:
- Seal properly: Varnish protects your work and enhances colors
- Consider embellishments: You can paint over or add to your transfer after sealing
- Leave it alone: Sometimes the transfer is perfect as-is; resist over-working it
Creative Variations
Layered Text Background
Mount book pages, sheet music, or dictionary pages on your surface before transferring. The text will show through your image, creating a mixed media effect.
Hand-Painted Enhancements
After your transfer is complete and sealed, you can add painted elements, highlights, or details to customize your piece further.
Color Combinations
Experiment with different paint color combinations:
- Complementary colors for vibrant contrast
- Analogous colors for harmonious blends
- Monochromatic for subtle sophistication
Multiple Transfers
Create a series of transfers on a single large surface for a gallery-wall effect or artistic collage.
Troubleshooting Common Issues
Problem: Paint dried before transfer was complete Solution: Work faster or apply more paint initially
Problem: Paper won’t remove easily Solution: Use more water and be patient; work in small sections
Problem: Image is too faint Solution: Use a higher contrast original image and ensure good contact during pressing
Problem: Transfer tore during paper removal Solution: Keep the paper wetter and use gentler rubbing motions
Why This Method Works
The science behind this technique is fascinating. When you place the printed image face down onto wet acrylic paint and allow it to dry, the ink bonds with the paint. As you remove the paper backing, the ink stays embedded in the paint layer, creating your transfer.
Laser vs. Inkjet differences:
- Laser toner sits on top of the paper and transfers completely
- Inkjet ink absorbs into the paper slightly but still transfers effectively
- Both create beautiful results with their own unique characteristics
Taking It Further
Once you’ve mastered this basic technique, you can explore:
- Gel printing combinations: Create textured backgrounds before transferring
- Mixed media integration: Combine transfers with collage, painting, and drawing
- Different surfaces: Try fabric, canvas, metal, or glass
- Transfer variations: Experiment with partial transfers or distressed effects
The Beauty of Imperfection
One of the most appealing aspects of this technique is its unpredictability. Each transfer is unique, with its own character, texture, and personality. The process embraces:
- Unexpected color blending
- Organic textures from paper removal
- Happy accidents that enhance the artistic quality
- The joy of not knowing exactly how it will turn out
Conclusion
The acrylic paint photo transfer method is a wonderful alternative to traditional gel medium techniques. It’s accessible, affordable, and produces stunning results that blend photography with painting in unexpected ways. Whether you’re working with laser or inkjet prints, black and white or color images, this technique offers endless creative possibilities.
The key to success is experimentation—don’t be afraid to try different paints, surfaces, and images. Embrace the unpredictability, enjoy the process, and remember that sometimes the most beautiful art comes from unexpected methods.
So grab your acrylic paints, print out your favorite photos, and start creating your own photo transfers. You might just surprise yourself with what you can create!

A Teacher with 5 years of experience. Our Expertise, is reliable to meet your full Academic development needs . Worked on many crafts and construction projects offering services from design to development to deployment over the years. You will find many of my works in my business portfolio on request.