Turn your favorite photo into a beautiful canvas piece without the stress.
If you can print a picture and spread a little medium, you can do this—and the results look seriously pro.
Photo-to-canvas transfers are perfect for home décor, gifts, and “memory wall” projects when you want something personal (not store-bought).
I use methods that either rely on a classic gel/Mod Podge transfer or a faster, photo-specific system—so you can choose what fits your time and supplies.
Along the way, I’ll share the exact steps, what to watch out for, and a few quick tricks that help you avoid the most common beginner mistakes.
Key Takeaways
Photo-to-canvas transfers work by moving ink from a printed photo onto canvas using a transfer medium or photo-specific transfer film/system.
The classic gel method is reliable but requires careful paper removal (gentle rubbing or scraping).
Stretched-canvas workflows are great for portrait-style décor and often use the same core gel/medium concept.
Photo-specific systems (like Powerprint Photo) can be faster and often reduce fiddly paper-removal steps.
For best results, test your method on a scrap canvas first and match your print type to the method’s recommendations.
Quick Answer
My fastest “works most often” option is a photo-specific transfer system (like Powerprint Photo) if you want less rubbing and a more guided process.
If you already have gel medium or Mod Podge, use the classic gel transfer method—it’s simple and widely used, but you must remove the paper gently.
If you’re making a stretched-canvas portrait look, follow the stretched-canvas approach: print to size, apply the medium correctly, let it set, then reveal the photo carefully.
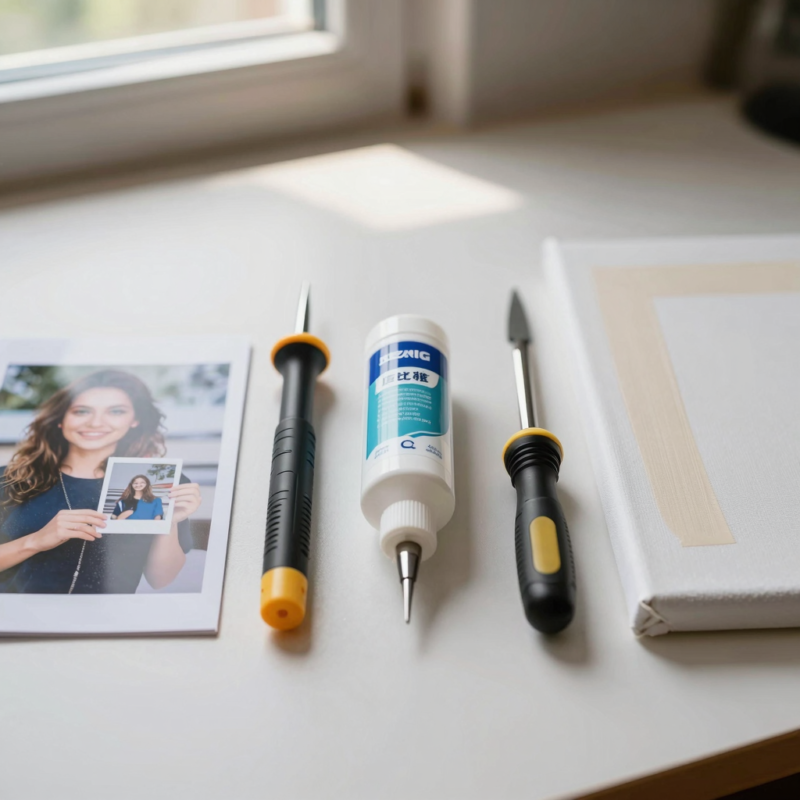
What You Need
Item
Purpose
Notes
Stretched canvas (or canvas panel)
Surface to transfer the image onto
Stretched canvas is the most common “family photo on canvas” look
Photo print
Provides the image to transfer
Usually laser prints work best for classic gel/medium methods; follow your chosen method’s guidance
Transfer medium (gel medium / Mod Podge-type)
Helps move ink from paper to canvas
Many methods use a medium-thick layer so the ink releases well
Photo transfer film/system (optional for Method 3)
Fast transfer approach with product-specific steps
Example: Powerprint Photo; follow the product instructions closely
Paintbrushes or foam roller
Spreads transfer medium evenly
Foam rollers help smooth, even coverage
Scraper/soft cloth or gentle sponge
Helps remove paper without damaging the image
Go slow—this is where most beginners struggle
Spray bottle with water (optional)
Helps soften paper for easier removal
Only use if your method allows it
Acrylic varnish/sealer (optional)
Protects the finished photo
Great for durability, especially for gifts
Pencil/straight edge
Mark placement and cropping lines
Helps you center the image on the canvas
Gloves (optional)
Keeps hands clean and reduces smudging
Not required, but I find it helpful
Step 1: Overview — Transfer Photos to Canvas in Minutes (3 Methods)
When I transfer photos to canvas, the goal is always the same: I print a photo, then I move the printed image/ink onto the canvas surface.
What changes is the “how” part—meaning the transfer medium and the way the paper comes off.
Here are the three methods I recommend:
Method 1: Gel Medium Transfer (classic paper-to-canvas). I spread gel medium on canvas, place the printed photo, wait for it to set, and then carefully remove the paper.
Method 2: Stretched Canvas Décor Workflow (home décor style). Same basic idea as gel transfer, but with extra attention to sizing, portrait layout, and finishing.
Method 3: Photo-Specific Transfer System (like Powerprint Photo). I use a guided, product-specific approach that often reduces the fiddly rubbing step.
The main decision points for me are:
Print type/material compatibility (laser vs. inkjet—depends on method),
The transfer medium I have on hand,
How I’ll remove the paper without damaging the image.
Step 2: What You Need Before You Start
Before I start, I set myself up for success. These prep steps make a huge difference.
Choose the canvas
Stretched canvas: Great if you want that ready-to-hang “portrait” look.
Canvas panel: Works too, but edges and texture can look different.
I usually choose stretched canvas if I’m making a family-photo style piece.
Prepare the photo print
Crop/sizing matters. I cut the print to match the exact canvas area so I don’t get weird borders.
Orientation: I double-check which side should face the canvas for the method I’m using.
Gather tools for applying and removing
I use a foam roller or brush to apply medium smoothly.
For removing paper, I plan on being patient: a gentle touch prevents smearing and protects the image layer.
Pick your transfer medium/system
For Methods 1 and 2, I rely on gel medium / Mod Podge-type transfer mediums.
For Method 3, I use a photo-specific transfer film/system and follow its instructions.
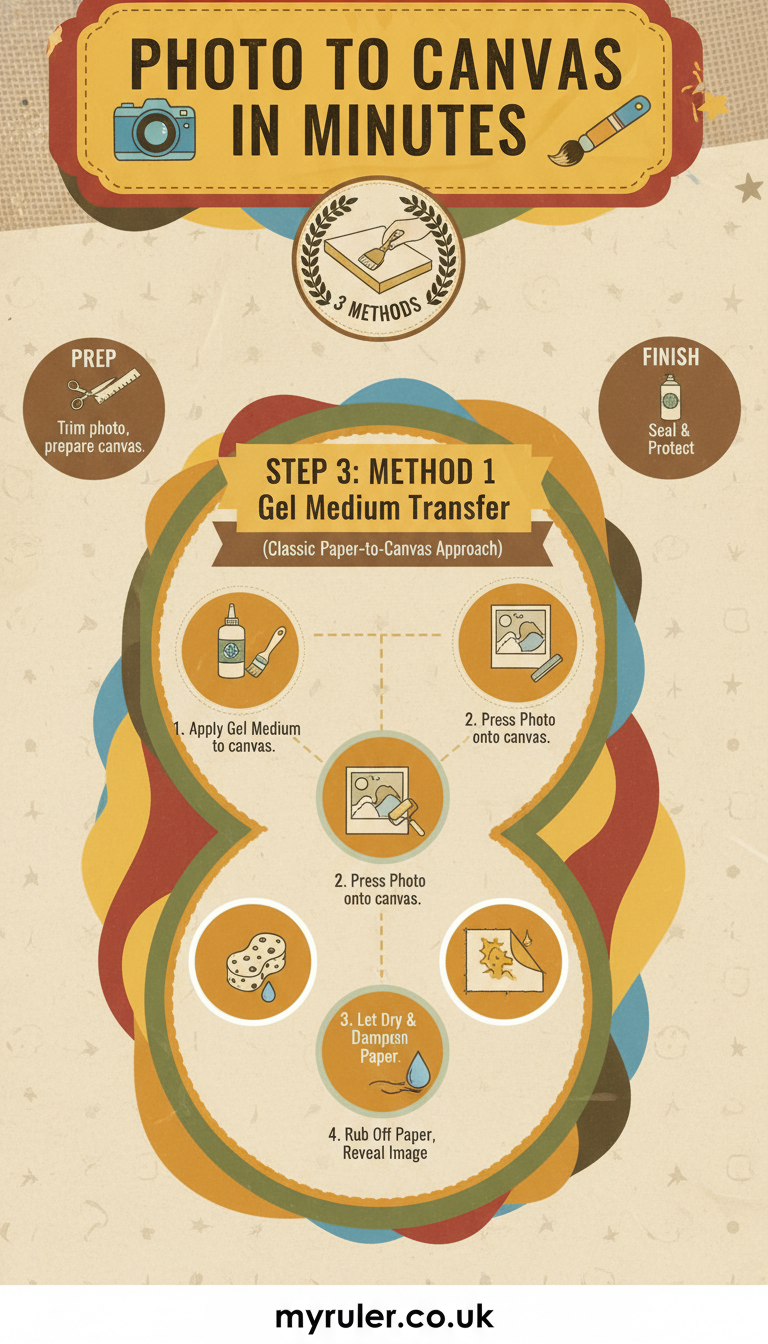
Step 3: Method 1 — Gel Medium Transfer (Classic Paper-to-Canvas Approach)
This is the method I think of as the “classic way,” and it’s popular because it’s flexible—you can often do it with supplies you already own.
Step-by-step
Step 3: Print and cut your photo
Print your photo, then cut it to fit the canvas surface.
I like to leave the cut super neat so the image looks clean at the edges.
Step 4: Apply a medium-thick layer of gel medium to the canvas
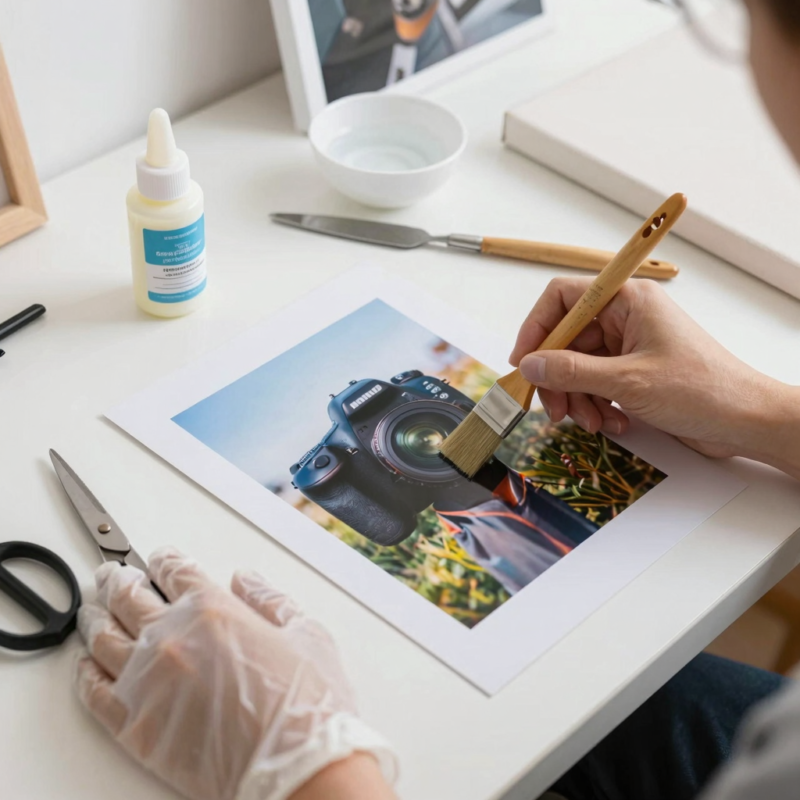
Using a brush or foam roller, spread a medium-thick layer across the area where the photo will go.
I avoid super thin coats because they can lead to faint transfers.
Step 5: Position the photo correctly on the wet medium
Place the printed photo onto the gel-coated canvas.
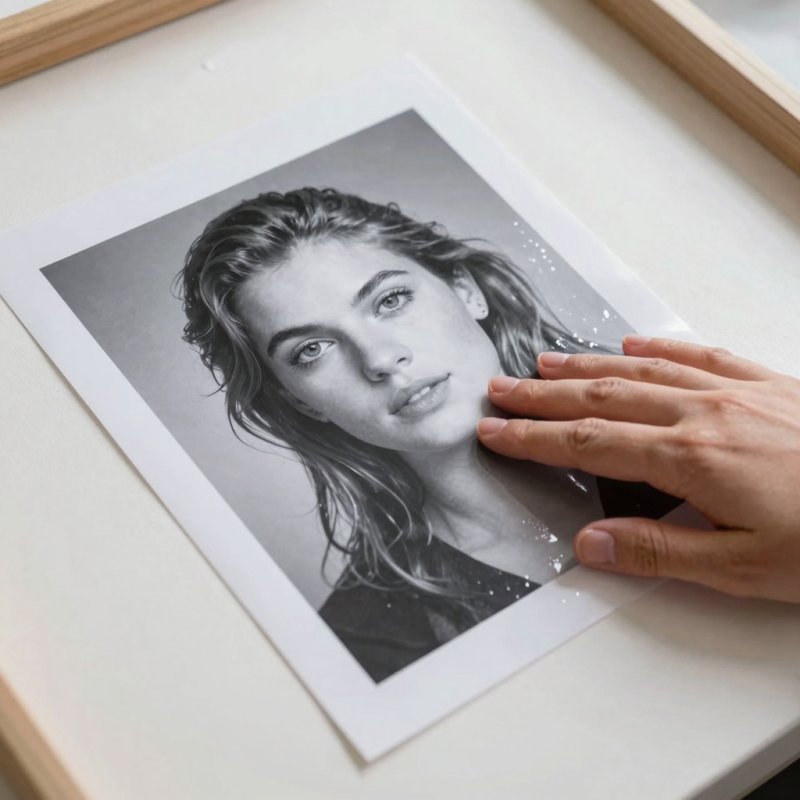
I press gently to remove air bubbles, but I don’t mash the paper down hard.
Step 6: Let it set so the ink can release
Give the transfer medium time to set.
This is one of those “don’t rush it” moments—if I remove the paper too early, the image can smear.
Step 7: Remove the paper carefully
This is the part most people find stressful, but it gets easier.
I start gently and avoid aggressive rubbing. If the paper doesn’t release, I stop and reassess—usually it needs more time or gentler handling.
Quick first-timer mindset
If your first try isn’t perfect, that’s normal. The rubbing/paper-removal step takes a little practice, and patience is the difference between a crisp image and a smeary one.
Step 4: Method 2 — Photo Transfer on Stretched Canvas (Home Décor Style Workflow)
Generating image 9…
This method is basically the “make it look like décor” version of gel transfer. I use it when I want that polished stretched-canvas portrait vibe.
Step-by-step
Step 8: Choose the photo and plan the canvas look
I pick an image that works well in a portrait format (or whatever orientation matches my canvas).
Then I plan how it’ll sit—centered, slightly higher for faces, etc.
Step 9: Print and prepare the photo to match the canvas area
I crop the photo to the exact dimensions of the canvas.
For portrait-style pieces, even small sizing mistakes can make the image feel “off,” so I measure twice.
Step 10: Apply the recommended transfer medium and adhere the print
I apply the transfer medium evenly (usually a brush/roller works great) and follow the medium’s general guidance.
Then I place the photo carefully and smooth it gently.
Step 11: Allow time for adhesion/transfer
I let it sit until the medium has time to do its job.
If I’m rushing, I reduce transfer quality—so I set a timer and work on something else.
Step 12: Remove the paper to reveal the transferred image
When it’s ready, I remove the paper carefully.
I try to think of it like “revealing,” not “scrubbing.”
Step 13: Finish for a clean home décor presentation (optional)
Once the image is revealed, I can:
touch up edges if needed,
clean up any stray bits,
and seal with an acrylic varnish for protection.
If I’m giving it as a gift, sealing is usually the last step I don’t skip.
Step 5: Method 3 — Powerprint Photo / Photo-Specific Transfer Film (Fast Demonstrated Method)
This is the “less fiddly” option. Instead of relying purely on gel medium behavior and manual rubbing, I follow a photo-specific product’s workflow designed for transferring images.
(You may see similar products demonstrated in videos, including Powerprint Photo systems, where the steps feel more guided.)
Step-by-step
Step 14: Follow the photo transfer system instructions for prep
I start by preparing the photo exactly as the product requires (print settings and placement matter).
I also check which side the image should go down on—these products are usually clear about orientation.
Step 15: Prepare the canvas surface (lightly)
If the canvas is dusty or textured in a way that could snag the transfer, I make sure it’s clean and dry.
I avoid doing anything overly complicated—just enough prep so adhesion works well.
Step 16: Apply/activate the product and transfer the image
I apply the system according to instructions (some use a transfer film or specific activation steps).
This is where I rely on the product’s method rather than improvising.
Step 17: Remove/peel or rinse as instructed
Once the time is up, I remove/peel or rinse exactly as directed.
I like this method because it’s usually more “follow the steps” and less “rub until it works.”
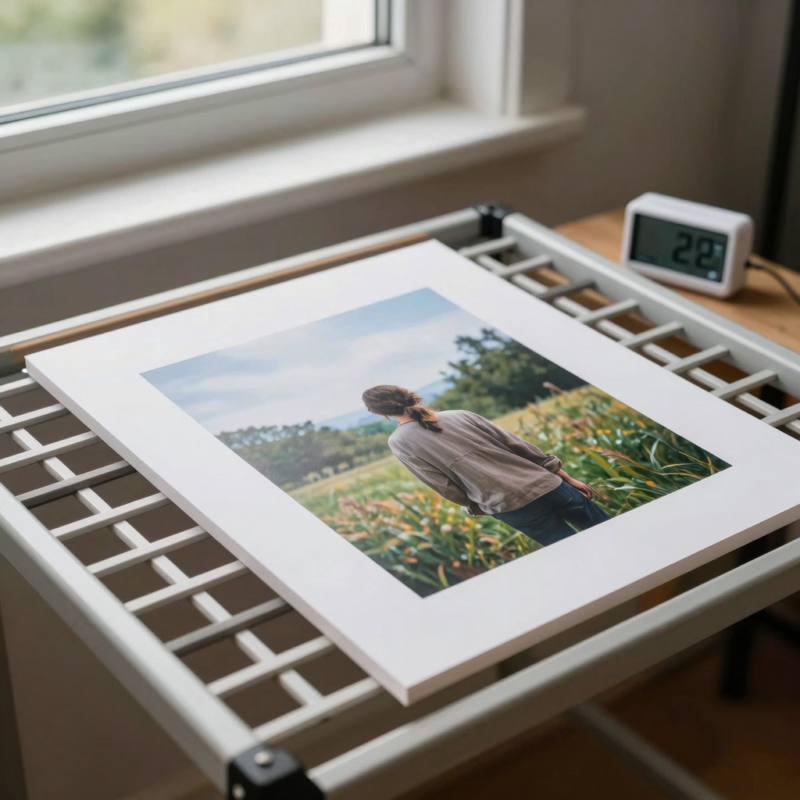
Step 18: Let it dry and decide if you want to seal it
After the image is fully revealed and dry, I can seal it for durability.
If the project will live in bright light or be handled a lot, sealing is a smart move.
Why I like this route
It often takes less careful rubbing than classic gel transfers.
It’s easier to repeat if you do multiple pieces.
That said, you still need good print preparation and careful handling during the reveal.
Step 6: Choosing the Best Method for Your Project
When I’m deciding between the three, I don’t overthink it. I match the method to what I have and what look/time I want.
Step 19: Match method to your supplies
If you already have gel medium or Mod Podge-type products, start with Method 1 or 2.
If you want a faster, more guided approach, use a photo-specific system for Method 3.
Step 20: Consider time vs. control
Classic gel: More control, but more sensitivity around paper removal.
Photo-specific system: Often faster and less delicate during removal.
I personally choose based on how much patience I have that day.
Step 21: Test for clarity
If you’re unsure how your print will transfer, test on a scrap canvas first.
I usually print a smaller image or use a leftover portion so I can see how bold the transferred ink looks before committing to my final canvas.
Step 7: Troubleshooting Common Issues
No matter which method I use, I’ve run into a few problems. Here’s what I do when things don’t look right.
Step 22: Paper won’t release or ink looks faint
What it usually means:
not enough time for the medium to set,
too thin of a gel layer,
or the print type isn’t compatible with the method.
What I do:
I let it set longer before attempting removal.
I ensure my medium layer was thick enough next time.
I double-check the method’s recommendation for laser vs. inkjet.
Step 23: Image smears or paper removal damages the image
This often happens when:
I’m removing too soon,
I’m rubbing too hard,
or I’m using too much water (if the method doesn’t call for it).
What I do:
Reduce pressure and go slower.
Remove in small sections.
Make sure I’m not rushing the curing/set time.
Step 24: Edges don’t transfer cleanly
This is usually caused by:
cropping/sizing issues,
uneven medium coverage,
or not enough medium at the edges.
What I do:
Crop precisely to canvas dimensions.
Apply medium evenly, especially at the perimeter.
If needed, apply a thin touch-up of medium right before placing the print (only if your method allows it).
Step 25: The transferred image looks dull
This can be from:
ink not transferring fully,
or the medium amount being off.
What I do:
Try a slightly thicker medium layer next time.
Give it more set time.
Consider sealing after drying—sometimes finishing adds contrast and protects the look.
Step 8: Wrap-Up — Quick Steps Summary
Here’s my quick “do it now” summary of all three methods.
Step 26: Method 1 (Gel Medium Transfer) in a nutshell
Print, cut, coat canvas with medium-thick gel, place photo, let set, then gently remove paper.
Step 27: Method 2 (Stretched Canvas Décor Workflow) in a nutshell
Plan your portrait look, print to exact canvas size, apply medium and adhere, wait, remove paper carefully, then finish/seal if desired.
Step 28: Method 3 (Powerprint Photo / Photo-Specific System) in a nutshell
Prep and print per product rules, apply/activate the transfer system, transfer image, remove/peel or rinse as instructed, then dry and seal if needed.
Before committing to a final piece, I always test on a small canvas or scrap print. It saves time, money, and frustration.
Tips
Use scrap tests. I try a small test first when I’m using a new method or unfamiliar print settings.
Keep medium coverage even. A lumpy coat can cause patchy transfers.
Be patient with setting time. Rushing is the fastest way to get smears.
Handle the paper gently during reveal. Think “soft removal,” not “scrubbing.”
Crop carefully. A neat crop makes the whole project look more expensive.
Consider sealing. It helps protect your image, especially if it’s a gift or gets handled.
FAQ
FAQ 1: Can I transfer photos to canvas without special equipment?
Yes—if you use the gel medium method, you usually only need a canvas, a printed photo, gel/Mod Podge-type medium, and basic tools like a brush/roller.
FAQ 2: What kind of photo print works best?
Most guides for classic gel transfers recommend laser prints because the ink releases more reliably with the medium.
Photo-specific systems often have their own exact print requirements—so I always follow the product instructions.
FAQ 3: How long does it take?
Many transfers can be started “in minutes,” especially the application part.
The waiting/set time for the medium or system can vary, but you can often reveal the image within the same session if you plan your schedule.
FAQ 4: Why does my image look faint after removing the paper?
Common reasons are insufficient medium thickness, not enough set/curing time, or print compatibility issues.
A quick test on a scrap canvas helps you dial it in.
FAQ 5: Will the transferred image peel off later?
It can last well when done correctly, especially if you seal it after drying.
If you skip sealing, your image may be more vulnerable to handling and moisture.
Conclusion
Transferring photos to canvas is one of those satisfying DIY projects where the hardest part is mostly just being patient. I’ve shared three methods—classic gel transfer, a stretched-canvas décor workflow, and a faster photo-specific system—so you can pick what matches your supplies and your time. Start with a test print, follow the steps closely (especially the set time), and handle the paper removal gently. Once you nail it, you’ll want to make one canvas for every moment worth remembering.
Final Thoughts
Transferring photos to canvas is an awesome skill that opens up endless creative possibilities. Whether you’re making gifts, decorating your room, or just trying something new, this technique is worth learning. The best part? You don’t need to be an artist or have expensive equipment. With a few basic supplies and these simple steps, you can create professional-looking canvas art that costs just a fraction of what you’d pay at a store.
So grab your favorite photo, head to the craft store for supplies, and give it a try! As the thousands of successful DIY crafters on YouTube and Reddit prove, anyone can do this. Your first attempt might not be perfect, but that’s okay – even experienced crafters say they learned through practice. Before you know it, you’ll be transferring photos like a pro and impressing everyone with your custom canvas creations!
Now it’s your turn to give it a shot. What photo will you transfer first?
A Teacher with 5 years of experience. Our Expertise, is reliable to meet your full Academic development needs . Worked on many crafts and construction projects offering services from design to development to deployment over the years. You will find many of my works in my business portfolio on request.
This sounds much more direct than other methods and am now thinking about how I’d use it. I know your instructions are very descriptive, but as a visual learner, I wished there was a demo video. Thank you for sharing this technique. (I’ll come back to check for a video!! 🙏🏼)













This sounds much more direct than other methods and am now thinking about how I’d use it. I know your instructions are very descriptive, but as a visual learner, I wished there was a demo video. Thank you for sharing this technique. (I’ll come back to check for a video!! 🙏🏼)