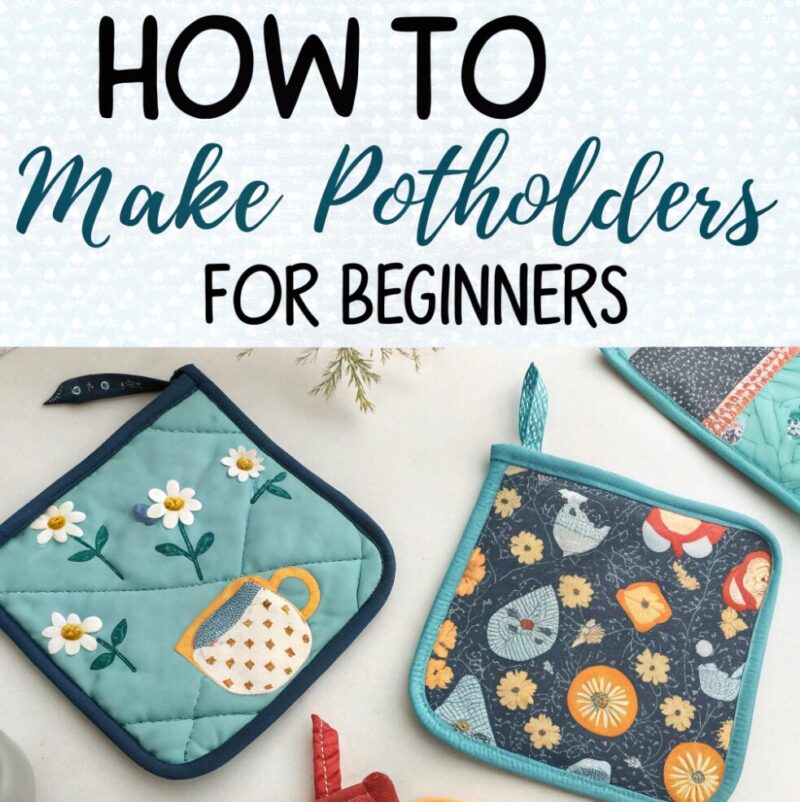

Are you ready to make your very first sewing project? Potholders are perfect for beginners! They’re small, useful, and surprisingly quick to make. In fact, You can make a potholder in about 10 minutes once you know the steps. Let’s learn how to sew potholders from scratch, even if you’ve never used a sewing machine before.
Why Start with Potholders?
Potholders are one of the best beginner sewing projects for several good reasons. First, they’re small, so you don’t need much fabric or time. Second, they teach you several important sewing skills all at once. You’ll learn how to sew straight lines, work with multiple layers, add a hanging loop, and even do some quilting.
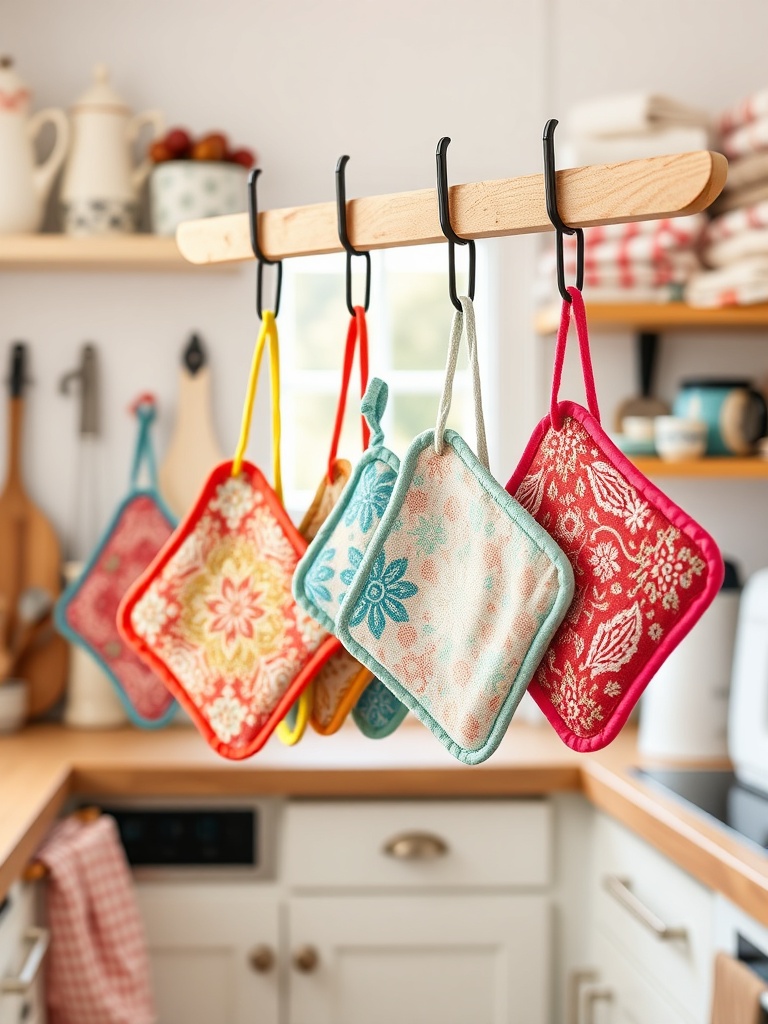
Best of all, potholders are actually useful! Every kitchen needs them, and they make wonderful gifts. You can use fun fabrics to match your kitchen, or make them as holiday presents. Potholders are “super useful, practical, and make a great gift!”
Materials You’ll Need
Before you start sewing, let’s gather everything you need. Here’s your shopping list:
Cotton Fabric: You’ll need about 1/3 yard of 100% cotton fabric. This is really important—don’t use polyester or synthetic fabrics because they can melt when they touch hot pots! You can use two different fabrics to make your potholder reversible, which means each side looks different.
Heat-Resistant Batting: This is the special protective layer that goes inside your potholder. Look for something called Insul-Bright, which is designed to protect your hands from heat. Regular batting isn’t strong enough—you need the heat-resistant kind. You’ll need two squares that are 9 inches by 9 inches.
Thread: Choose thread that matches your fabric. Regular all-purpose thread works great.
Basic Sewing Supplies: You’ll also need scissors, pins, a ruler or measuring tape, and an iron. These are things most people have at home or can borrow.
That’s it! You don’t need fancy or expensive materials to make beautiful, functional potholders.
Cutting Your Fabric
The first step is cutting your fabric pieces to the right size. You’ll need:
- Two fabric squares measuring 9 inches by 9 inches (one for the front, one for the back)
- Two squares of heat-resistant batting measuring 9 inches by 9 inches
- One small rectangle measuring 5 inches by 2 inches (this becomes your hanging loop)
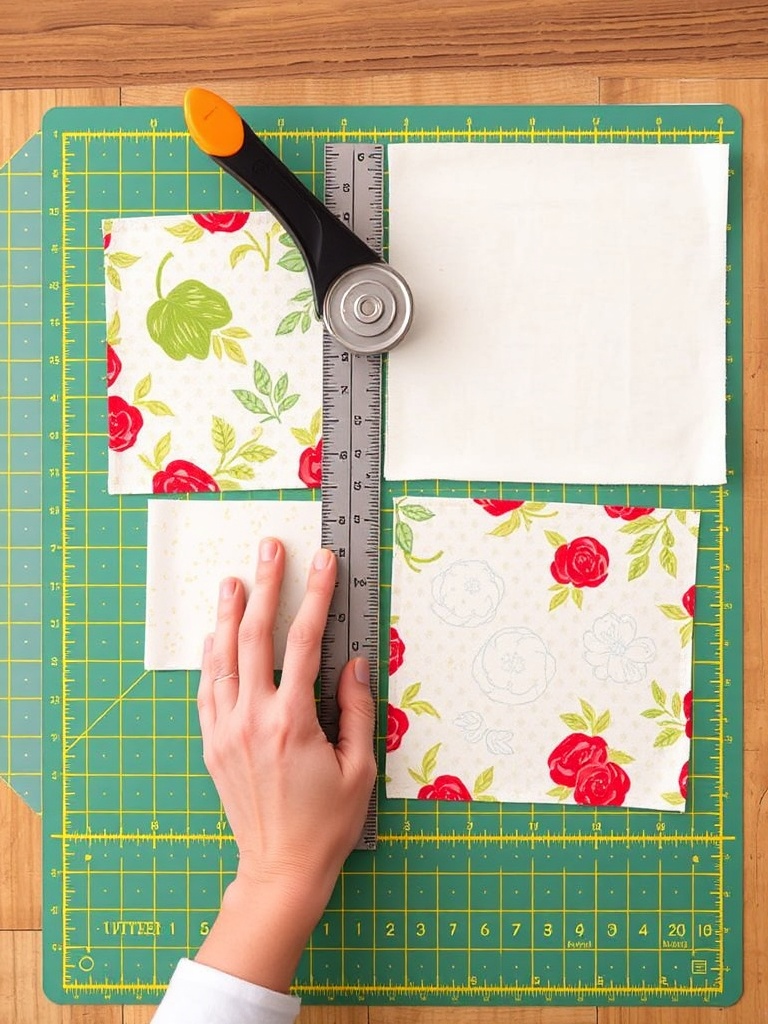
Take your time with cutting. Use a ruler to measure carefully and cut straight lines. As YouTube tutorials explain, neat cutting makes the rest of your project easier.
Making the Hanging Loop
Let’s start by making the little loop that lets you hang your potholder on a hook. This is actually easier than it sounds!
Take your 5-inch by 2-inch rectangle and fold it in half lengthwise. Press it flat with your iron. Now open it back up and fold the long edges in to meet at the middle crease. Press again with your iron.
Next, fold it in half again lengthwise along that first crease you made. Press one more time. Now you should have a long, narrow strip that’s about 5 inches long and half an inch wide.
Finally, sew down both long edges of your strip, about 1/8 inch from the edge. This is called “top stitching” and it keeps everything sealed together. Congratulations—you just made your hanging loop!
Layering Your Potholder
Now comes the fun part—putting all your layers together. This might seem confusing at first, but just follow these steps carefully:
- Lay one square of heat-resistant batting flat on your table
- Place one fabric square on top of it, with the pretty side facing UP
- Put the second fabric square on top of that, with the pretty side facing DOWN (so the pretty sides are facing each other)
- Add the final square of batting on top
Think of it like making a sandwich—batting, pretty fabric facing up, pretty fabric facing down, batting. Pin all around the edges to hold everything together. According to sewing experts, Using enough pins is important so nothing shifts while you’re sewing.
Adding the Loop
Before you start sewing, you need to add your hanging loop. Pick one corner for your loop to go. Fold your finished loop in half and tuck it inside your fabric sandwich, placing it in the corner. About half an inch of the raw edges should stick out.
Make sure the loop is positioned exactly in the corner, right in the middle between your two fabric pieces. Pin it in place so it doesn’t move when you’re sewing.
Sewing Around the Edges
Now you’re ready to sew! Set up your sewing machine and thread it. Choose one side of your potholder (not a corner) and mark a spot about one-third of the way down with two pins placed close together. This marks where you’ll leave a gap.
Start sewing about 2 to 3 inches before those pins. Sew about 1/4 inch from the edge all the way around your potholder. Make sure to sew over the hanging loop to attach it securely. Stop sewing when you get to about 2 to 3 inches past where you started.
This gap is important! You’ll use it to turn your potholder right-side-out later. this technique is much easier than trying to hand-sew the opening closed later.
Trimming and Turning
Take your potholder off the sewing machine. Now you need to trim the excess fabric from around the edges. Cut close to your stitching (but don’t cut through it!) all the way around. Also trim off the corners at an angle—this helps them look neat when you turn the potholder right-side-out.
Now for the exciting part—stick your hand through that gap you left and pull the potholder through to the right side. Be patient and gentle. Use your fingers to push the corners out so they’re nice and square. When you’re done, your potholder should look pretty good, with just that small opening left.
Closing the Gap
Take the raw edges at the opening and fold them inside the potholder so they match the rest of the edge. Now you’re going to sew all the way around the edge of your potholder again, about 1/4 inch from the edge. This is called “top stitching” and it serves two purposes—it closes that gap and makes your potholder look more finished.
Quilting the Middle
You’re almost done! The last step is to quilt through all the layers in the middle of your potholder. This keeps the batting from bunching up when you wash it. It also makes your potholder look professional.
The easiest quilting pattern is a big X from corner to corner. Just sew from one corner to the opposite corner, then do it again the other way. Some people like to sew straight lines across, make a grid pattern, or even draw swirls and loops.
Finishing Touches
Trim off any loose threads and give your potholder a final press with your iron. That’s it—you just made your first potholder! Hang it up in your kitchen or give it as a gift.
Common Beginner Mistakes
Using the wrong fabric: Remember, only use 100% cotton fabric. Please note that synthetic fabrics can melt when they get hot. Check the label before you buy!
Forgetting the heat-resistant batting: Regular batting isn’t enough protection from hot pans. You need special heat-resistant batting like Insul-Bright. It’s worth spending a little extra money to protect your hands.
Not securing the hanging loop: Make sure you sew over that loop several times so it’s really attached. You don’t want it pulling off when you hang your potholder.
Skipping the quilting step: It might be tempting to skip quilting the middle, but this step is important. Without it, your batting might bunch up and your potholder won’t lie flat.
Creative Ideas
Once you’ve made your first basic potholder, you can try fun variations:
Use different fabrics on each side to make reversible potholders. You could use holiday fabric on one side and regular fabric on the other.
Try patchwork designs by sewing small fabric squares together before making your potholder. This uses up scraps and looks really cute.
Make different sizes. Some people like smaller potholders for handling pot lids, and bigger ones for casserole dishes.
Experiment with shapes. Most potholders are square, but you could try making round ones or even fun shapes like mittens.
What’s Next?
After you’ve made a few potholders, you’ll feel much more confident with your sewing machine. You’ll know how to sew straight lines, work with layers, and finish edges neatly. These are skills you’ll use in almost every sewing project.
Many beginners make several potholders to give as gifts or sell at craft fairs. Its Super easy to make using some cotton fabric and some heat resistant batting. I made these quickly other than the cutting out all the fabric and batting.
The great thing about potholders is that even if your first one isn’t perfect, it will still work! Your stitches might be a little wobbly, or your corners might not be perfectly square, but your potholder will still protect your hands from hot dishes. And with each one you make, you’ll get better and better.
So grab some fabric, fire up that sewing machine, and make your first potholder. In less than 15 minutes, you’ll have a useful item you made with your own hands. Plus, you’ll have taken the first step in your sewing journey. Who knows? Today it’s potholders, but next month you might be making bags, pillows, or even clothes!

A Teacher with 5 years of experience. Our Expertise, is reliable to meet your full Academic development needs . Worked on many crafts and construction projects offering services from design to development to deployment over the years. You will find many of my works in my business portfolio on request.