Are you ready to create a beautiful crochet pumpkin that brings a cozy, handmade touch to your autumn home decor? Whether you want a quick seasonal centerpiece for your dining table or a charming handmade gift, mastering the art of the crochet pumpkin is a fun project for any skill level. These pumpkins are perfect for adding personality to your space as the leaves change color and the air turns crisp. With a few basic supplies and some patience, you can whip up a harvest-themed masterpiece in just an afternoon. Let’s get your hooks ready and start crafting.
Quick Questions and Answers
Question: How do you crochet a pumpkin for beginners? Answer: Most beginner pumpkin tutorials start with a long yarn tail, a slip knot, and a foundation chain or magic ring. You then work repeated rows or rounds, usually using back-loop stitches for texture, before sewing the piece closed, stuffing it, and adding a stem. The exact stitch count and shaping method depend on the pattern, but the overall sequence is consistent across beginner guides.
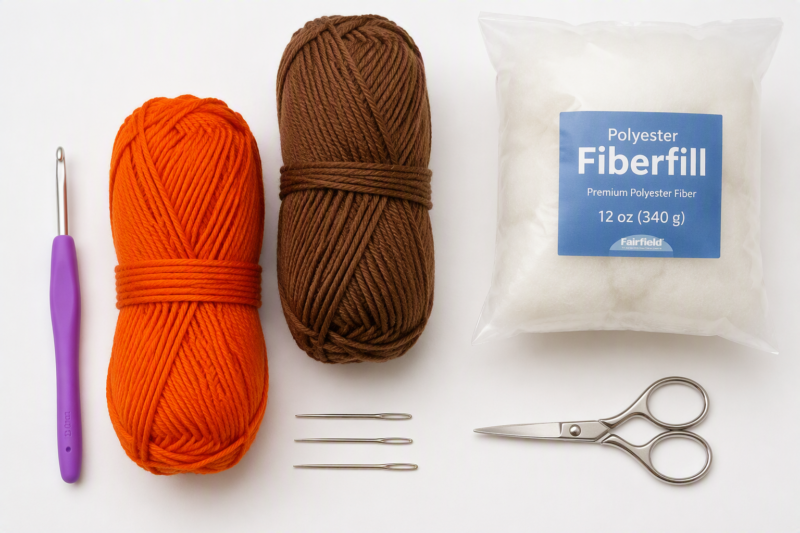
Question: What materials do I need to make a crochet pumpkin? Answer: Common materials include yarn, a crochet hook, stuffing, scissors, and a sewing or tapestry needle. Some tutorials also add a second yarn color for the stem or leaves, plus hobby fill or other polyester stuffing. Hook size varies by pattern, with examples in the sources using 4 mm and 5 mm hooks.
Question: Can I make a crochet pumpkin without a pattern? Answer: Yes, a simple pumpkin can be made by crocheting a rectangle or tube, sewing it into shape, stuffing it, and cinching the ends closed. The sources show that even basic patterns rely on a repeated stitch fabric, then shaping with seams and yarn wraps. A pattern is still helpful if you want a specific size or a more even finish.
What You Need
| Item | Purpose | Notes |
|---|---|---|
| Yarn | Pumpkin body and stem | Use two contrasting colors. |
| Crochet Hook | Creating the fabric | 4 mm or 5 mm is standard. |
| Tapestry Needle | Sewing and assembly | Blunt tip prevents yarn snagging. |
| Scissors | Cutting yarn | Sharp blades for clean edges. |
| Polyester Fill | Shaping the pumpkin | Hobby fill works best for volume. |
The Flat Panel Method: Simple Rectangular Construction
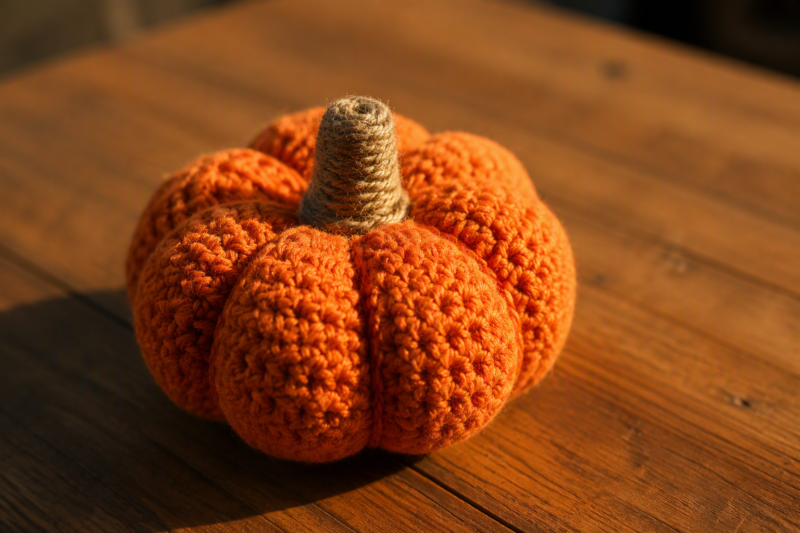
I always suggest starting with a generous 8-inch yarn tail when working a flat panel. This tail acts as your primary tool for sewing the final side seam together later. Make a slip knot to begin your work.
Chain your foundation. Aim for a length roughly one-third longer than your desired pumpkin height, as the fabric will shrink by about 33 percent during construction. According to tutorials on YouTube, this extra length is necessary to ensure your final pumpkin hits your target size.
Use the half-double crochet stitch exclusively in the back loops. This specific technique creates a beautiful, ribbed texture that mimics the natural ridges of a pumpkin.
Keep working these back-and-forth rows until your panel reaches about 10 to 11 inches in width. Depending on your tension and yarn choice, this usually amounts to 20 to 40 rows. If you are looking for more 11 Amazing Spooky Season Home Decor Ideas for Beginners, this method is the fastest way to get your project finished.
The Round Construction Method: Creating a Spherical Shape
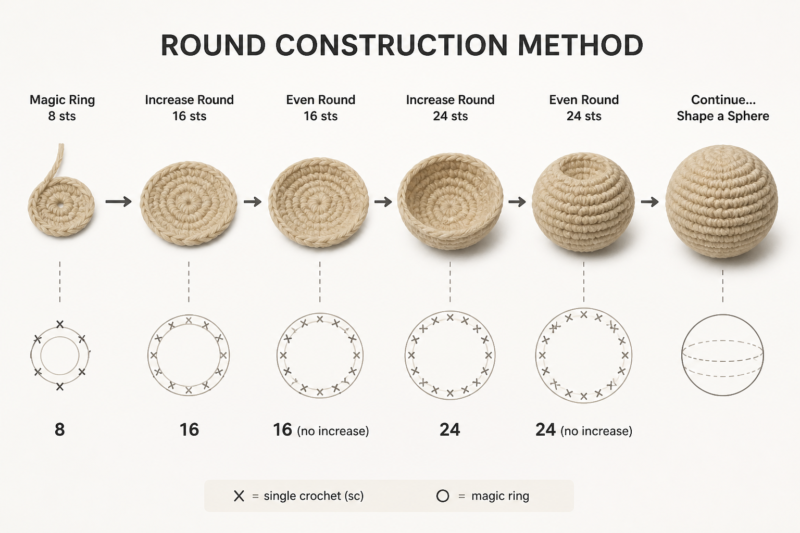
If you prefer a structured, round look, the magic ring approach works best. Start by making a magic ring with 8 stitches inside.
Increase your stitch count by 8 stitches every round. You will follow a pattern of 8, 16, 24, and so on. Continue this until you reach 56 stitches by round 7.
Work even rounds next. Do not add any more increases, as this maintains the sphere’s width. Keep going until the pumpkin reaches the height you want.
Finish the top by decreasing. Use the single crochet 2 together technique until only 8 stitches remain. Fasten off, but leave a very long tail. You will need this length to pull through the center and create the segmented look later.
Shaping and Finishing Techniques
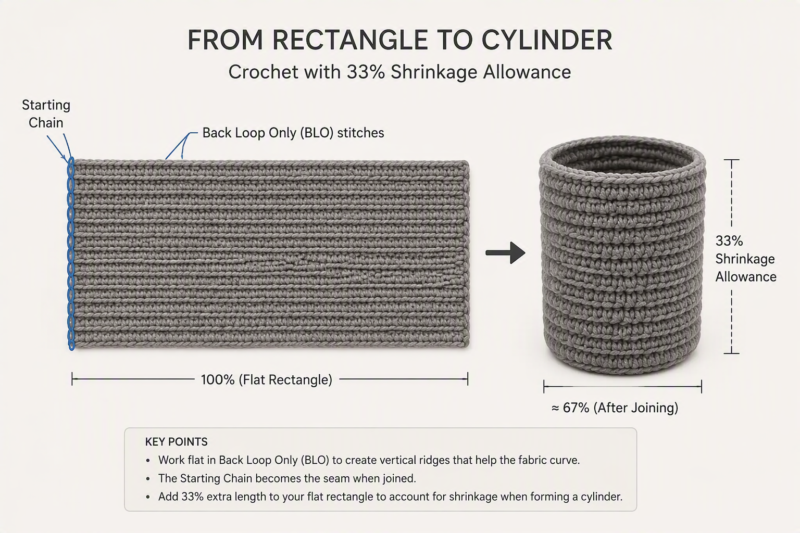
If you used the flat panel method, fold your rectangle in half. Stitch the long edges together using your long yarn tail to form a tube. Cinch the bottom closed tightly.
Stuff the pumpkin firmly with hobby fill. You want it dense enough to hold its shape when handled, but not so tight that the stitches stretch and show the filling inside.
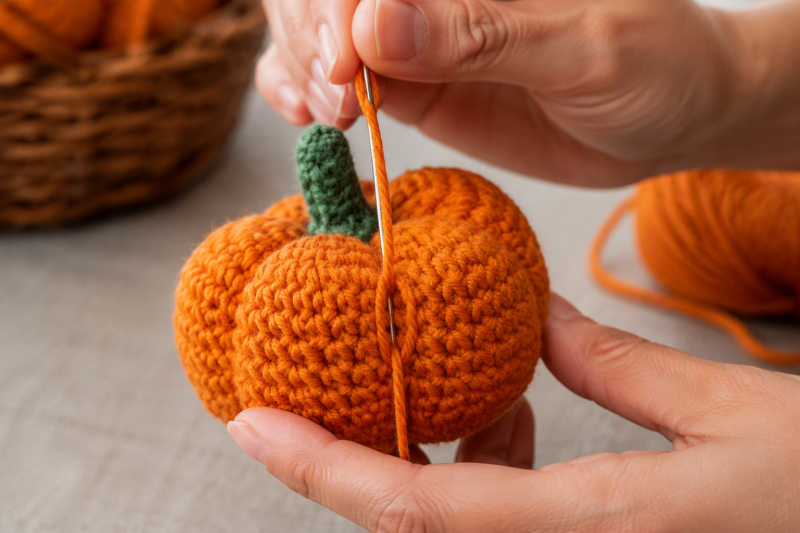
Use a tapestry needle and a long strand of yarn to wrap around the exterior. Pull the yarn tight against the surface to create distinct vertical ridges.
For the stem, create an i-cord or a small brown circle. Sew this securely into the top center opening. Adding these professional touches is a great way to improve your 12 Creative Handmade Crafts to Sell on a Budget.
Common Mistakes to Avoid
The most frequent error is underestimating the length of your starting yarn tail. Always leave at least 8 inches, or you will find yourself struggling to sew the seam shut with a tiny, unusable piece of yarn.
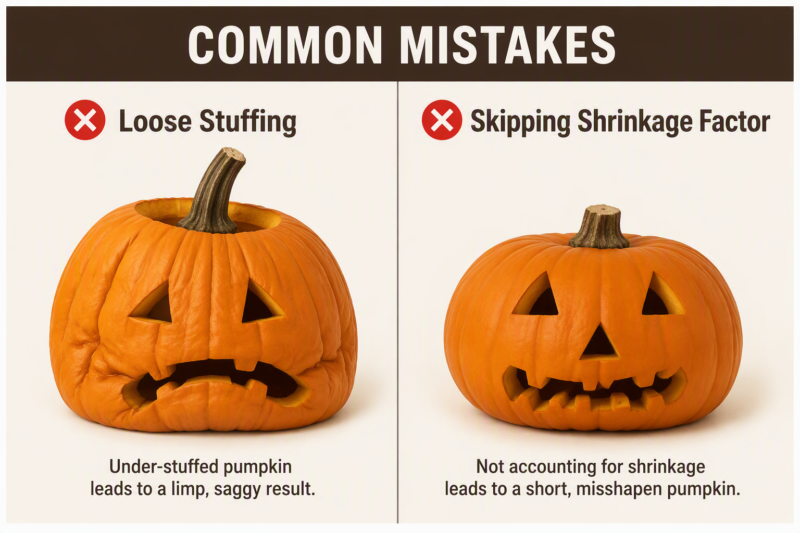
Many beginners also forget the shrinkage factor when chaining. If your starting chain matches the desired height perfectly, your finished pumpkin will end up too short after you pull the ends together.
Loose stuffing is another trap. If the fiberfill is not packed tightly, the pumpkin will appear limp. It will lose its round shape within days of being displayed.
Troubleshooting Your Pumpkin
Uneven ridges often happen when you accidentally crochet through both loops instead of just the back loop. This breaks the ribbing pattern and makes the fabric look flat.
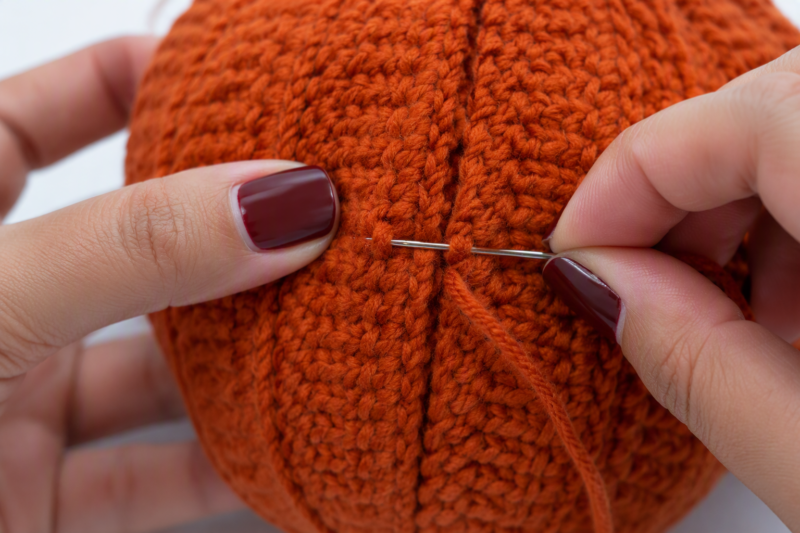
Seam visibility ruins the illusion of a continuous pumpkin. Use an invisible mattress stitch to close your side seam. This hides the join perfectly within the texture.
Wobbly stems are a nuisance. If the stem does not sit straight, use a whip stitch around the entire base of the stem to anchor it firmly.
FAQ
Q: Why use back loop stitches for a crochet pumpkin?
Back-loop stitches create visible horizontal ridges that help the piece look more like a pumpkin. Several tutorials specifically use back-loop half-double crochet or back-loop single crochet for that reason. The texture also makes the fabric easier to shape when it is stuffed and cinched into sections.
Q: How long does it take to crochet a pumpkin?
Many beginner pumpkin projects are designed to be quick, and some are described as quick and easy. The time depends on the size, the stitch pattern, and whether you add extras like a stem, leaves, or segmented shaping. Small pumpkins can often be finished in one sitting, while more detailed versions take longer.
Q: What size should the starting chain be for a crochet pumpkin?
One tutorial says to make the starting chain about the height you want plus one-third because the fabric shrinks by about that much. Another beginner pattern uses a 23-chain foundation and works until the piece is around 10 to 11 inches long. The best starting size depends on whether you want a small tabletop pumpkin or a larger decoration.
Q: How do you make a crochet pumpkin look round and realistic?
Stuffing evenly is important, but the round shape usually comes from cinching and segmenting the body with yarn. One pattern pulls yarn from top to bottom to create an indent, and another wraps yarn around the pumpkin to divide it into sections. Adding a stem and sometimes leaves also improves the realistic look.
Q: What is the easiest crochet pumpkin stitch?
The easiest beginner versions commonly use single crochet or half-double crochet. Some tutorials use back-loop single crochet, while others use back-loop half-double crochet for more texture. These stitches are beginner-friendly because they repeat simply and produce a sturdy fabric for stuffing.
Q: How do you attach the stem to a crochet pumpkin?
Most tutorials make the stem separately and sew it onto the top center of the pumpkin with a tapestry or sewing needle. Some patterns use brown yarn and a small i-cord, while others create a short stuffed stem in a separate piece. The stem is usually attached after the pumpkin body is stuffed and closed.
Q: What are common mistakes when crocheting a pumpkin?
Common mistakes include making the starting chain too short, stuffing unevenly, and closing the pumpkin before the shape is adjusted. Another issue is forgetting a long yarn tail, which makes sewing and cinching much harder. Texture and size also depend on consistent stitch tension, so uneven rows can affect the final look.
My Experience With How to Crochet a Pumpkin Step by Step
I remember my first attempt at this project. I drastically underestimated how much the fabric would shrink, leading to a pumpkin that looked more like a squat little dumpling. It was funny, but definitely not the harvest decor I had in mind! I learned quickly that the secret to a great pumpkin is in the stuffing density. You need to pack it firmly, but if you go too far, the stitches start to gape.
Finding the right tension with the back-loop stitch is another thing that gets easier with practice. Once you find your rhythm, you can basically crochet while watching a movie. My best advice for anyone struggling is to prioritize the yarn tail length. I cannot tell you how many times I had to restart because I ran out of yarn for the final seam. It is much easier to weave in a few extra inches of yarn at the end than it is to stitch a seam with a two-inch tail.
Do you have a favorite yarn color you plan to use for your first pumpkin, or are you going for a classic orange look?
Next Steps
Experiment with adding decorative elements like crochet leaves or vines made from green yarn. You can also create a collection of pumpkins in different sizes by simply adjusting your starting chain count or row total. Using your handmade pumpkins as seasonal mantle decor or unique gifts for the fall season adds a special touch to your home.
References
- Crochet 365 Knit Too. (2026). Medium Crochet Pumpkin Pattern. https://www.crochet365knittoo.com/medium-crochet-pumpkin/
- Just Be Crafty. (2026). Crochet Pumpkin Tutorial for Beginners. YouTube. https://www.youtube.com/watch?v=jVG7HCbufT8
- MallooKnits. (2026). How to make adorable crochet pumpkins that look knit. https://mallooknits.com/adorable-crochet-pumpkins-pattern/
- DIY Halloween decorations / Crochet PUMPKIN tutorial for beginners. (2026). YouTube. https://www.youtube.com/watch?v=ZcK-iqH1dHQ
- How to Crochet a Pumpkin | Crochet Pumpkin Tutorial | Quick & Easy Crochet Pattern. (2026). YouTube. https://www.youtube.com/watch?v=34olldpUIsM

A Teacher with 5 years of experience. Our Expertise, is reliable to meet your full Academic development needs . Worked on many crafts and construction projects offering services from design to development to deployment over the years. You will find many of my works in my business portfolio on request.