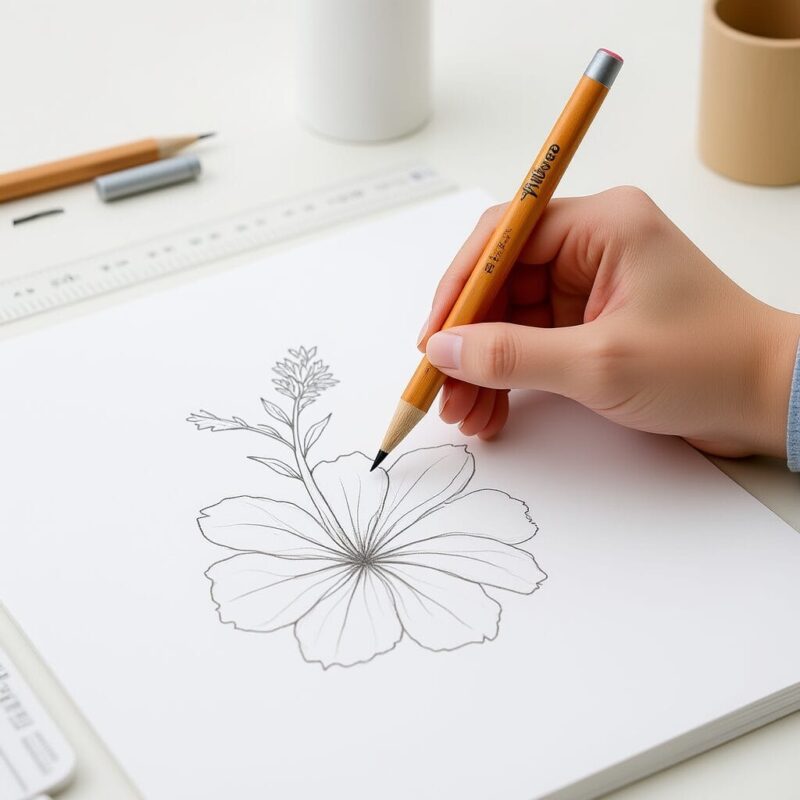

How To Draw A Hibiscus Flower 🌺 – This Art for Kids Hub tutorial is fantastic for understanding the basic structure and proportions!
I’ll never forget the first time I saw a hibiscus flower in person during a trip to Hawaii. The sheer size, the vibrant colors, and those dramatic, ruffled petals completely captivated me. When I returned home, I was determined to capture that tropical magic on paper. Little did I know that drawing hibiscus flowers would become one of my absolute favorite artistic challenges!
The hibiscus is dramatically different from other flowers I’d drawn before. Where roses are compact and tulips are simple, the hibiscus is bold, open, and wonderfully complex. It’s like drawing a celebration – everything about this flower screams joy and warmth. If you’ve ever wanted to bring a little tropical paradise into your sketchbook, you’re in for a treat.
Understanding the Hibiscus Structure
The first thing I learned about hibiscus flowers is that they’re architectural marvels. Unlike many flowers that have multiple layers of small petals, the hibiscus typically has five large, overlapping petals that create this gorgeous, open trumpet shape. At the center, there’s this amazing stamen structure – a long, prominent column that extends well beyond the petals, decorated with bright anthers.
When I study a hibiscus, I see it as having three main components: the broad, ruffled petals that form the main body of the flower, the distinctive central stamen, and often some visible sepals (the green parts) peeking out from behind. Each petal has its own character – some might be more ruffled than others, some might curve differently, and they overlap in fascinating ways.
Step 1: Mapping Out the Basic Shape
I always start my hibiscus drawings by establishing the overall shape with light, confident strokes. Using a 2H pencil, I begin with a large circle – much larger than you might expect. Hibiscus flowers are generous in size, and one of my early mistakes was drawing them too small.
Within this circle, I lightly sketch a smaller circle in the center. This will guide me when I place the prominent stamen later. Then, I divide the large circle into five sections, like cutting a pie. These divisions help me position each petal, though I keep them very light since the final flower won’t follow these lines exactly.
Here’s a crucial insight I gained: hibiscus flowers often appear slightly tilted when we view them, not perfectly face-on. So I usually make my circle slightly oval, which immediately gives the drawing more natural appeal and suggests dimension.
Step 2: Crafting the Individual Petals
Now for the exciting part – creating those magnificent petals! I start with the petal that appears most prominent (usually the top one in my compositions). Each hibiscus petal has a distinctive shape: broad at the outer edge, narrowing as it approaches the center, with wonderfully irregular, often ruffled edges.
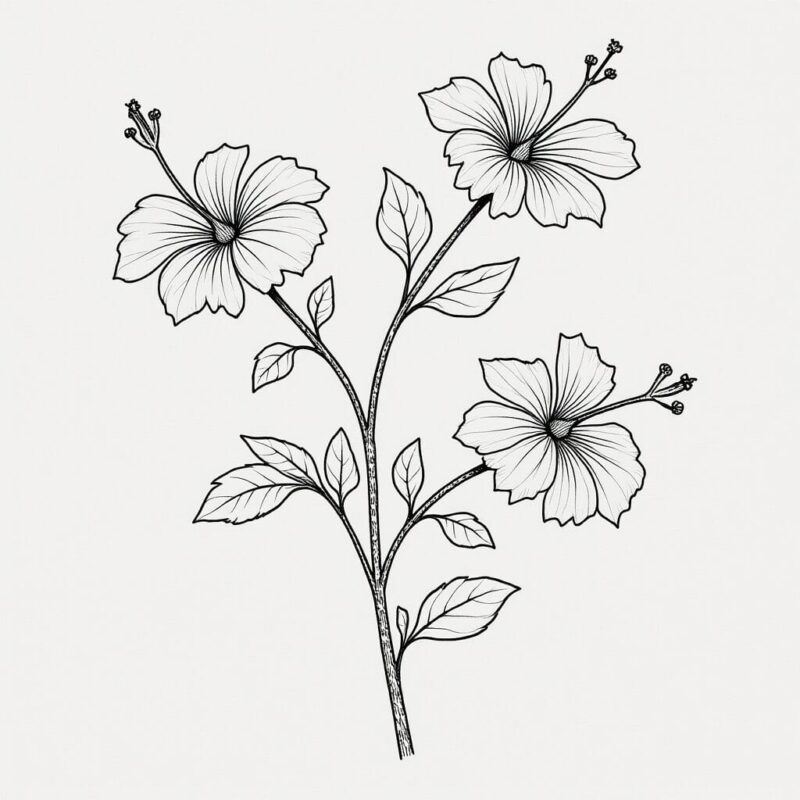
I never draw hibiscus petals with smooth edges. Instead, I create gentle waves and curves along the outer edges. Some areas might have deeper indentations, others might have subtle ripples. This irregularity is what gives hibiscus flowers their characteristic tropical flair.
As I work my way around the flower, I pay careful attention to how the petals overlap. Usually, each petal tucks slightly behind the one next to it, creating lovely shadow pockets and depth. I’ve learned to exaggerate these overlaps slightly – it makes the flower appear more three-dimensional and alive.
Step 3: The Star of the Show – The Stamen
The hibiscus stamen is truly spectacular and unlike anything on other common flowers. It’s a long, prominent column that extends from the center of the flower, decorated with multiple small anthers along its length. When I first started drawing hibiscus flowers, I was intimidated by this structure, but now I see it as the flower’s crowning glory.
I draw the main stamen as a gently curved line extending from the center point I marked earlier. It’s not perfectly straight – real stamens have a slight curve or bend. Along this central column, I add small oval shapes to represent the anthers. These are usually clustered more densely near the tip.
The base of the stamen, where it emerges from the flower’s center, is typically thicker and creates interesting shadow patterns among the inner parts of the petals. This area adds wonderful complexity to the drawing.
Step 4: Adding Depth with Inner Petal Details
Here’s where the hibiscus really starts to come alive. The inner portions of the petals, near the center, often have visible veining and subtle color changes that I suggest with light pencil strokes. These lines radiate outward from the center, following the natural growth pattern of the petals.
I also pay special attention to the areas where petals meet the center of the flower. There are often small, shadowed pockets here that add crucial depth. These shadows help separate the petals visually and make the flower appear to have real dimension rather than being flat.
Step 5: Refining the Edges and Adding Character
This is where I switch to a softer pencil (usually HB or B) and really focus on giving each petal its own personality. I refine those ruffled edges, making some areas more dramatic than others. Real hibiscus petals often have delicate, paper-thin edges that catch light beautifully, so I’m careful not to make my lines too heavy here.
I also add subtle fold lines within the petals. These suggest the natural creases and curves that occur in the flower’s surface, adding realism and visual interest.
Step 6: Shading and Creating Atmosphere
Shading a hibiscus is an adventure in itself! These flowers have such dramatic form that they create wonderful shadow patterns. I establish my light source (again, usually from the upper left) and begin identifying the major shadow areas.
The deepest shadows typically occur where petals overlap, around the base of the stamen, and in the ruffled edges where the petal surface turns away from the light. I use graduated shading, starting with the darkest areas and blending outward.
One technique I’ve developed is what I call “petal mapping” – I identify the high points and low points of each petal’s surface and shade accordingly. This creates that characteristic hibiscus look where some areas seem to glow while others recede into shadow.
Adding the Supporting Elements
While the flower is the star, I often add some supporting elements to complete the composition. Hibiscus leaves are large, heart-shaped, and often have serrated edges. They make wonderful frames for the flower and add to the tropical feeling.
I also sometimes suggest the flower’s sepals – those pointed, green structures that cradle the back of the flower. Even just hinting at these adds authenticity to the drawing.
Common Challenges and How I Overcame Them
My biggest early struggle with hibiscus flowers was proportion. These flowers are larger than most people expect, and I kept drawing them too small relative to other elements in my compositions. I learned to embrace their bold size – it’s part of their charm!
Another challenge was the ruffled edges. I used to either make them too smooth (boring) or too chaotic (distracting). I found that observing real flowers taught me that the ruffling has rhythm – there are patterns to the waves and folds that, once understood, become much easier to replicate.
The stamen intimidated me for a long time. It seemed so complex and three-dimensional. But I discovered that if I break it down into simple components – the main column plus individual anthers – it becomes quite manageable.
Exploring Variations and Personal Style
Once you’re comfortable with the basic hibiscus form, there’s so much room for creativity! I love experimenting with different viewing angles. A hibiscus seen from slightly below, looking up into its trumpet shape, creates a completely different and dramatic composition.
I also enjoy drawing hibiscus flowers at different stages of bloom. A partially opened flower has a completely different character from a fully opened one, and even flowers that are just beginning to close have their own unique appeal.
The Emotional Connection
What I love most about drawing hibiscus flowers is how they make me feel. There’s something inherently joyful about their bold, open form and their association with warm, tropical places. Every time I draw one, I’m transported to that feeling of vacation relaxation and natural beauty.
These flowers have taught me to be bold in my art, to not be afraid of dramatic shapes and strong shadows. They’ve shown me that sometimes the most beautiful drawings come from embracing complexity rather than shying away from it.
Practice Suggestions for Hibiscus Mastery
I recommend starting with simple line drawings to get comfortable with the basic shapes and proportions. Focus on getting those petal overlaps right – they’re crucial for creating the three-dimensional effect.
Practice drawing the stamen separately until you’re comfortable with its structure. It’s such a distinctive feature that getting it right really makes the difference between a generic flower and a recognizable hibiscus.
Try drawing hibiscus flowers from different reference photos, paying attention to how the lighting changes the shadow patterns and the overall mood of the flower.
Drawing hibiscus flowers has been one of my most rewarding artistic experiences. These tropical beauties have challenged me, inspired me, and brought countless hours of creative joy. I hope they do the same for you.

A Teacher with 5 years of experience. Our Expertise, is reliable to meet your full Academic development needs . Worked on many crafts and construction projects offering services from design to development to deployment over the years. You will find many of my works in my business portfolio on request.