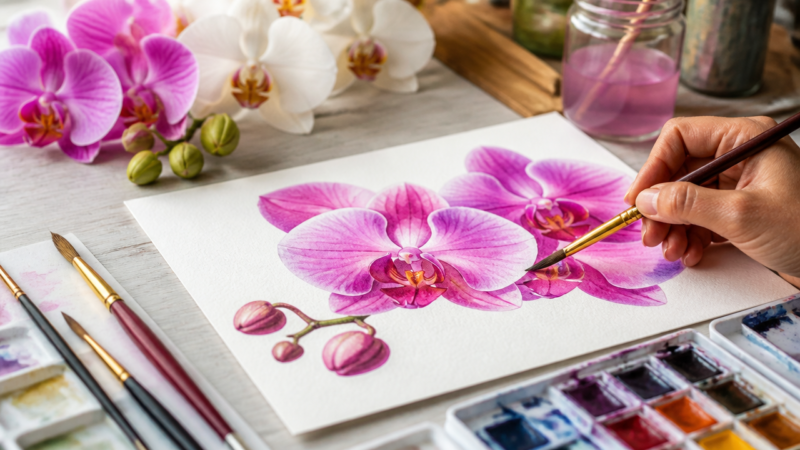
This article is all about 8 Acrylic Painting Tips You Need Now After years of trial and error (and countless YouTube tutorials), I’ve discovered eight game-changing tips that transformed my acrylic painting from amateur hour to something I’m actually proud to hang on my walls.
Master Your Brush Selection and Care
Here’s what no one tells beginners: your brush choice makes or breaks your painting. I used to think any brush would do, but I was sabotaging myself from the start. Bright-shaped brushes became my go-to for large areas because their straight edges create clean, controlled strokes. For more organic, flowing work, filberts are absolute magic – their rounded tips naturally create softer, more painterly marks.
The real revelation came when I learned proper brush care. I was guilty of leaving brushes standing in water cups, wondering why they developed permanent bends and lost their points. Now I keep my brushes damp but not soaked before loading with paint. Once paint is on the brush, I unload excess paint by gently pressing against the palette edge. This simple step eliminated those frustrating thick globs that used to ruin my smooth applications.
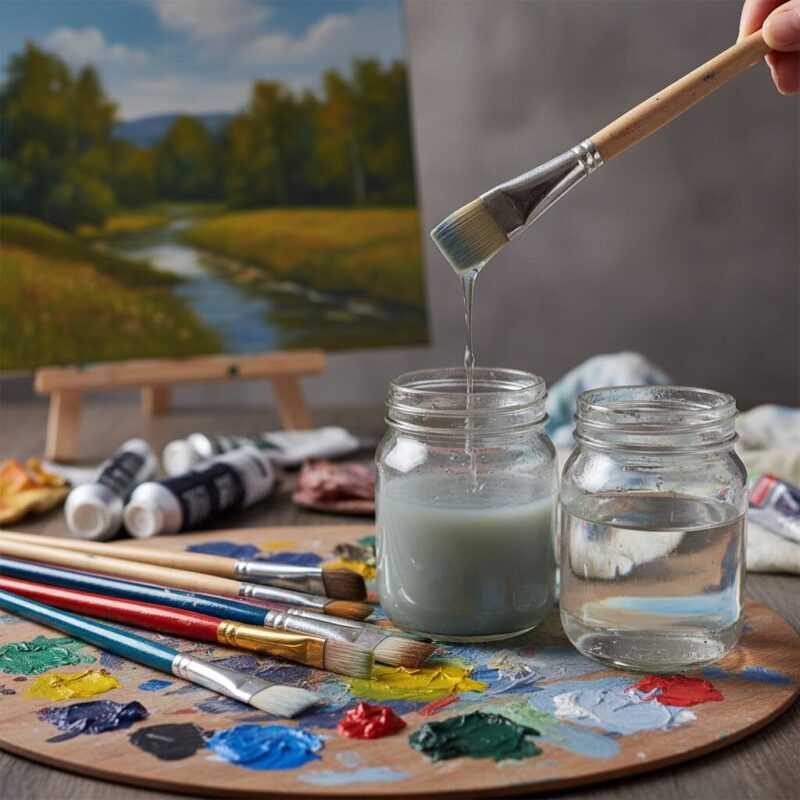
For cleaning, I use the “two-jar system” – one for initial rinse, another for final cleaning. This keeps my clean water actually clean and prevents muddy color contamination. Between colors, I gently squeeze the ferrule (the metal part) while rinsing to remove paint trapped near the base. Trust me, your brushes will last exponentially longer with proper care.
Control Your Paint Consistency Like a Master
The biggest breakthrough in my acrylic journey was understanding paint consistency. Straight-from-the-tube paint is often too thick for smooth application, leading to those telltale brush marks I spent years trying to eliminate. The secret is the “golden ratio” of paint to medium.
I keep a spray bottle filled with water nearby and mist my palette regularly to keep paint workable. But here’s the pro tip: don’t add water directly to your paint on the canvas. Instead, load your damp brush with paint, then work it on the palette until you achieve the perfect consistency – fluid enough to flow smoothly but not so thin it becomes transparent.
For backgrounds and large areas, I thin my paint with glazing medium rather than water. This maintains the paint’s binding properties while extending working time. The result is smooth, even coverage without the streaky appearance that screams “amateur.” When I need paint to stay wet longer for blending, I add a drop of slow-drying medium to my mixture.
Eliminate Brush Strokes With Smart Technique
Those visible brush strokes that make paintings look harsh and unfinished? I’ve cracked the code on minimizing them. The key is in your brush handling technique, not just paint consistency. Instead of scrubbing the paint onto the canvas, I use gentle, confident strokes with consistent pressure.
For smooth backgrounds, I work in thin layers using a technique called “cross-hatching” – applying paint in one direction, then gently brushing perpendicular strokes while the paint is still wet. This breaks up the linear brush marks and creates an even, professional finish.
The game-changer was learning to “float” color rather than push it. When blending, I barely touch the surface with my brush, letting the paint flow naturally rather than forcing it. This technique requires more paint on your brush and a lighter touch, but the results are dramatically smoother.
Temperature and Humidity Are Your Hidden Enemies
I used to blame my paint or brushes when colors wouldn’t blend properly, not realizing my environment was sabotaging my efforts. Acrylic paint dries through water evaporation, so low humidity and warm temperatures accelerate drying time dramatically. I learned this the hard way during a summer painting session when my paint was drying before I could even blend it.
Now I paint in my coolest room and use a humidifier during dry seasons. For extended painting sessions, I cover my palette with a damp paper towel between breaks. This simple step keeps my paint workable for hours instead of minutes. I also learned to work in smaller sections, completing each area fully before moving on rather than trying to paint the entire canvas at once.
On humid days, I embrace the extended working time and tackle complex blending projects. On dry days, I focus on techniques that work well with faster-drying paint, like alla prima (wet-on-wet) approaches or geometric compositions where blend-ability isn’t crucial.
Color Mixing Secrets That Actually Work
My early paintings suffered from what I now recognize as “color chaos” – too many hues competing for attention, creating muddy, unfocused results. The professional-looking paintings I admired all shared one quality: restrained, harmonious color palettes.
I discovered the power of limited palettes through necessity when I forgot half my paint supplies for a plein air session. Working with just yellow ochre, burnt umber, and titanium white, I created one of my most successful paintings to date. This experience taught me that color harmony trumps color variety every time.
Now I pre-mix my palette before starting any painting. I create temperature variations of each color – a warm and cool version of every hue I plan to use. This preparation prevents on-canvas mixing disasters and ensures color consistency throughout the piece. I also keep detailed notes about successful color combinations for future reference.
The revelation about grays changed everything. Instead of mixing black and white for neutral tones, I create grays by mixing complementary colors. These “colored grays” add sophistication and prevent the flat, lifeless quality that comes from using tube black and white.
Layering Techniques That Build Depth
Understanding acrylic’s quick-drying advantage revolutionized my approach to building depth and richness. Unlike oils, which stay workable for hours, acrylics allow rapid layering without disturbing underlying colors. I use this property to build complex color relationships that would be impossible with slower-drying mediums.
My layering process starts with thin, translucent washes to establish overall color temperature and mood. I use glazing medium to create transparent layers that allow underlying colors to show through, creating optical color mixing that’s far more vibrant than physical mixing alone.
For texture and interest, I vary my brushwork between layers. Smooth base coats provide stability, while subsequent layers use more expressive brushwork for visual excitement. This combination of smooth and textured surfaces creates the professional quality that distinguishes accomplished paintings from beginner work.
Problem-Solving Common Acrylic Challenges
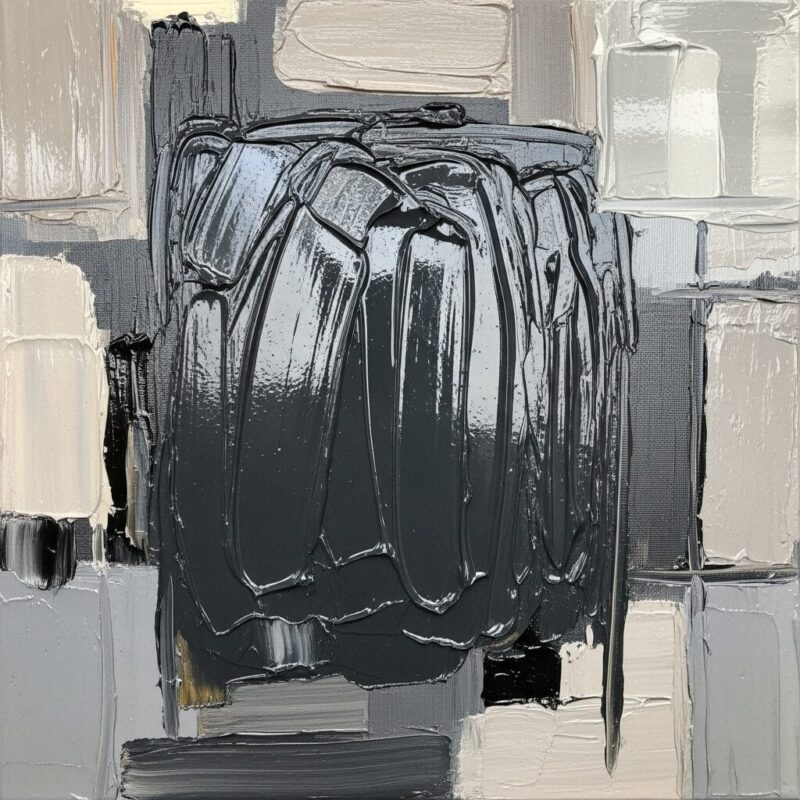
Every acrylic painter faces the “plastic” look – that artificial sheen that makes paintings appear flat and lifeless. I conquered this by varying my paint thickness and finish within each painting. Thicker paint in highlight areas catches light naturally, while thinner applications in shadow areas recede appropriately.
Matte medium became my secret weapon for controlling surface quality. Mixed with paint, it reduces shine while maintaining workability. I use it selectively – keeping some areas slightly glossy for contrast while matting others for visual variety.
The edge quality problem plagued me for months. Harsh, cut-out edges made my subjects look like paper cutouts rather than three-dimensional forms. Learning to vary edge treatment – some sharp and defined, others soft and lost – created the natural, professional appearance I was seeking.
Developing Your Personal Acrylic Style
The final tip isn’t technical but philosophical: embrace acrylic’s unique properties rather than trying to make it behave like oil paint. Acrylics have their own aesthetic possibilities that become strengths when properly understood and exploited.
I’ve developed a personal approach that celebrates acrylic’s quick-drying nature and vibrant color potential. Instead of fighting these characteristics, I’ve built techniques around them. Quick color studies become possible, layering effects are immediate, and the ability to work over mistakes without waiting makes experimentation fearless.
The journey from frustrated beginner to confident acrylic painter isn’t about mastering complex techniques – it’s about understanding the medium’s nature and working with it rather than against it. These eight tips transformed my relationship with acrylic paint, and I’m confident they’ll do the same for you. Remember, every professional painter started exactly where you are now. The only difference is practice and the willingness to learn from each painting session.
A Teacher with 5 years of experience. Our Expertise, is reliable to meet your full Academic development needs . Worked on many crafts and construction projects offering services from design to development to deployment over the years. You will find many of my works in my business portfolio on request.