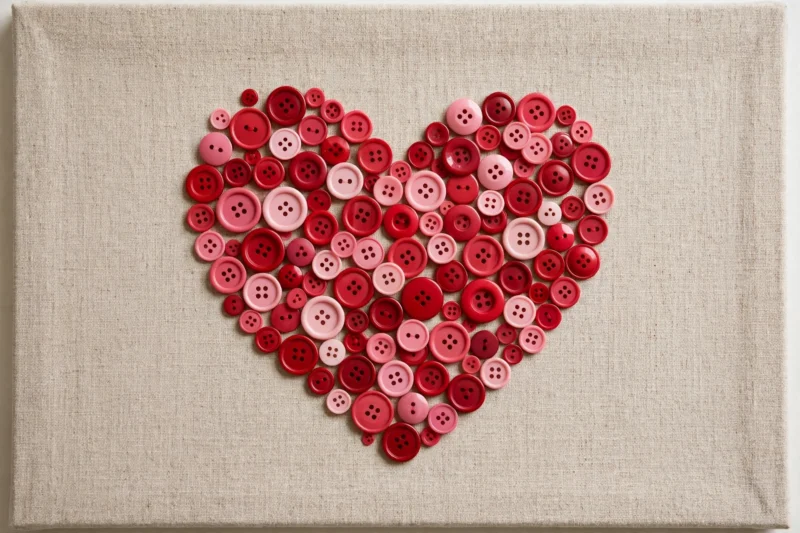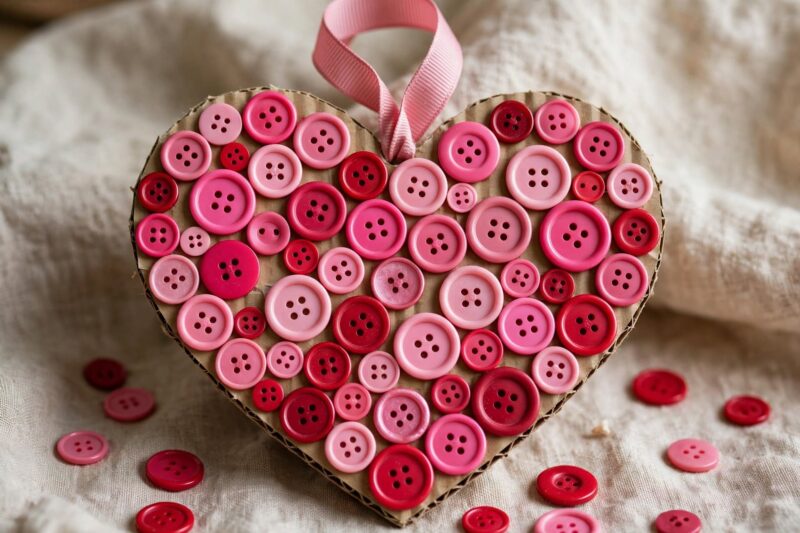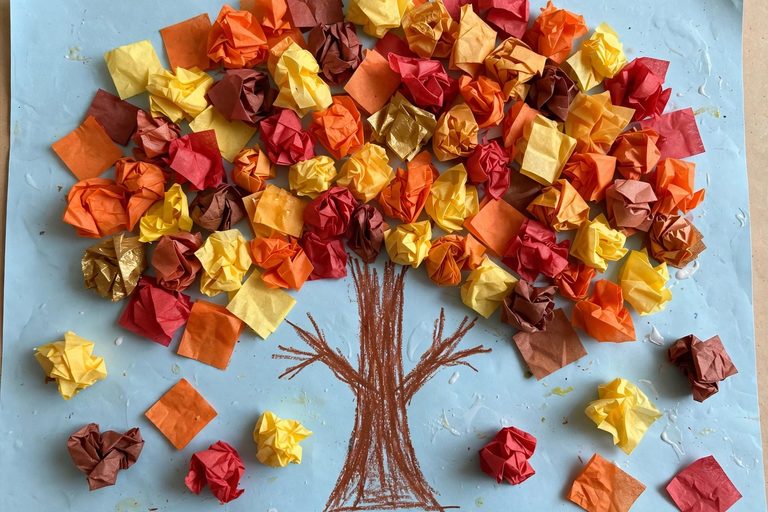

Quick answer: You can turn a jar of spare buttons into hair clips, bangles, flower vases, canvas art, keepsake bookmarks, and more. Most button crafts only need glue, a base object, and about 20 minutes.
Got a tin of mismatched buttons sitting in a drawer? Don’t toss them. Buttons come in so many colors, sizes, and textures that they make great little building blocks for craft projects. You don’t need fancy tools either. A hot glue gun, some thread, and a little patience will get you through almost every idea on this list.
Whether you’re crafting with kids on a rainy afternoon or looking for a calm hobby to unwind after work, these twelve button projects give old buttons a new job. Grab your button jar and let’s get started.
One reason button crafts work so well is that buttons already come pre-shaped and colored, so there’s very little prep involved compared to other craft supplies. You don’t have to cut, sand, or paint anything to get a good looking result. Just sort your buttons by size or color, pick a base object, and start gluing or stringing. That makes these projects a good fit for a quiet weeknight or a group activity with kids, since cleanup is minimal and mistakes are easy to fix by simply popping a button off and repositioning it.
| Project | Skill Level | Best For |
|---|---|---|
| Hair Clips | ● Easy | Kids & teens |
| Flower Vase | ● Easy | Home decor |
| Bangles | ● Medium | Jewelry lovers |
| Tree Canvas Art | ● Medium | Wall decor |
| Cat Portrait | ● Advanced | Detailed art fans |
| Christmas Stars | ● Easy | Holiday decor |
| # | Project | Main Supplies | Time Needed |
|---|---|---|---|
| 1 | Button Hair Clips | Buttons, bobby pins, glue | 15 min |
| 2 | Button Flower Vase | Glass jar, buttons, glue | 30 min |
| 3 | Stacked Button Bangles | Bangle blank, buttons, glue | 25 min |
| 4 | Button Tree Canvas | Canvas, paint, buttons | 45 min |
| 5 | Button Cat Portrait | Cardstock, assorted buttons | 1 hour |
| 6 | Colored Christmas Stars | Cardboard star, buttons, paint | 30 min |
| 7 | Button Flower Bouquet | Floral wire, buttons, felt | 40 min |
| 8 | Button Photo Frame | Wooden frame, buttons, glue | 30 min |
| 9 | Button Garland | Twine, buttons, needle | 35 min |
| 10 | Button Bookmarks | Paperclips, buttons, glue | 10 min |
| 11 | Button Fridge Magnets | Magnet backs, buttons, glue | 10 min |
| 12 | Button Keychain | Key ring, jump rings, buttons | 15 min |
Time Needed By Project (Minutes)
1. Button Hair Clips
Glue a single big button or a small cluster onto a plain bobby pin and you’ve got a hair clip that looks store bought. This is one of the fastest projects on the list, so it’s perfect when you want a quick win.
Kids love picking their own button colors for this one. Try mixing two button sizes on the same clip for extra texture, and use strong craft glue so the button stays put through a whole school day.
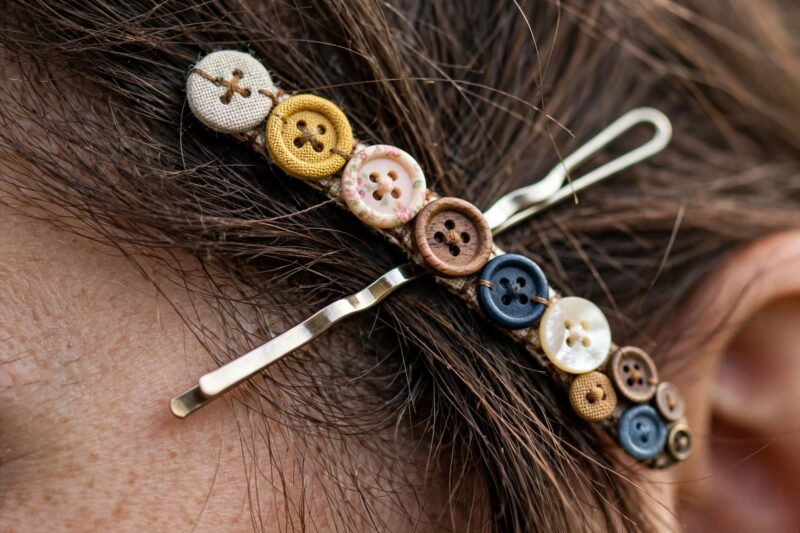
Quick tip: Roughen the flat back of shiny buttons with sandpaper first. Glue holds much better on a slightly rough surface.
2. Button Flower Vase
An old glass jar or bottle turns into a decorative vase once you cover it with rows of buttons. This project stretches your button stash further than jewelry does, since vases can hold a lot of buttons at once.
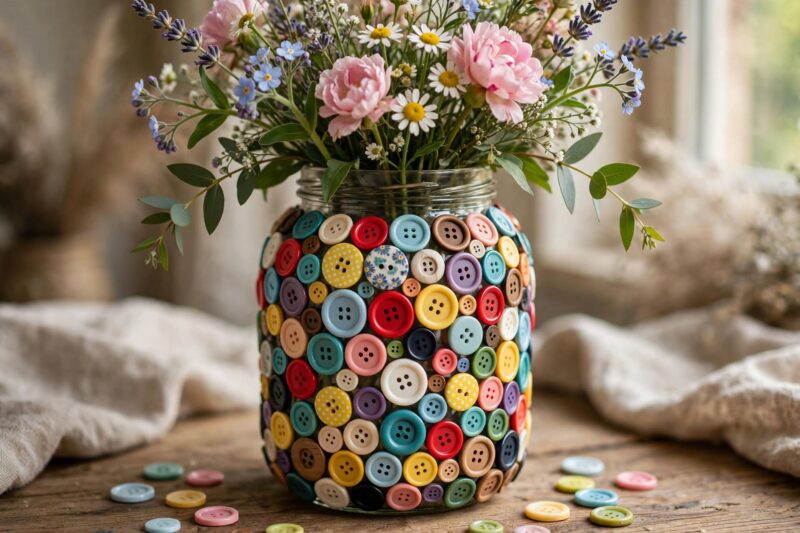
Start at the base and glue buttons in a ring, working your way up like fish scales. Mixing similar colors gives a calm, cohesive look, while a rainbow mix feels more playful and fits a kid’s room.
Quick tip: Use a hot glue gun instead of craft glue on glass. It sets faster and grips buttons that curve around the jar.
3. Stacked Button Bangles
Button bangles look far more expensive than they actually are. Buy a plain plastic or wooden bangle blank, then glue flat buttons around it in a tight, overlapping pattern until no gaps are left.
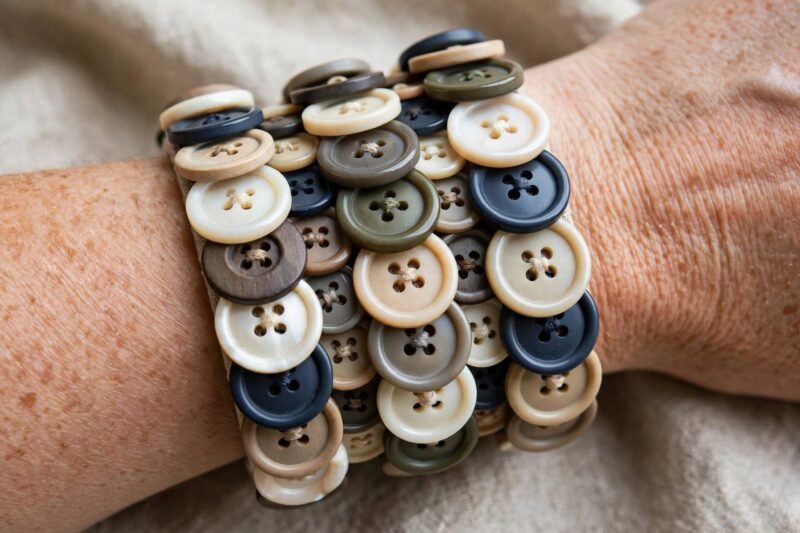
Sort buttons by size before you start. Larger buttons near the middle of the bangle with smaller ones toward the edges create a smoother, more finished shape than randomly placed pieces.
Quick tip: Seal the finished bangle with a coat of clear craft varnish. It stops buttons from snagging on sleeves and adds a nice shine.
4. Button Tree Canvas Art
Paint or draw a simple tree trunk and branches on a blank canvas, then glue green, brown, or autumn colored buttons where the leaves would be. It’s a forgiving project since buttons hide small painting mistakes.
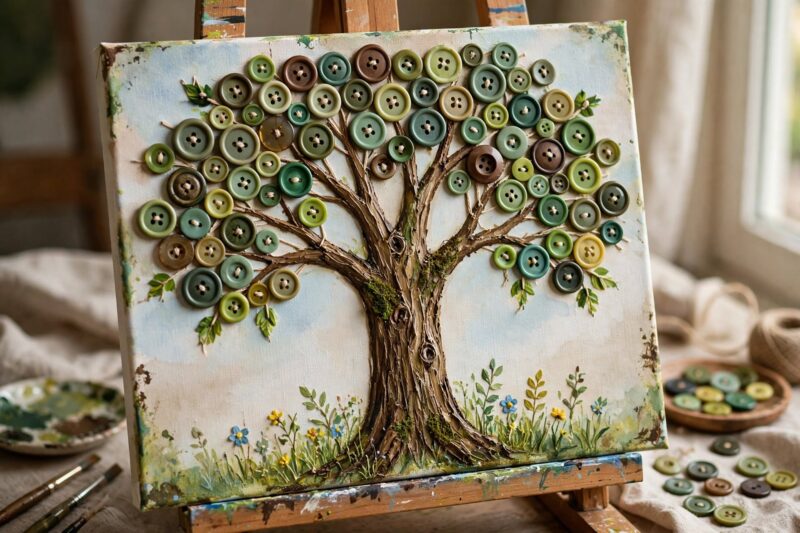
This piece works for any season. Use pink and white buttons for spring blossoms, green for summer, orange and red for fall, or skip the paint and glue buttons straight onto a wood slice.
Quick tip: Let the paint dry completely before gluing buttons on top, or the buttons will slide out of place.
5. Button Cat Portrait
Sketch a simple cat outline on cardstock or canvas, then fill in the body with buttons instead of paint. Round buttons work well for the head and body, while smaller ones can shape the ears and paws.
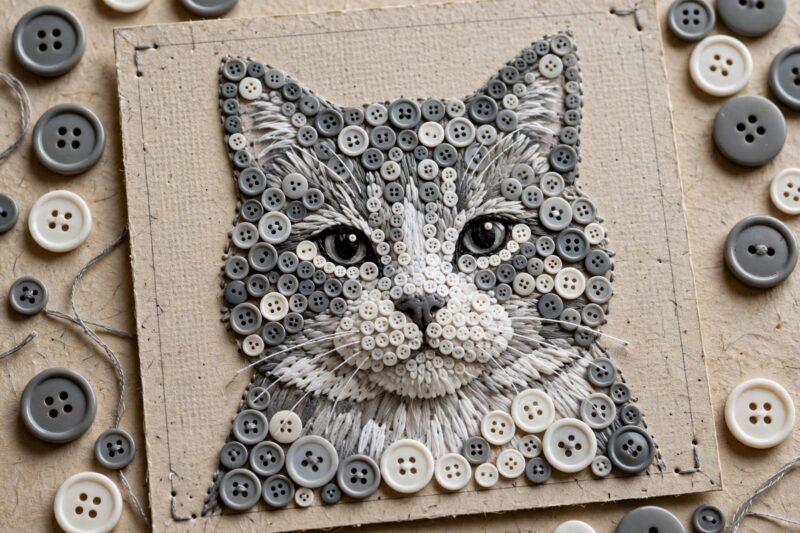
This is the most detailed project on the list, so it’s a great one for older kids or adults who want something to focus on for an hour. Grey and white buttons make a classic tabby look, while black buttons work for a silhouette style cat.
Quick tip: Lay all your buttons out on the outline first before gluing anything down. It’s much easier to fix the layout while everything is still loose.
6. Colorful Christmas Star Ornaments
Cut a star shape out of thick cardboard or a wood slice and cover it edge to edge with bright, colorful buttons. Add a loop of ribbon at the top and you have a homemade tree ornament in under half an hour.
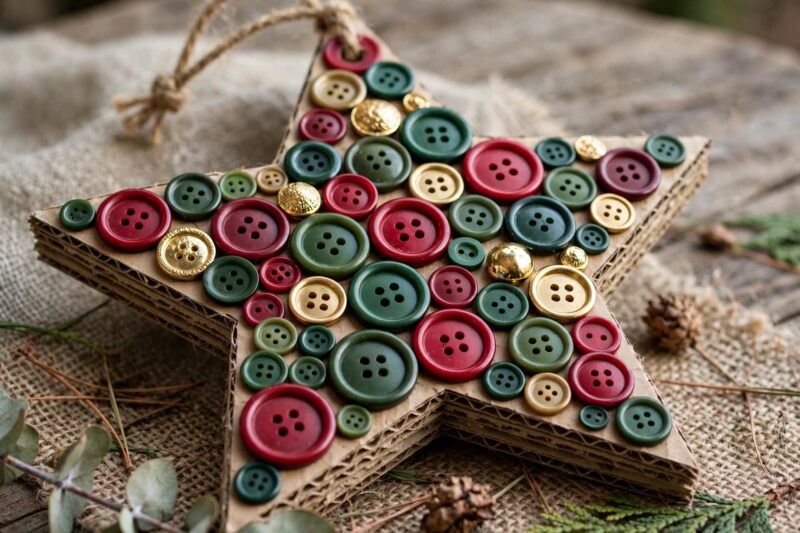
Reds, golds, and greens give a classic holiday look, but a mix of every color you own makes a fun, festive ornament too. Kids can each make their own star to hang on the family tree every year.
Quick tip: Glue the ribbon loop to the back of the star before adding buttons, so it’s already secure once the front is covered.
7. Button Flower Bouquet
Thread a few buttons onto a piece of floral wire, twist to hold them in place, then wrap the wire in green floral tape to make a stem. Bundle several of these button flowers together for a bouquet that never wilts.
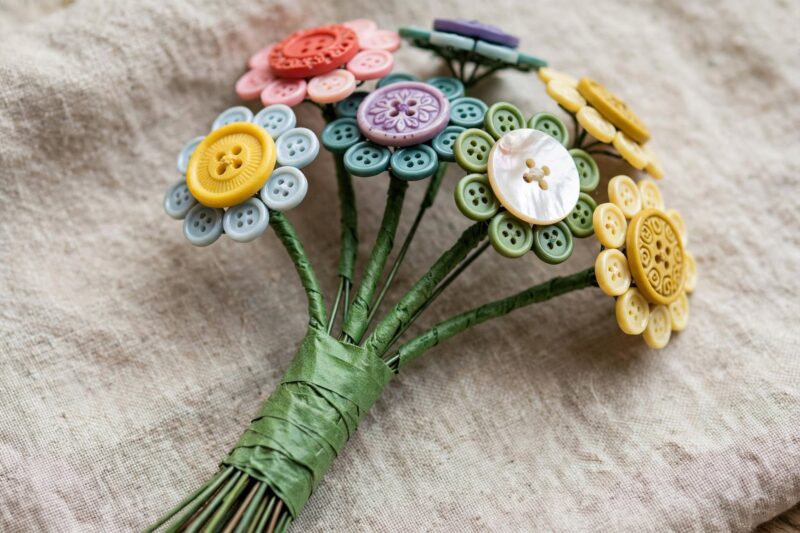
Bigger flat buttons make great flower centers, while a ring of smaller buttons around them looks like petals. This bouquet makes a sweet, low cost gift for a birthday or Mother’s Day.
Quick tip: Add a few paper or felt leaves along the stem for a more realistic finished look.
8. Button Photo Frame
A plain wooden picture frame gets a full makeover once you glue buttons across its surface. This is a great way to use up buttons that don’t quite match anything else in your stash.
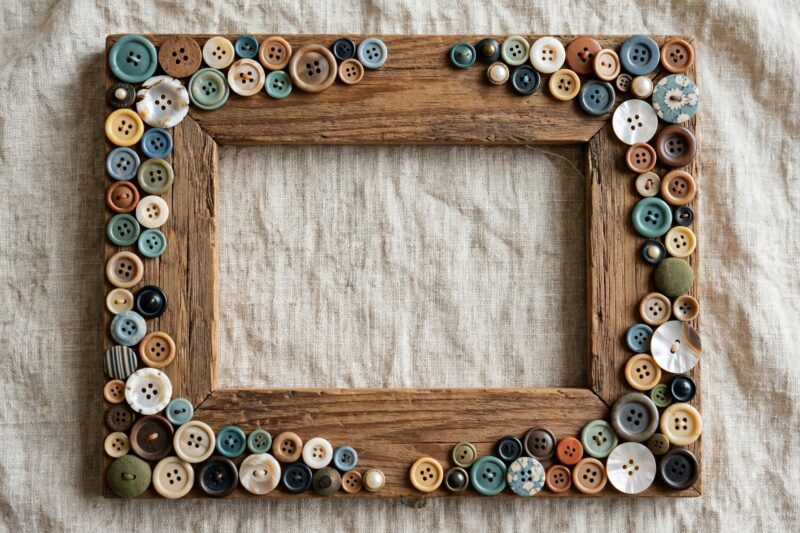
You can cover the whole frame for a busy, textured look, or just decorate one or two corners for something more subtle. Either way, it turns a plain frame into a handmade keepsake.
Quick tip: Plan your button layout on a table before gluing, so you can balance the colors evenly across the frame.
9. Button Garland
Thread buttons onto a length of twine or embroidery floss using a large needle, and knot the twine between each button so they stay spaced apart. String enough together and you’ve got a garland for a tree, mantel, or party wall.
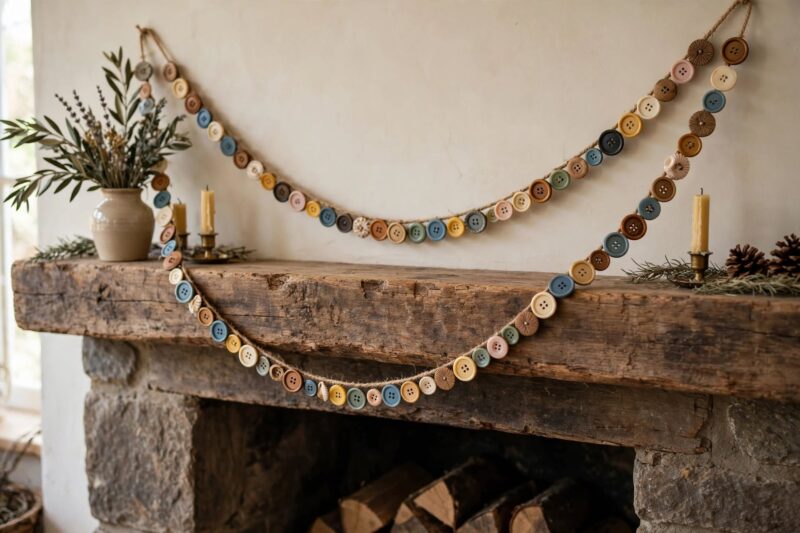
Sort buttons by color for an ombre effect, or keep them totally mixed for a playful, scrapbook feel. This project is easy enough for kids to help with once they can thread a needle.
Quick tip: Tie a knot on both sides of each button so they don’t slide around and bunch up over time.
10. Button Bookmarks
Glue a cluster of small buttons onto a large paperclip and you’ve got a bookmark that clips right onto your page. It’s one of the fastest projects on this list and a great one to make as a gift.
Try theming the buttons to the book, like flower buttons for a gardening book or star buttons for a space story. A ribbon tail glued behind the buttons adds a nice finishing touch.
Quick tip: Use hot glue rather than craft glue here. It dries fast enough that the bookmark is ready to use the same day.
11. Button Fridge Magnets
Glue a small magnet disc to the back of a single decorative button and you’ve made a magnet in minutes. Make a whole set in different colors and shapes for a cheerful fridge or memo board.
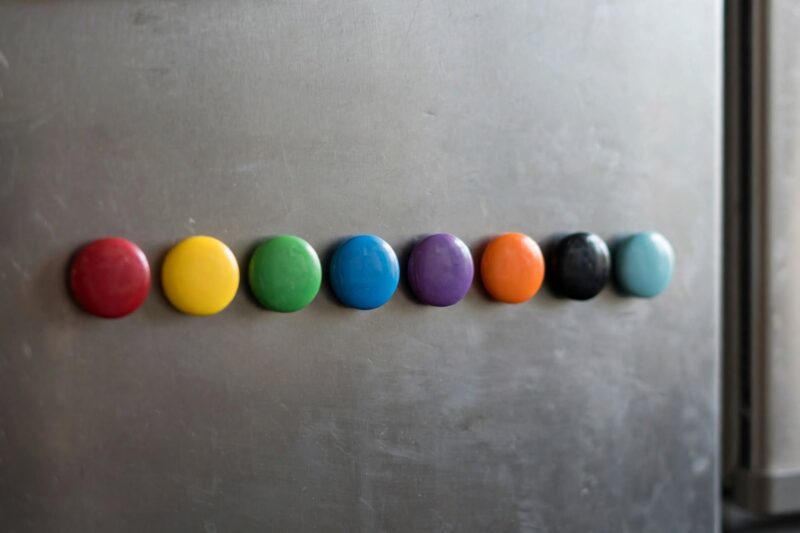
This is a great activity for very young kids, since there’s only one step involved. Line up a row of finished magnets to hold up school drawings or grocery lists.
Quick tip: Choose buttons with a flat back so the magnet sits flush and doesn’t wobble on the fridge.
12. Button Keychain
Stack two or three buttons of different sizes onto a jump ring, then attach that to a keyring for a simple, sturdy keychain. Layering the buttons by size gives it a fun, dimensional look.
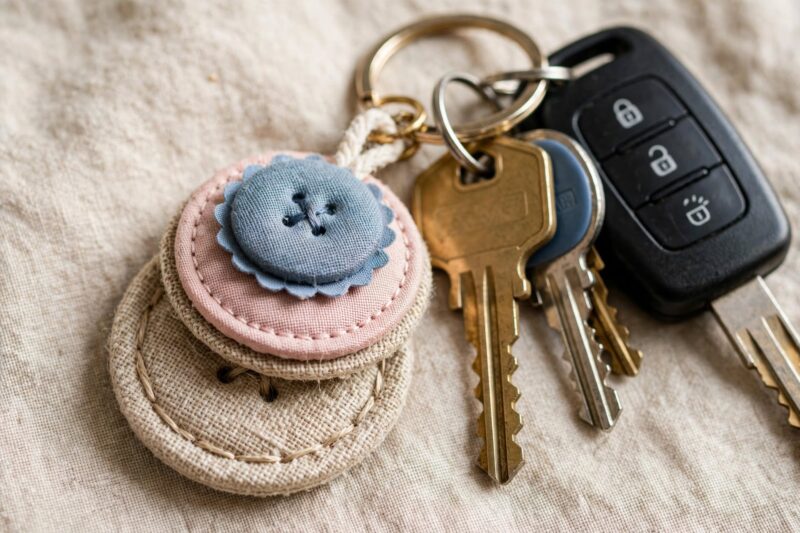
This one holds up well to daily use since there’s no glue involved, just the jump ring threaded through each button hole. It’s a nice quick gift for teachers, coaches, or friends.
Quick tip: Use pliers to fully close the jump ring so the buttons can’t slip off over time.
FAQ
What glue works best for button crafts?
A hot glue gun works best for most projects since it sets fast and holds well on glass, wood, and fabric. For paper crafts like bookmarks or cards, a thick craft glue or tacky glue is gentler and less likely to warp the paper.
Can I use plastic buttons instead of vintage ones?
Yes, plastic buttons work fine for almost every project on this list. Vintage or metal buttons just add extra texture and a bit more weight, which can help with things like bangles and keychains.
How do I clean old buttons before crafting with them?
Wipe them down with a damp cloth and mild soap, then let them air dry fully before gluing. Skip soaking metal or brass buttons in water since it can cause spotting or rust.
What age is button crafting suitable for?
Most of these projects suit kids around age six and up, as long as an adult handles the hot glue gun. Simpler ideas like magnets and garlands work for younger kids with supervision.
Conclusion
Buttons are one of those craft supplies that never really run out of uses. From quick five minute projects like magnets and bookmarks to longer weekend projects like a full canvas cat portrait, there’s a button craft for every mood and skill level. You don’t need a big budget either, since most of these ideas reuse buttons you probably already have sitting around the house.
Pick one project from this list, gather your buttons and a bottle of glue, and set aside a half hour this week to give it a try. Once you see how easy the first one is, you’ll probably want to work your way through the rest of the list too.
If you run low on buttons partway through a project, check thrift stores, garage sales, or an old sewing kit before buying new ones. Vintage buttons especially tend to have more character than the plain plastic kind, and mixing a few unique finds into a project gives it a one of a kind look you won’t get from a matching craft store pack.
References
- Sadie Seasongoods, “Button Crafts and Project Ideas for All Those Vintage Buttons”
- Rustic Crafts & DIY, “Button Crafts: 20 Things To Make With Buttons”
- SewCanShe, “30 Fun & Free Button Crafts: Rainy Day Activities for Kids”
- The Crazy Craft Lady, “Crafty and Frugal – DIY Button Crafts for Every Style”
- Craftulate, “25 Simple Button Crafts and Art Projects”
- DIY & Crafts, “26 Innovative and Beautiful Button Crafts and Projects”

A Teacher with 5 years of experience. Our Expertise, is reliable to meet your full Academic development needs . Worked on many crafts and construction projects offering services from design to development to deployment over the years. You will find many of my works in my business portfolio on request.