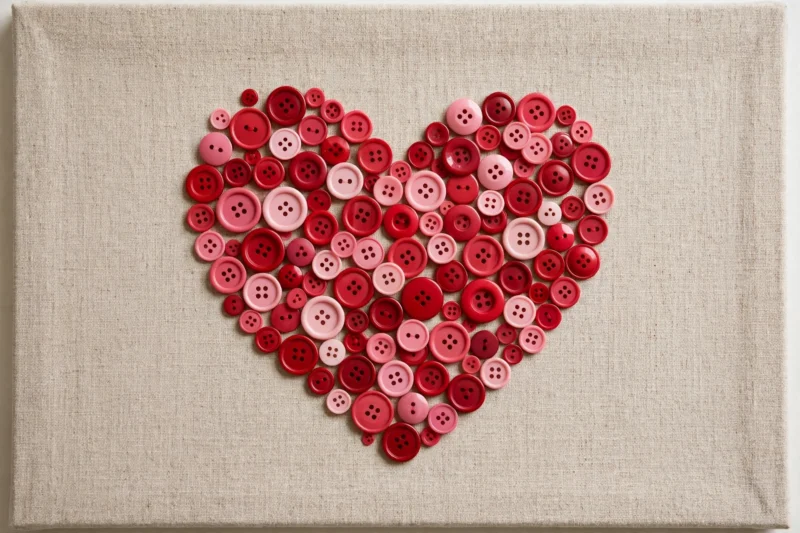

Quick answer: You can turn spare buttons into a Christmas tree ornament, a cat portrait, a wind chime, flowers, a butterfly, a pumpkin, and even decorated cups, spoons, and shoes. Most of these only need glue, buttons, and about 20 to 30 minutes.
If you’ve got a tin of spare buttons sitting in a drawer, you’re sitting on a small craft goldmine. Buttons come in so many shapes, colors, and finishes that they work just as well for a cute animal shape as they do for dressing up something you already own, like a mug or a pair of flats.
These 13 ideas mix animals, plants, and everyday objects around the house, so there’s something here whether you want a quick weeknight project or a slower weekend one. None of them need special tools, just buttons, glue, and a few basic craft supplies you probably already have.
One nice thing about mixing categories like this is that you’re not stuck making the same type of project over and over. A wire dragonfly uses totally different skills than gluing buttons onto a mug, so switching between them keeps things interesting if you’re working through the whole list. It’s also a good way to figure out which techniques you enjoy most, whether that’s shaping wire, layering buttons for texture, or simply arranging them by color on a flat surface.
| Project | Skill Level | Best For |
|---|---|---|
| Christmas Tree | ● Easy | Holiday decor |
| Cat | ● Medium | Wall art |
| Wind Chime | ● Medium | Outdoor decor |
| Flower | ● Easy | Home decor |
| Butterfly | ● Easy | Kids & nature lovers |
| Pumpkin | ● Easy | Fall decor |
| # | Project | Main Supplies | Time Needed |
|---|---|---|---|
| 1 | Button Christmas Tree | Cardstock or felt, green buttons, glue | 25 min |
| 2 | Button Cat | Cardstock, grey/white/black buttons | 45 min |
| 3 | Button Wind Chime | Small pot or lid, string, buttons | 30 min |
| 4 | Button Flower | Floral wire, buttons, felt | 20 min |
| 5 | Button Butterfly | Cardstock or clothespin, buttons | 20 min |
| 6 | Button Pumpkin | Orange buttons, twine, felt leaf | 25 min |
| 7 | Button-Decorated Cup | Plain mug or tin cup, buttons | 20 min |
| 8 | Button Spoon Ornament | Old spoon, buttons, wire | 15 min |
| 9 | Button-Embellished Shoe | Canvas shoes, buttons, fabric glue | 30 min |
| 10 | Button Bird | Cardstock or felt, buttons | 30 min |
| 11 | Button Dragonfly | Wire, buttons, beads | 20 min |
| 12 | Button Heart Keepsake | Cardboard heart, buttons, ribbon | 20 min |
| 13 | Button-Trimmed Teapot Decor | Small teapot or canister, buttons | 25 min |
Time Needed By Project (Minutes)
1. Button Christmas Tree
Draw or cut a simple triangle tree shape on cardstock or felt, then glue buttons on in rows from the bottom up, using bigger buttons at the base and smaller ones near the top. Top it off with a yellow or gold button star.
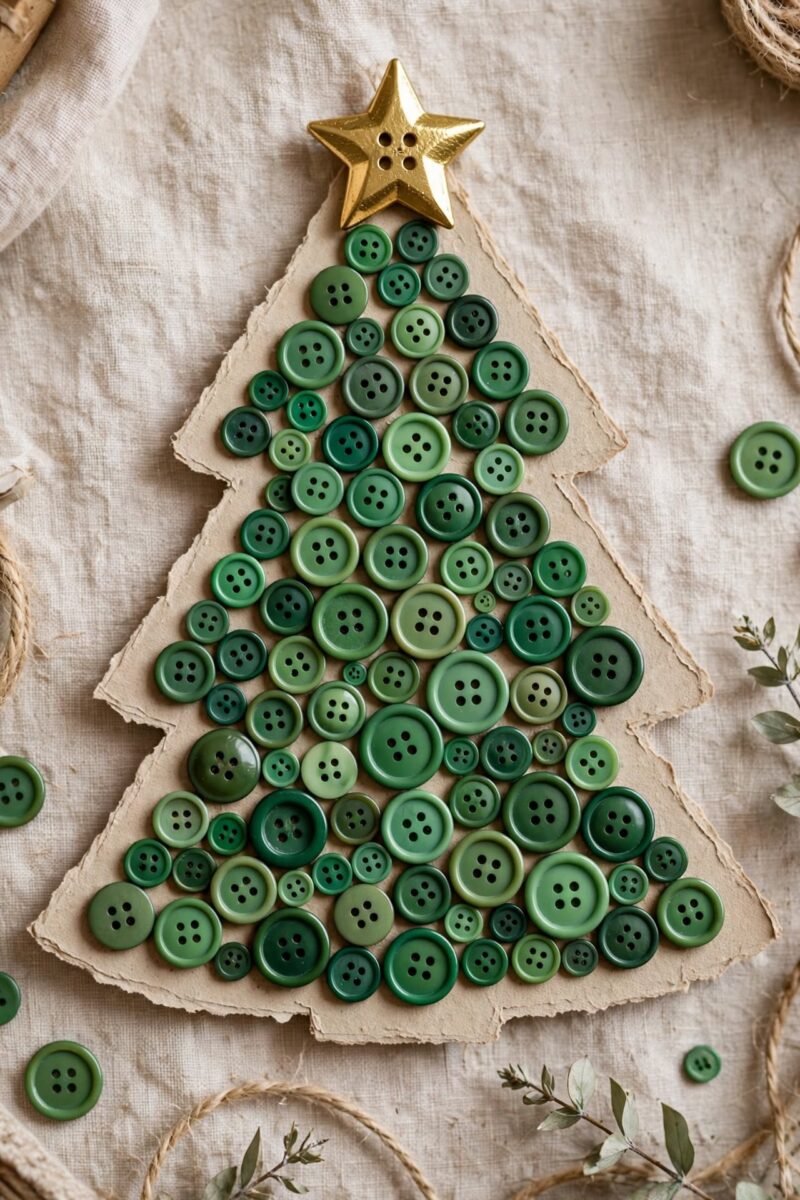
This one works as a card, a framed print, or an ornament of its own. Green buttons keep it classic, but a mix of red, white, and gold buttons gives it a more decorated, festive look.
Quick tip: Leave a small gap between rows so the tree shape stays visible instead of looking like one solid button blob.
2. Button Cat
Sketch a simple sitting cat outline on cardstock, then fill the body in with round grey, white, or black buttons. Smaller buttons work well for the ears, paws, and tail tip.
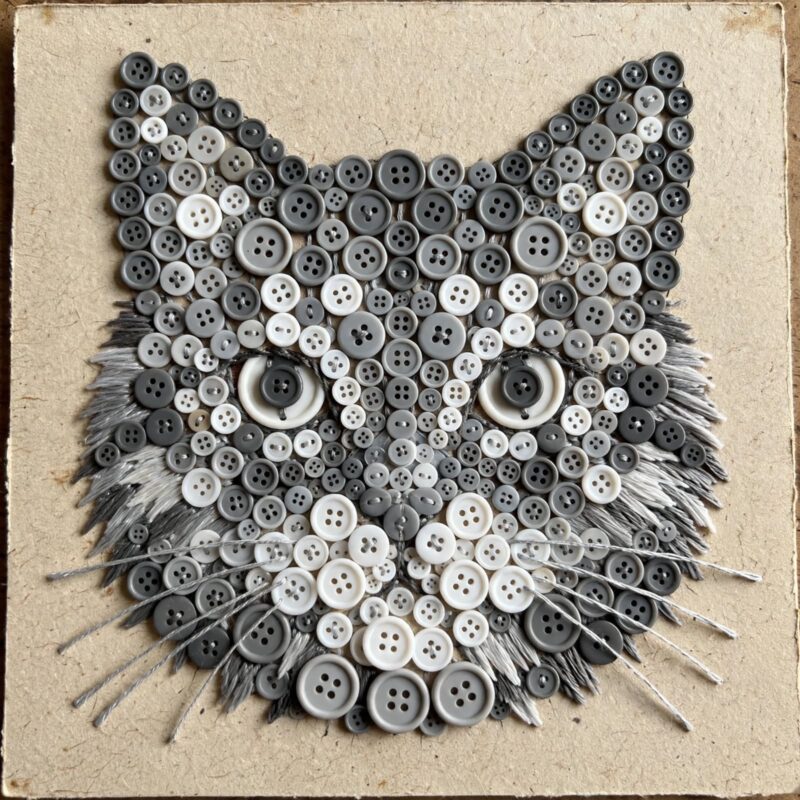
This is one of the more detailed projects on the list, so it’s a nice one to slow down with. A single pink button makes a sweet nose, and a bit of embroidery thread whiskers finishes the look.
Quick tip: Lay all your buttons on the outline before gluing anything, so you can adjust sizing and spacing while it’s still easy to move things around.
3. Button Wind Chime
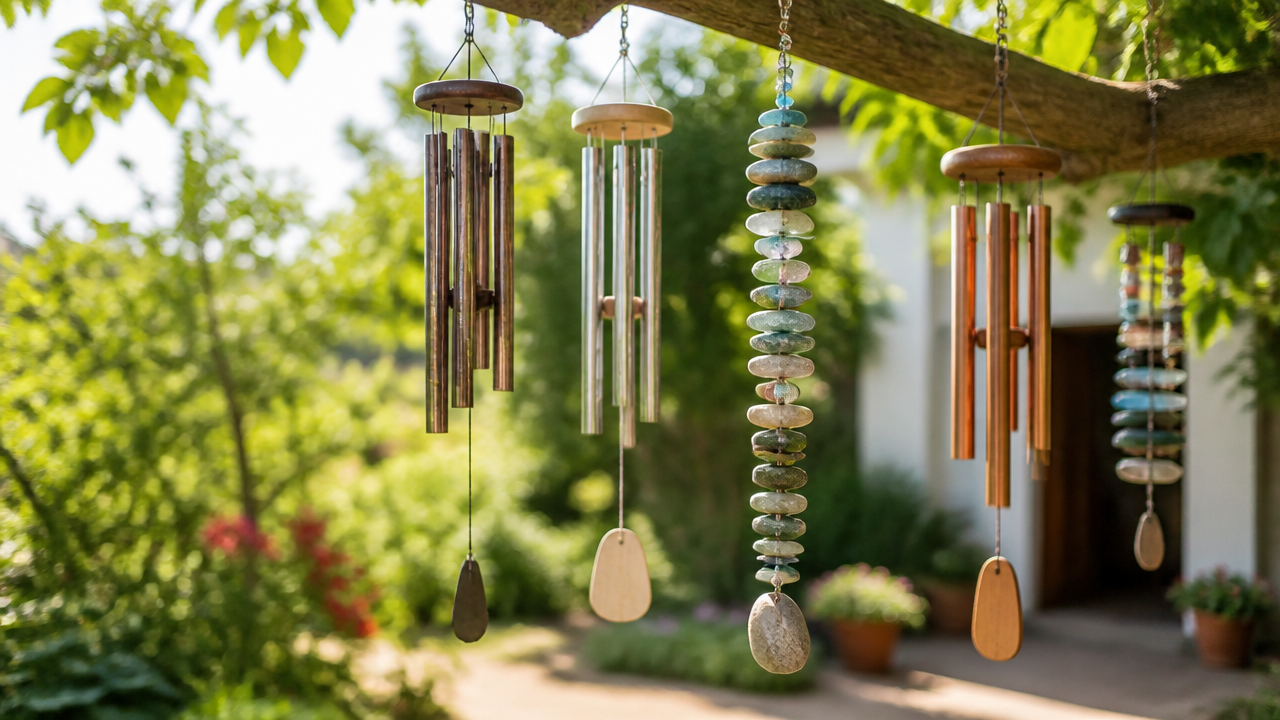
Paint a small terracotta pot or a plastic lid, then punch a few evenly spaced holes around the rim. Tie lengths of string through each hole and thread buttons onto them, knotting between each one so they stay spaced apart.
Buttons make a soft, gentle clink in the breeze, especially if you let a few touch each other on the same string. Add a bell or an old spoon to one strand for a little extra sound.
Quick tip: Use fishing line instead of regular string outdoors. It holds up much better against rain and sun.
4. Button Flower
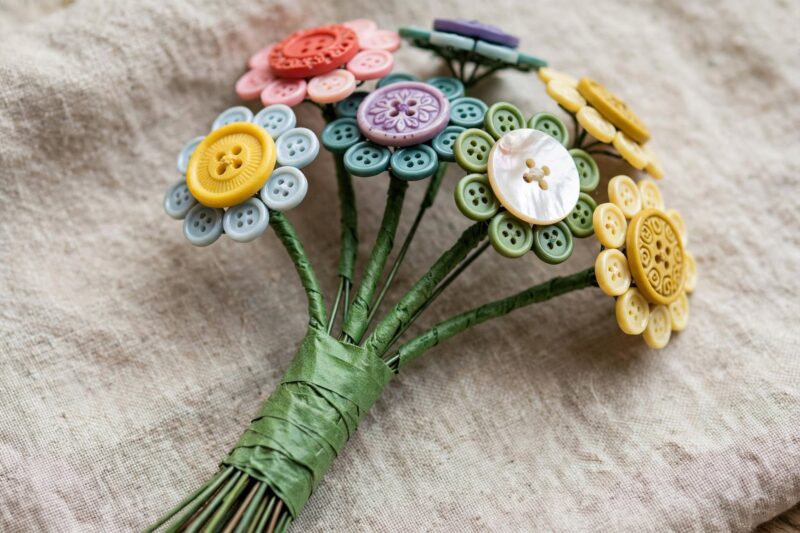
Thread a large flat button onto a piece of floral wire for the flower center, then glue a ring of smaller buttons around it to look like petals. Wrap the wire stem in green floral tape.
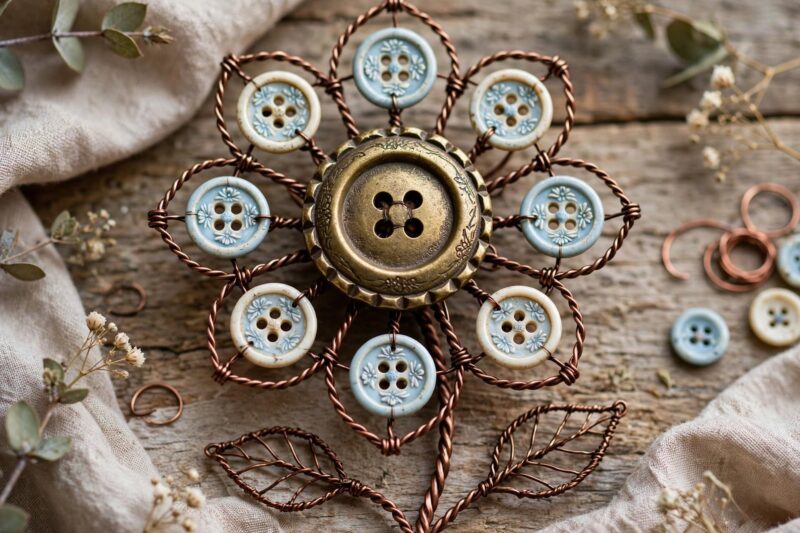
Make a handful of these in different colors and you’ve got a bouquet that never wilts. They also make a sweet, low cost gift when a few are tied together with ribbon.
Quick tip: Add a small felt leaf partway down the stem for a more realistic, finished shape.
5. Button Butterfly
Glue two matching buttons side by side on cardstock for the upper wings, then two slightly smaller ones below for the lower wings. Add a pipe cleaner folded in the middle for the body and antennae.
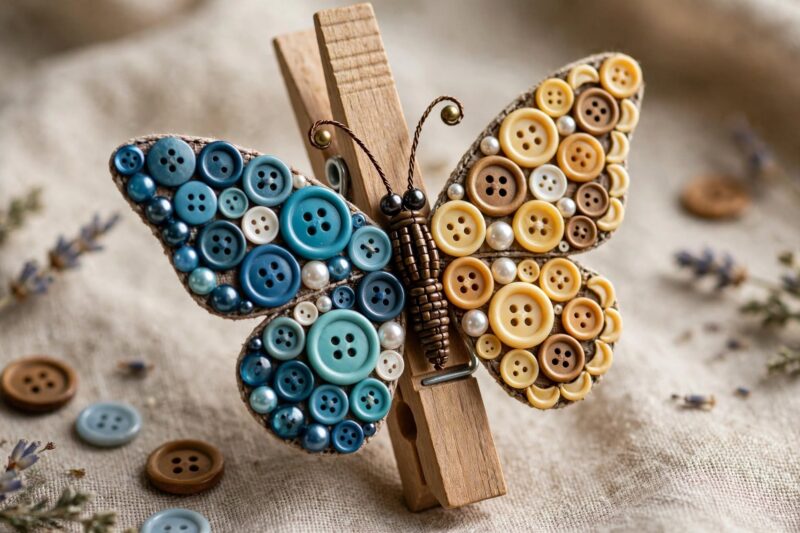
This one is quick enough for kids to make several in an afternoon. Clip a finished butterfly onto a clothespin and it becomes a plant stake or a fun clip for a card or gift bag.
Quick tip: Pick two buttons in the same color family for the wings so the shape reads clearly as a butterfly.
6. Button Pumpkin
Cluster orange buttons of different sizes into a rounded pumpkin shape on cardstock or felt, then add a small brown button or a twist of brown pipe cleaner on top for the stem.
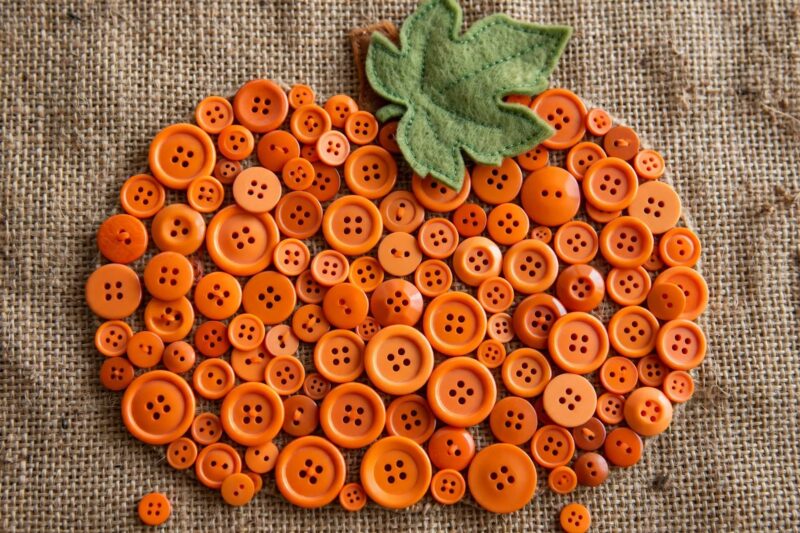
A single green felt leaf next to the stem finishes it off nicely. This is an easy seasonal decoration for a front door sign, a fall garland, or a kid’s classroom project.
Quick tip: Slightly overlap the buttons instead of spacing them evenly. It gives the pumpkin a rounder, fuller shape.
7. Button-Decorated Cup
Glue small flat buttons around a plain tin cup, pencil holder, or planter cup to give it a completely new look. This is a nice way to refresh a plain container without buying a new one.
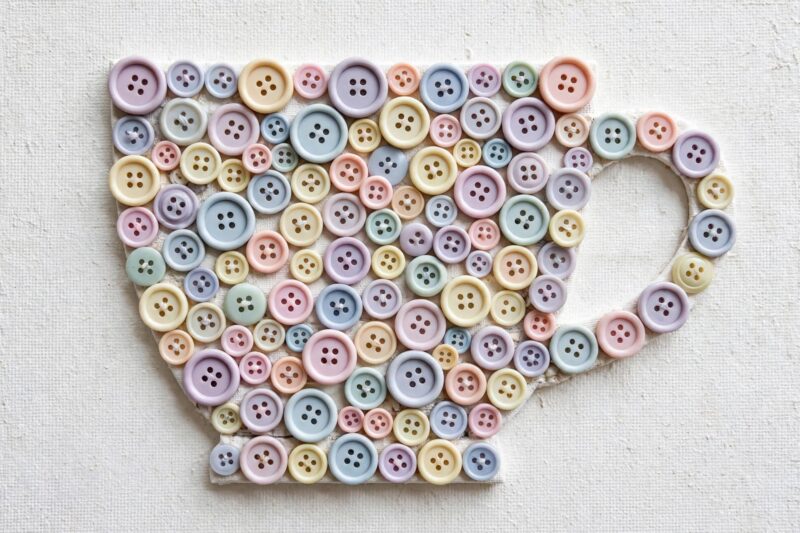
Keep buttons to the outside only and use a strong glue that can handle a little handling. A themed color palette, like all blues or all pastels, keeps the finished cup looking pulled together.
Quick tip: Avoid gluing buttons on the rim where lips or hands will touch, so the cup stays comfortable to hold.
8. Button Spoon Ornament
Take an old or mismatched spoon and wrap thin wire around the handle, threading a few buttons on as you go. Bend the top of the wire into a loop so the spoon can hang.
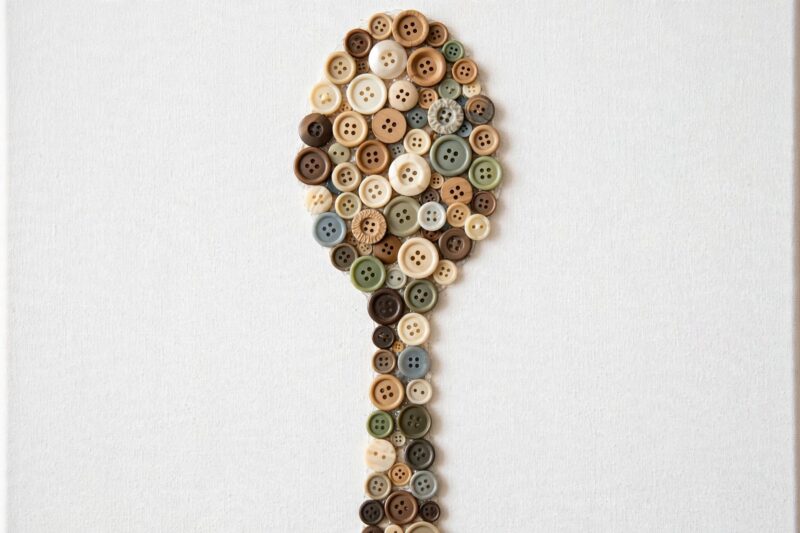
This makes a quirky little garden charm, plant marker, or wind chime piece. It’s also a good way to give an odd spoon from a mismatched set a second life instead of tossing it.
Quick tip: Use a metal spoon rather than plastic. It holds its shape better once the wire is wrapped and twisted around it.
9. Button-Embellished Shoe
Plain canvas sneakers or flats get an instant refresh with a small cluster of buttons glued near the toe or along a seam. Use fabric glue so it holds up through wear and washing.
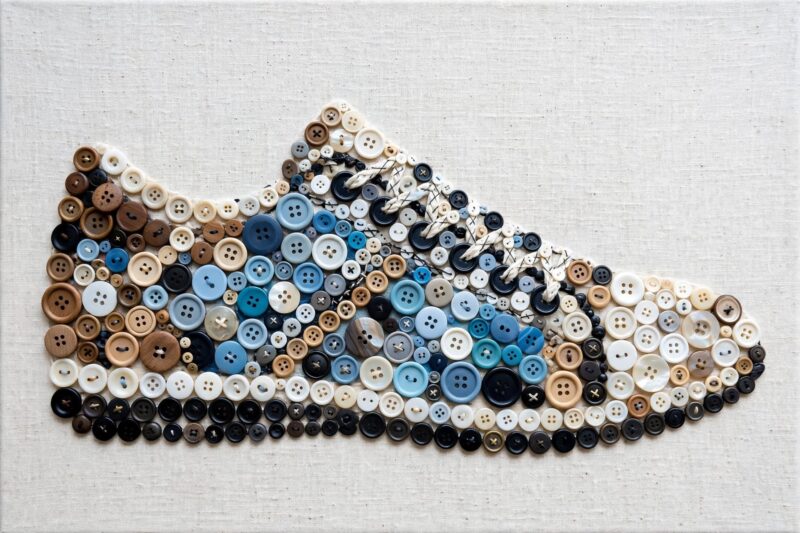
Start with a small test area, like one button, before covering a bigger section, so you can see how it looks and wears before committing to a full design.
Quick tip: Stick to flat-back buttons on shoes. Buttons with shanks can catch on fabric or dig into your foot when you walk.
10. Button Bird
Overlap a handful of buttons into a rounded bird body shape, add a smaller round button for the head, and a small triangle of felt or paper for the beak. A few buttons fanned out behind make a simple tail.
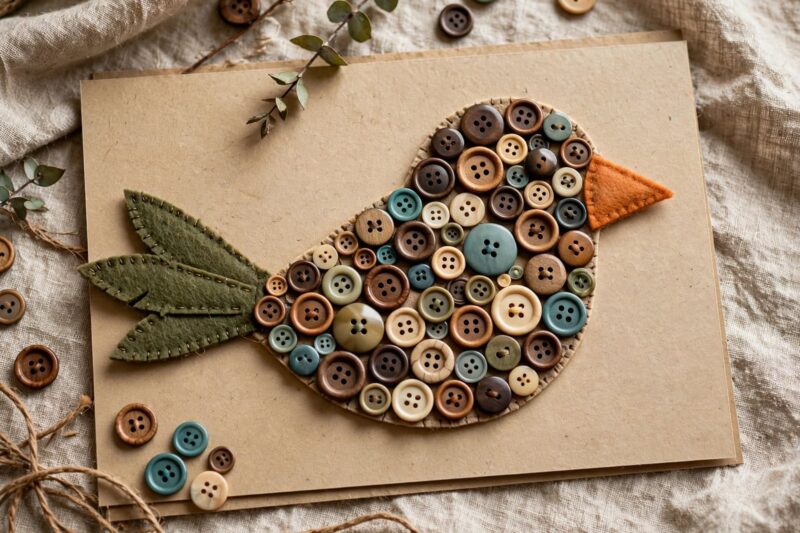
Blue and yellow buttons make a cheerful bluebird look, while browns and creams give a softer, more natural sparrow feel. This design works well on a card, canvas, or wooden shape.
Quick tip: Add a tiny black button or bead for the eye last, once the rest of the shape is glued down and dry.
11. Button Dragonfly
Twist a length of wire into a long thin oval for the body, then thread on a few small beads or seed buttons along its length. Attach two button pairs on either side for the wings.
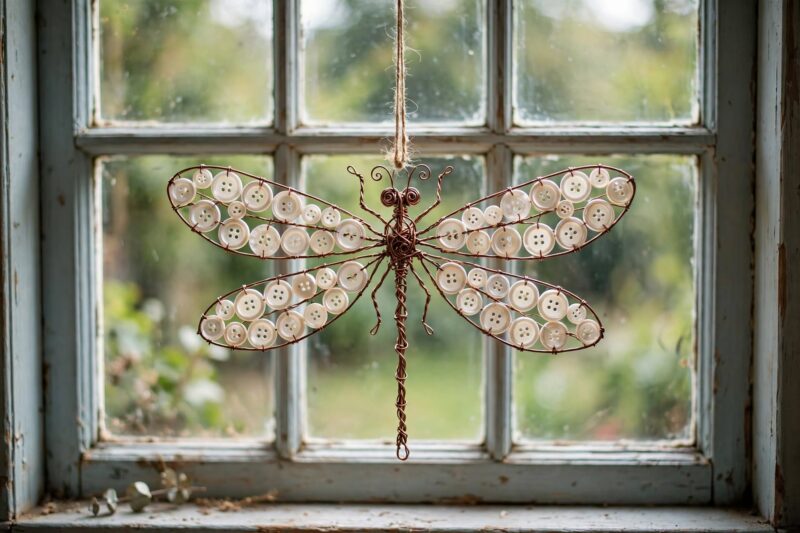
Shiny or pearl buttons give the wings a nice shimmer that suits a dragonfly. Attach the finished piece to a garden stake or hang it in a window for a light catcher effect.
Quick tip: Keep the wings slightly angled instead of perfectly flat. It gives the dragonfly a more lifelike, in-flight look.
12. Button Heart Keepsake
Cut a heart shape out of cardboard or wood, then cover it edge to edge with buttons in pinks, reds, or a favorite color combination. Add a ribbon loop at the top to hang it.
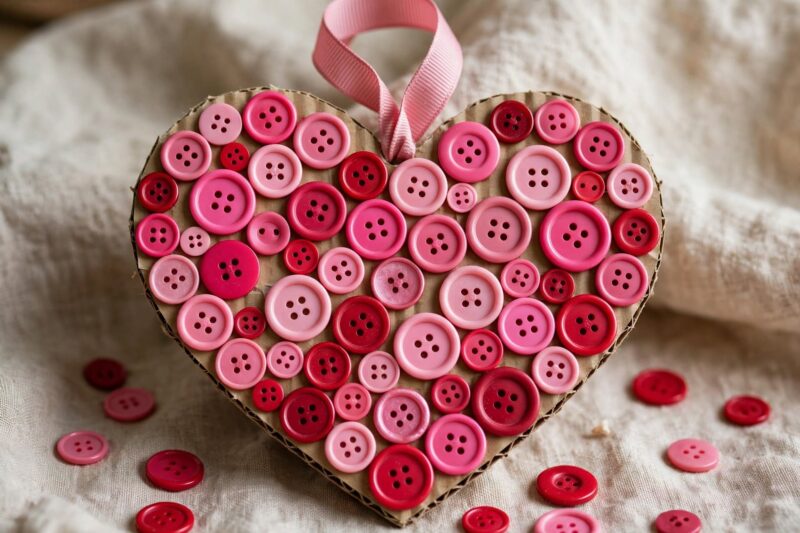
This one makes a thoughtful, personal gift, especially using buttons from a loved one’s old clothing or sewing kit. It works well for anniversaries, Mother’s Day, or as a keepsake after a big move or milestone.
Quick tip: Start with the largest buttons along the outer edge of the heart, then fill the center in with smaller ones.
13. Button-Trimmed Teapot Decor
Glue a row of small buttons around the base or lid rim of an old teapot, canister, or storage jar that’s lost its shine. It’s a simple way to dress up kitchen decor without repainting anything.
Pastel or floral print buttons suit a cottage-style kitchen, while solid neutral buttons keep things simple and modern. This works especially well on pieces that are for display only, not daily hot water use.
Quick tip: Keep buttons away from the spout and handle so the piece is still easy to pick up and display safely.
FAQ
What’s the easiest button craft on this list to start with?
The button butterfly and button flower are the fastest, usually done in about 20 minutes. Both only need a handful of buttons, some wire or cardstock, and basic glue.
Can I use these ideas with buttons that don’t match?
Yes, mismatched buttons actually work great for most of these projects, especially the cat, bird, and pumpkin. A little variety in size and shade adds texture instead of looking messy.
Do I need special glue for fabric items like shoes?
Yes, use a flexible fabric glue rather than regular craft glue on shoes or clothing. Fabric glue bends with the material instead of cracking or peeling off after a few wears.
Are these projects safe for young kids to help with?
Most of them are, especially the flower, butterfly, and bird, as long as an adult handles any hot glue or wire cutting. Small buttons are a choking hazard, so keep young kids supervised throughout.
Conclusion
These 13 ideas show just how far a jar of spare buttons can stretch, from a delicate dragonfly to something as ordinary as a decorated cup or a pair of shoes. Mixing animals, plants, and everyday objects means there’s a project here for almost any mood, whether you want something quick and simple or a little more detailed.
Pick whichever idea catches your eye first and set aside a half hour this week to try it. Once you see how easy the first project comes together, the rest of the list makes a great way to work through the buttons you’ve been saving.
If you run out of buttons partway through, check a sewing box, a thrift store bin, or ask around family for old jars nobody’s using anymore. Buttons from different decades often have slightly different shapes and finishes, so folding a few unusual ones into a project like the heart keepsake or the teapot decor can turn a simple craft into something a little more personal.
References
- Welcome To Nana’s, “Whimsical Repurposed DIY Wind Chimes for Kids”
- FirstPalette.com, “Beaded Wind Chimes”
- Crafts by Amanda, “Button Wind Chime: Bursting with the Colors of the Rainbow”
- Nat Geo Kids, “How to Make a Wind Chime”
- The Pinterested Parent, “Button Wind Chimes”
- Sadie Seasongoods, “Button Crafts and Project Ideas for All Those Vintage Buttons”
- Craftulate, “25 Simple Button Crafts and Art Projects”

A Teacher with 5 years of experience. Our Expertise, is reliable to meet your full Academic development needs . Worked on many crafts and construction projects offering services from design to development to deployment over the years. You will find many of my works in my business portfolio on request.