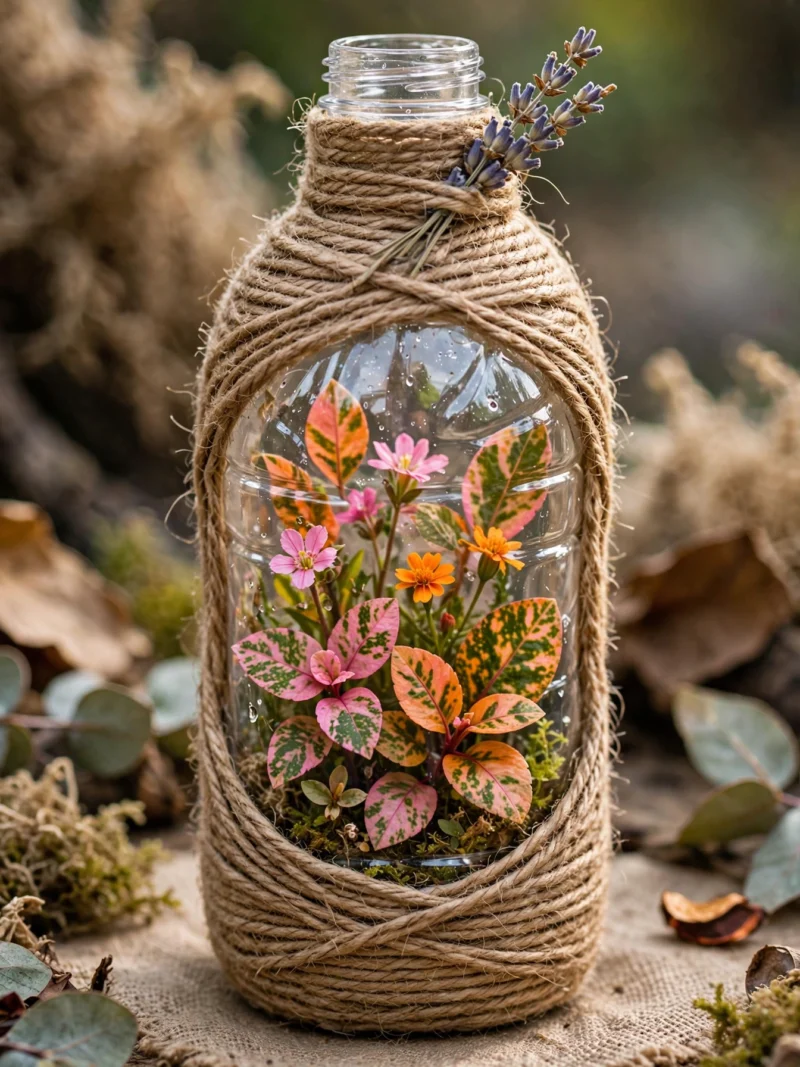

Spring has officially sprung, and if your home isn’t quite feeling the refresh yet, you’re in for a treat! Forget complicated projects that require a degree in engineering; these 10 simple spring crafts ideas are all about fun, affordability, and bringing that glorious new-season energy indoors. Get ready to unleash your inner artist and make some seriously adorable decor – your space (and your mood!) will thank you.
1. Whimsical Pressed Flower Art

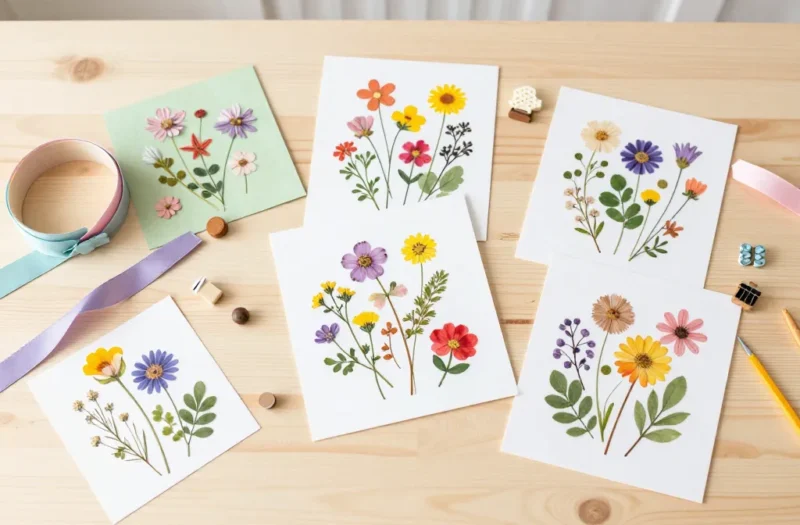
Ever walked through a garden in spring and wished you could bottle up that beauty? Well, you practically can! Creating pressed flower art is a wonderfully meditative and surprisingly chic way to preserve those fleeting spring blossoms.
Why It’s Awesome:
- Natural Elegance: Adds an organic, sophisticated touch to any room.
- Personalized Decor: Use flowers from your own garden or a special walk.
- Surprisingly Simple: The process is easier than you think and yields stunning results.
You don’t need fancy equipment, just a stack of heavy books or a dedicated flower press. Gather your favorite blooms – think violas, small roses, fern fronds, or even delicate leaves – and carefully arrange them between sheets of absorbent paper. Press them for a few weeks, then frame your botanical masterpieces. Seriously, these look like they came from a high-end boutique!
Pro Tip: Mount your dried flowers onto watercolor paper before framing for an extra touch of professionalism. Group a few different frames together for a gallery wall that screams spring chic.
2. Charming DIY Bird Feeders from Upcycled Materials
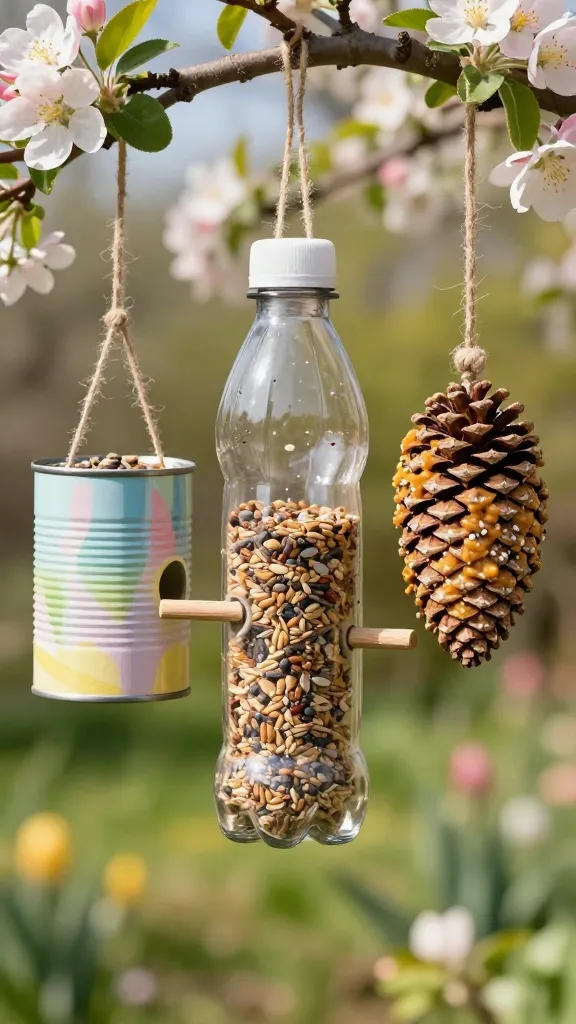
Want to invite some cheerful chirps into your garden or balcony this spring? Making your own bird feeder is not only super rewarding but also a fantastic way to repurpose items you might otherwise toss. Plus, watching little birds enjoy your handiwork? Pure joy, trust me.
Materials You’ll Love Using:
- Empty plastic bottles (soda, milk jugs)
- Old tin cans (cleaned and deburred)
- Pinecones (coated in peanut butter and seeds)
- Twine or sturdy string
- Birdseed, of course!
For a quick win, grab an empty plastic bottle, cut a few small holes near the bottom, insert wooden dowels or pencils for perches, and fill it with seed. Poke holes at the top for hanging. Or, for a rustic vibe, coat large pinecones in peanut butter (or a seed butter alternative) and roll them in birdseed. Hang them from tree branches and watch the magic happen!
This craft is perfect for involving kids and teaches a great lesson about caring for nature. Your feathered friends will thank you with their sweet songs.
3. Playful Painted Rock Garden Markers
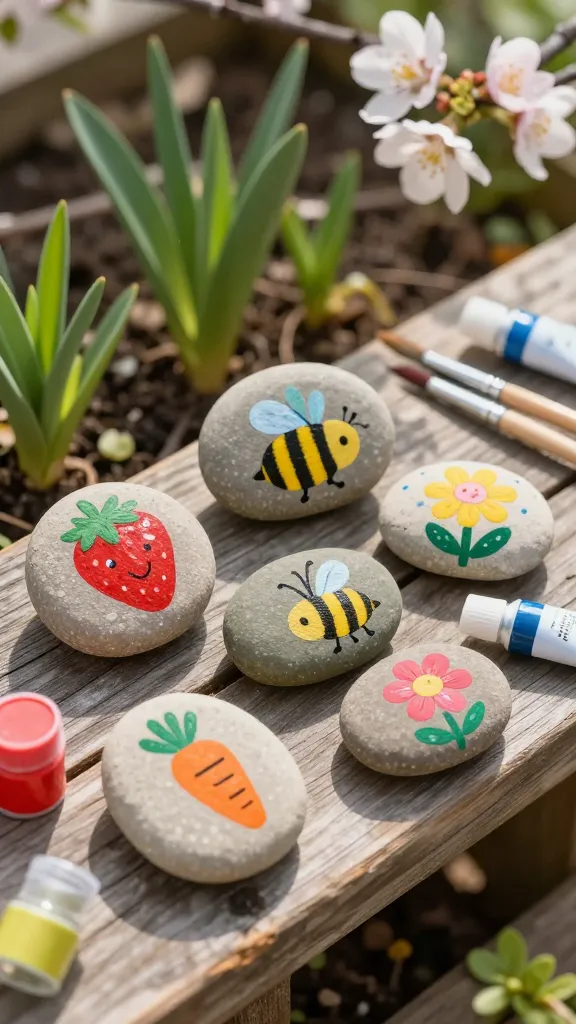
Tired of forgetting what you planted where? Or just want to add a pop of color and personality to your garden beds? Painted rock garden markers are your new favorite spring project! They’re incredibly fun to make, totally customizable, and practically weatherproof.
Getting Started:
- Smooth, flat rocks (various sizes)
- Acrylic paints (weatherproof if possible)
- Paintbrushes (fine-tipped for details)
- Clear sealant spray (optional, but recommended for longevity)
First, give your rocks a good scrub and let them dry completely. Then, let your imagination run wild! You can paint the names of your herbs and veggies, draw cute little pictures (think tiny carrots for your carrot patch or a sun for your sunflowers), or simply create abstract designs in vibrant spring colors. No artistic talent required; even simple dots and stripes look fantastic.
Once dry, a quick spray with a clear sealant will protect your masterpieces from rain and sun, ensuring they brighten your garden all season long. These make gardening feel less like a chore and more like an art project!
4. Vibrant Terracotta Pot Decorating

Those plain terracotta pots are just begging for a springtime makeover, aren’t they? Transforming them into colorful, personalized planters is a super easy way to elevate your indoor or outdoor plant game. It’s a fantastic craft for all skill levels and adds instant charm.
Creative Ideas for Your Pots:
- Ombre Effect: Blend shades of one color from light to dark.
- Geometric Patterns: Use painter’s tape for crisp lines and shapes.
- Stenciling: Apply spring-themed stencils (flowers, bees, butterflies).
- Decoupage: Glue on fabric scraps, magazine cutouts, or pretty paper.
Before you start, make sure your pots are clean and dry. Use acrylic paints, and if they’re going outdoors, opt for an outdoor-specific paint or finish with a clear sealant spray to protect against the elements. Don’t forget to paint the rim and even a little inside the pot for a polished look.
Imagine your herbs in hand-painted pots or a row of succulents in uniquely decorated containers. These aren’t just planters; they’re tiny works of art that bring joy to any windowsill or patio.
5. Cheerful Paper Flower Garlands
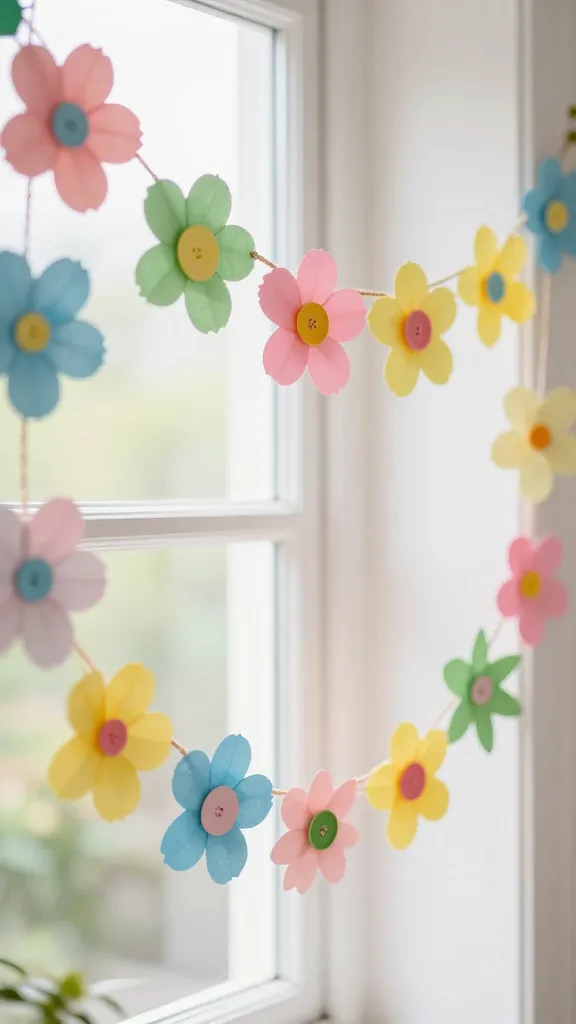
Nothing says “spring celebration” quite like a festive garland, and paper flowers are surprisingly easy to create. These garlands are incredibly versatile – hang them across a window, drape them over a mantel, or use them to brighten up a dull wall. Plus, they’ll last way longer than real flowers, FYI.
What You’ll Need:
- Colorful construction paper or cardstock
- Scissors
- Glue stick or hot glue gun
- String or twine
- Optional: buttons, beads, glitter for embellishment
There are tons of paper flower tutorials online, from simple spirals that unfurl into roses to layered petals that create dahlias. Pick a few designs you like, cut out your shapes, and assemble them. Once you have a collection of blossoms, simply attach them to a length of string or twine, spacing them evenly. You can even add some paper leaves for extra greenery.
This craft is wonderfully forgiving and allows for endless color combinations. A vibrant paper flower garland instantly transforms any space into a happy, spring-ready haven without breaking the bank.
6. Sparkling Mason Jar Vases & Lanterns
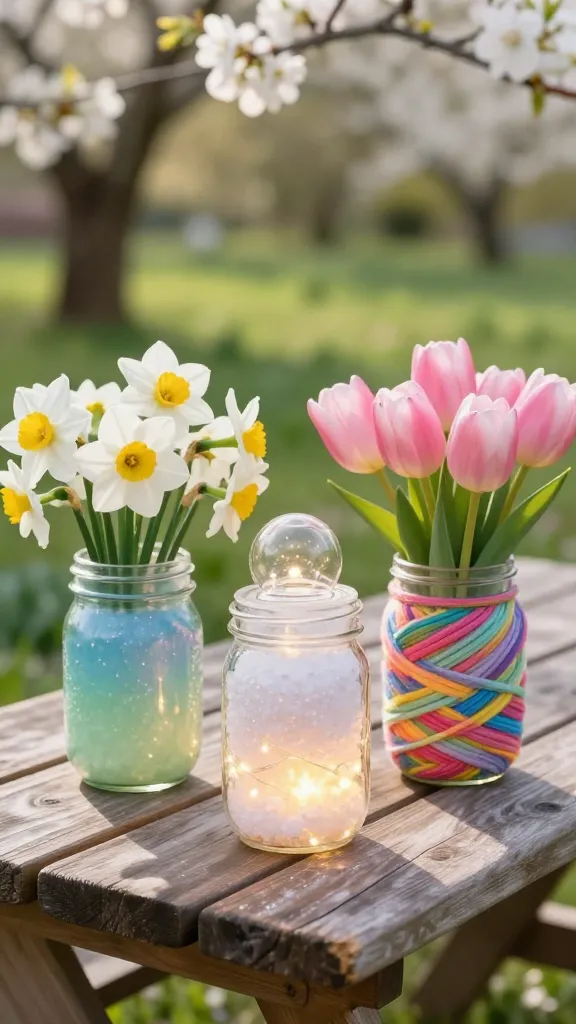
Mason jars are the unsung heroes of the craft world, and spring is their time to shine! They’re inexpensive, readily available, and incredibly versatile for creating beautiful vases or enchanting lanterns. You can seriously transform a basic jar into something magical.
Ways to Jazz Up Your Jars:
- Painted Ombre: Use spray paint or acrylics for a gradient effect.
- Frosted Look: Mix Epsom salts with Mod Podge for a snowy, frosted finish.
- Twine Wrapped: Hot glue twine or colorful yarn around the jar for texture.
- Lace & Ribbon: Adhere delicate lace or spring-patterned ribbons.
For vases, simply add water and your favorite spring blooms – tulips, daffodils, or even a simple sprig of cherry blossoms. For lanterns, pop in a battery-operated tea light or string of fairy lights. The effect is instantly cozy and charming, perfect for evening gatherings or just adding a soft glow to your living room.
These are fantastic for centerpieces, shelf decor, or even lining a pathway for an outdoor party. They’re proof that sometimes the simplest ideas yield the prettiest results.
7. Delightful Spring Wreaths from Yarn & Fabric Scraps
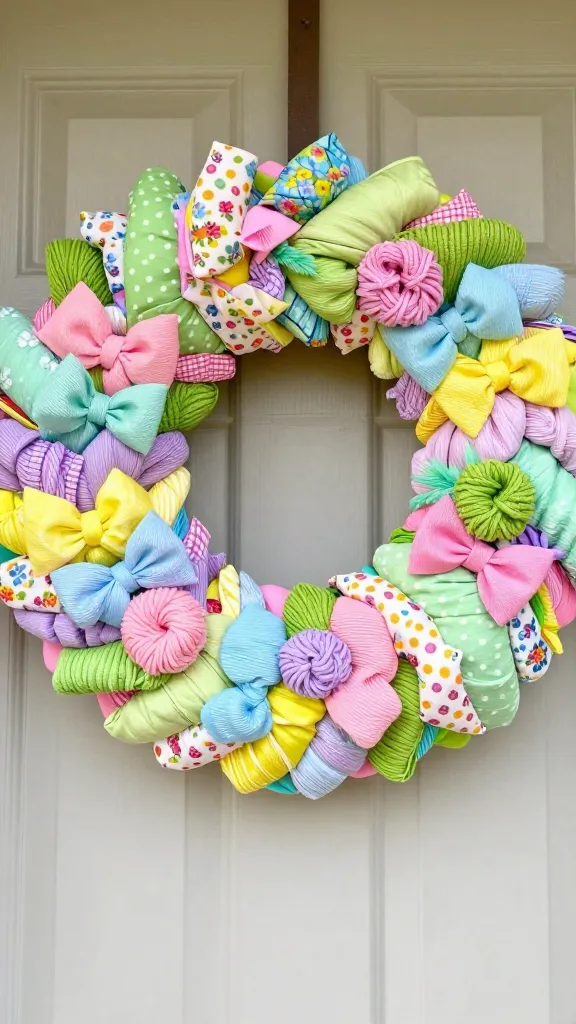
A wreath isn’t just for Christmas anymore! A spring wreath is an inviting way to welcome guests to your home and infuse your entryway with seasonal cheer. And guess what? You can make one using materials you probably already have lying around: yarn and fabric scraps.
Core Materials:
- Wire wreath form or a foam wreath base
- Various colors of yarn (spring pastels, bright greens, yellows)
- Fabric scraps (floral patterns, polka dots, gingham)
- Scissors
- Hot glue gun (optional, but helpful)
One popular method is wrapping yarn around your wreath form until it’s completely covered. Then, cut fabric scraps into small strips or leaf shapes and hot glue them onto the yarn-wrapped base, creating little clusters of “flowers” or foliage. You can also tie small bows from fabric scraps directly onto the wreath. The goal is to create texture and a burst of springtime color.
This project is wonderfully therapeutic and allows for tons of creativity. Hang your finished wreath on your front door, over a mirror, or even as a cheerful wall decoration. It’s a lovely way to say, “Hello, spring!”
8. Earth-Friendly DIY Seed Bombs

Want to spread some joy (and some wildflowers) this spring? Seed bombs are an incredibly fun, eco-friendly craft that lets you do just that! They’re little balls of clay, soil, and seeds that you can toss into neglected areas to encourage new growth. Seriously, how cool is that?
What You’ll Need:
- Air-dry clay or powdered clay (mixed with water)
- Potting soil or compost
- Wildflower seeds (native to your area is best!)
- A bowl for mixing
Mix your clay with a small amount of soil and just enough water to make a pliable dough. Then, gently knead in a generous amount of wildflower seeds. Form small, golf-ball-sized spheres and let them air dry completely for 24-48 hours. That’s it! You’ve just created tiny packets of future beauty.
These are perfect for “guerrilla gardening” – tossing them into empty lots, roadside verges, or even just your own garden beds. They also make fantastic, unique party favors or gifts. Imagine the delight of seeing your wildflowers bloom later in the season!
9. Upcycled Tin Can Planters with Personality

Don’t toss those empty food cans! With a little creativity, they can be transformed into adorable, budget-friendly planters perfect for small herbs, succulents, or spring seedlings. This craft is ridiculously easy and gives new life to everyday items.
Steps for Success:
- Clean & Dry: Thoroughly wash and dry your cans. Remove labels.
- Drainage Holes: Carefully use a nail and hammer to create a few drainage holes in the bottom. This is crucial for happy plants!
- Decorate: Paint them with bright spring colors, wrap them in decorative paper, or even cover them with fabric scraps.
- Fill & Plant: Add a layer of gravel for extra drainage, then potting soil, and finally, your chosen plant.
You can arrange a collection of these upcycled planters on a windowsill, a kitchen counter, or even hang them from a wall-mounted rack. They add a rustic, charming touch and are a great way to showcase your favorite small plants. Plus, it feels good to reduce, reuse, and recycle in such a stylish way!
10. Adorable Felt Animal Finger Puppets

Bring some playful spring characters to life with these super cute felt animal finger puppets! Think fluffy bunnies, chirpy chicks, buzzing bees, or even tiny lambs. They’re surprisingly easy to make, require minimal sewing (or none at all if you use fabric glue!), and are fantastic for entertaining little ones or just adding a whimsical touch to your desk.
Materials List:
- Various colors of felt sheets (spring pastels, white, yellow, black)
- Scissors
- Fabric glue or needle and thread
- Googly eyes or embroidery floss for eyes
- Optional: small pom-poms, pipe cleaners for tails or antennae
Start by cutting out two identical body shapes for your chosen animal (e.g., a bunny shape). Cut out smaller pieces for ears, noses, and other details. Glue or sew the two body pieces together, leaving the bottom open for a finger hole. Then, attach all your delightful details. You can even add tiny flowers or bows for extra charm.
These little puppets are perfect for storytelling, imaginative play, or simply as a cheerful decoration perched on a shelf. They add a touch of handmade whimsy that truly embodies the lighthearted spirit of spring. Plus, they make great gifts!
There you have it – ten absolutely delightful and incredibly simple spring crafts ideas to get your creative juices flowing! Whether you’re looking to brighten your home, connect with nature, or just enjoy a relaxing afternoon, these projects are sure to bring a smile to your face. So grab your supplies, put on some cheerful music, and let’s make some spring magic happen!

A Teacher with 5 years of experience. Our Expertise, is reliable to meet your full Academic development needs . Worked on many crafts and construction projects offering services from design to development to deployment over the years. You will find many of my works in my business portfolio on request.