
Old water bottles, juice jugs, and shampoo containers do not have to end up in the recycling bin. With a few cuts, some paint, and a bit of glue, they turn into vases that look nothing like trash. This list walks you through twelve plastic bottle vase ideas anyone can try at home, from quick five minute projects to fancier ceramic style pieces.
Quick answer: The easiest plastic bottle vase ideas include cutting off the top of a bottle and painting it, wrapping the outside in twine or fabric, melting the top with a heat gun for a ruffled edge, or coating it in joint compound for a ceramic look. Most projects take under an hour and use things already sitting in the recycling bin.
| Project Type | Skill Level | Tools Needed |
| Painted cut-top vase | Beginner | Scissors, paint |
| Heat-shaped ruffled vase | Adult Supervision | Heat gun, tongs |
| Joint compound “ceramic” vase | Varies | Joint compound, spatula |
| # | Idea | Best Bottle Type | Time |
| 1 | Painted cut-top vase | Water bottle | 20 min |
| 2 | Twine-wrapped vase | Any smooth bottle | 30 min |
| 3 | Ruffled heat-shaped vase | PET soda bottle | 15 min |
| 4 | Glitter dipped vase | Juice bottle | 25 min |
| 5 | Fabric-covered vase | Wide bottle | 40 min |
| 6 | Joint compound ceramic vase | Sturdy bottle | 2 hours + dry time |
| 7 | Spray paint ombre vase | Tall bottle | 30 min + dry time |
| 8 | Rope-coiled vase | Round bottle | 45 min |
| 9 | Book page decoupage vase | Wine or oil bottle shape | 1 hour |
| 10 | Colored bottle collection vase | Tinted bottles | 10 min |
| 11 | Woven basket-style vase | Multiple bottles | 1.5 hours |
| 12 | Hanging bottle vase | Small bottle | 20 min |
Average project time by difficulty (minutes)
20 min
45 min
2+ hrs
1. Painted Cut-Top Vase
Cut the top off a plain water bottle and paint the base for an instant vase. Start by rinsing the bottle and peeling off any labels. Use scissors or a craft knife to cut straight across the bottle at your chosen height, then sand the rim lightly so it is not sharp.
Acrylic paint sticks well to plastic once you rough up the surface with fine sandpaper first, or use a plastic-specific primer. Two thin coats look better than one thick coat, and they dry faster too.
This is the fastest project on this list, so it is a good one to start with if you have never worked with plastic bottles before. You end up with a sturdy little vase you can use for cut flowers or pens.
2. Twine-Wrapped Vase
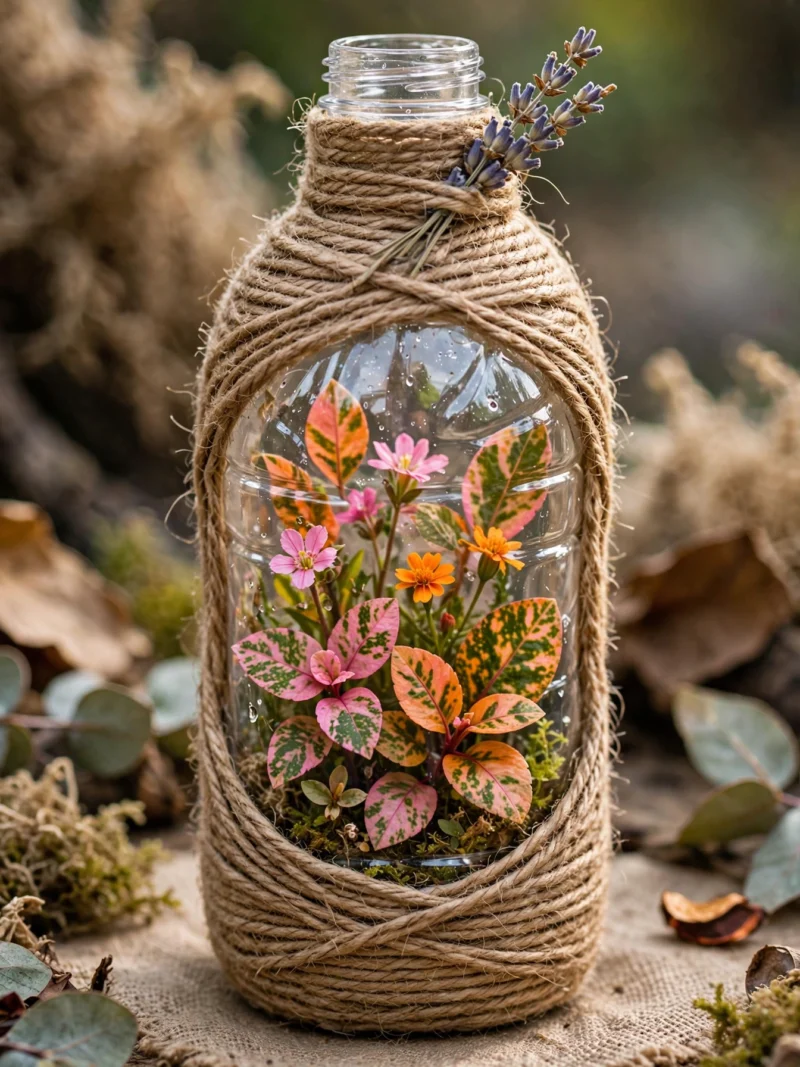
Wrap the bottle from base to rim in jute twine using hot glue to hold each row in place. This hides the plastic completely and gives the vase a natural, rustic look that fits farmhouse style decor.
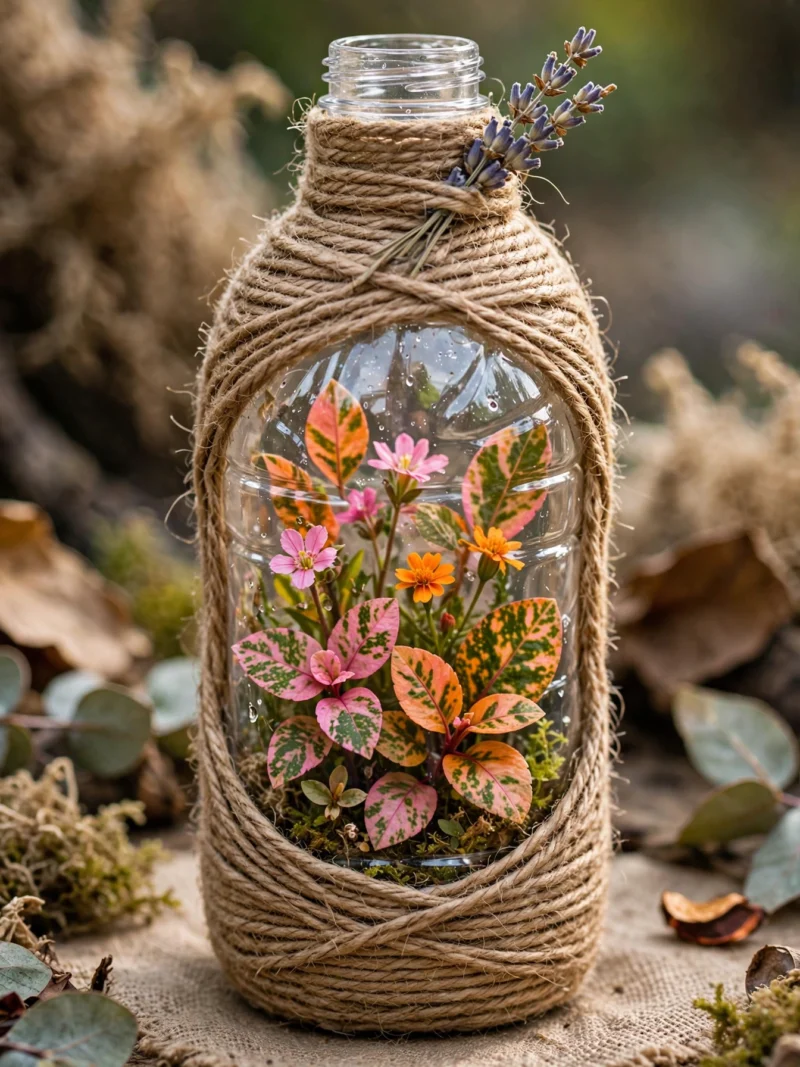
Work in small sections, gluing a short strip at a time so the glue does not dry before you get the twine wrapped tight. Keep the rows snug against each other so no plastic peeks through underneath.
You can dress up the finished vase with a small bow, a sprig of dried lavender tucked under the twine, or a painted wooden tag. It works well as a gift when filled with a small bunch of flowers.
3. Ruffled Heat-Shaped Vase
A heat gun turns a plain bottle rim into a wavy, ruffled edge that looks like blown glass. PET plastic, the kind most water and soda bottles are made from, softens at a fairly low temperature and can be shaped by hand once warm.
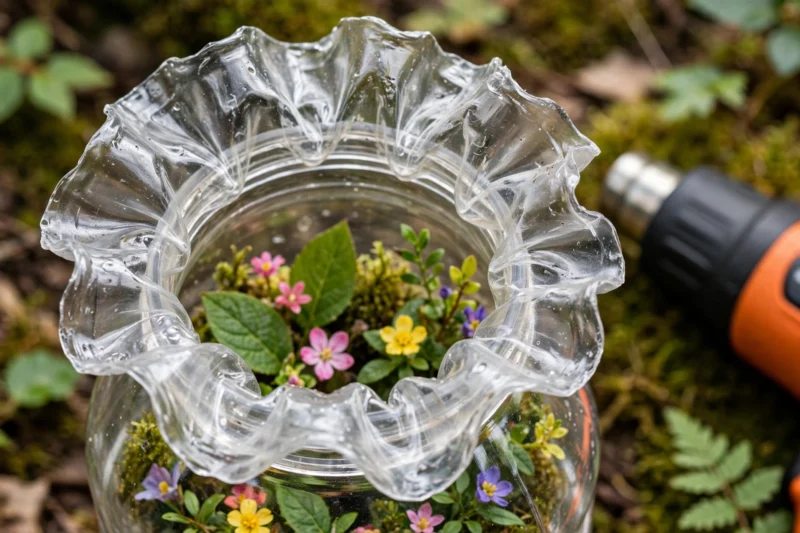
Hold the bottle with heat-safe tongs and point the heat gun at the rim on its lowest setting, moving it constantly so the plastic does not scorch. As soon as the edge starts to soften, use a gloved hand or a wooden tool to press gentle waves into it, then let it cool in place.
This project needs adult supervision because of the heat gun and hot plastic fumes, so do it in a well ventilated space. The payoff is a vase edge that genuinely fools people into thinking it is glass.
4. Glitter Dipped Vase
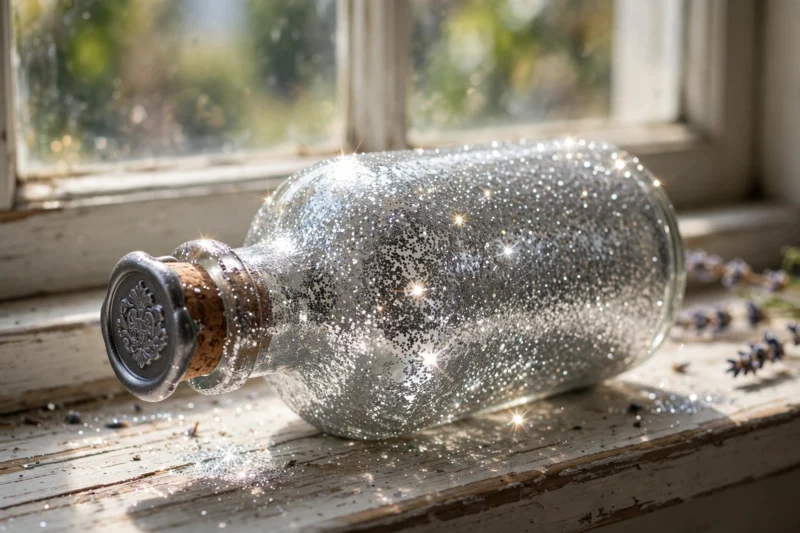
Coat the bottle in a layer of white craft paint, then roll it in glitter while the paint is still tacky for a sparkly finish kids love making. This one is popular as a Valentine’s Day or Mother’s Day gift project.
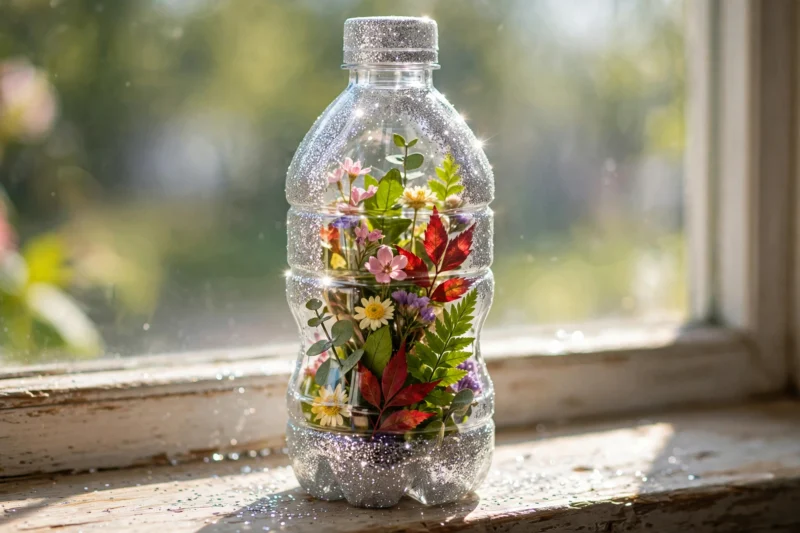
Pour glitter into a shallow tray or bowl so you can roll the wet bottle through it evenly. Let the first layer dry fully before deciding if you want a second coat, since glitter often looks patchy after just one pass.
Finish with a clear spray sealant so the glitter does not shed everywhere once the vase is on display. This step matters more than it seems, because loose glitter ends up on tables, floors, and hands for weeks.
5. Fabric-Covered Vase
Wrap the bottle in scrap fabric using fabric glue or modge podge for a soft, textile look that hides the plastic shape entirely. Leftover cotton prints, burlap, or even old clothing scraps all work.
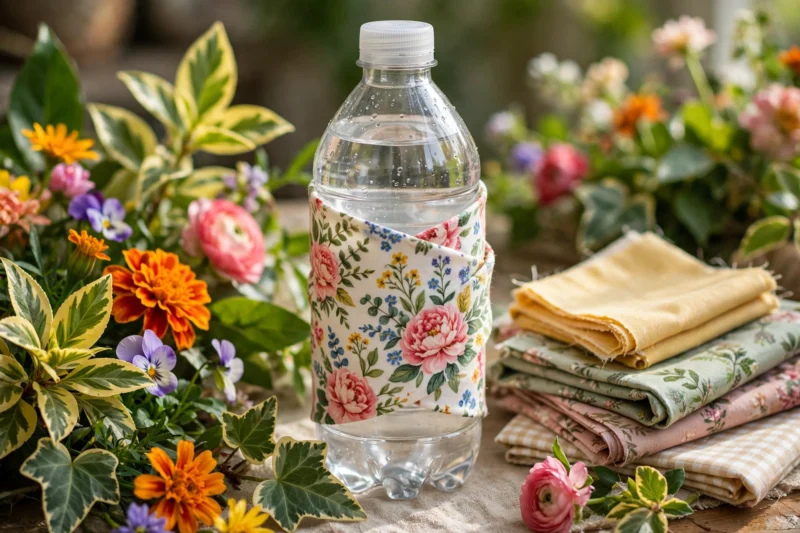
Cut the fabric into a strip slightly taller than the bottle, apply glue in sections, and smooth the fabric on as you go to avoid air bubbles. Fold the extra fabric neatly over the rim and base for a clean finish.
This method is easy to match to existing home decor since you control the fabric pattern completely. A patterned vase can become a centerpiece on its own, even without flowers in it.
6. Joint Compound “Ceramic” Vase
Spread a thin layer of joint compound over the bottle and shape it with a putty knife to mimic the look of real ceramic pottery. This method comes from upcyclers who wanted a sturdier, more solid feeling vase than plain plastic gives.
Apply the compound in one or two thin coats rather than one thick layer, since thick layers crack as they dry. Use the putty knife to smooth ridges, add texture, or carve simple lines while the compound is still workable.
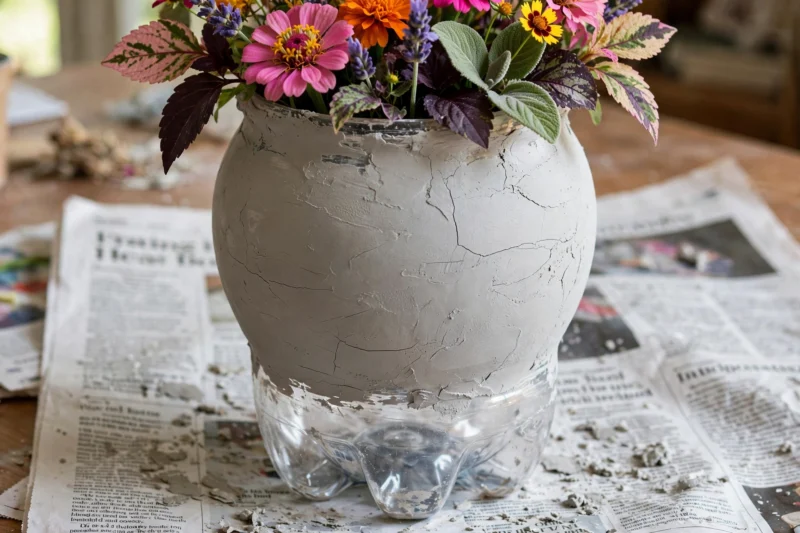
Once fully dry, usually after a full day, sand any rough spots and paint the vase however you like. The finished piece is heavier and more solid feeling than the plastic underneath ever was.
7. Spray Paint Ombre Vase
Spray the bottle in two shades of one color, blending them in the middle for a smooth gradient effect. Tall, straight-sided bottles show off this technique best since there is more surface to work with.
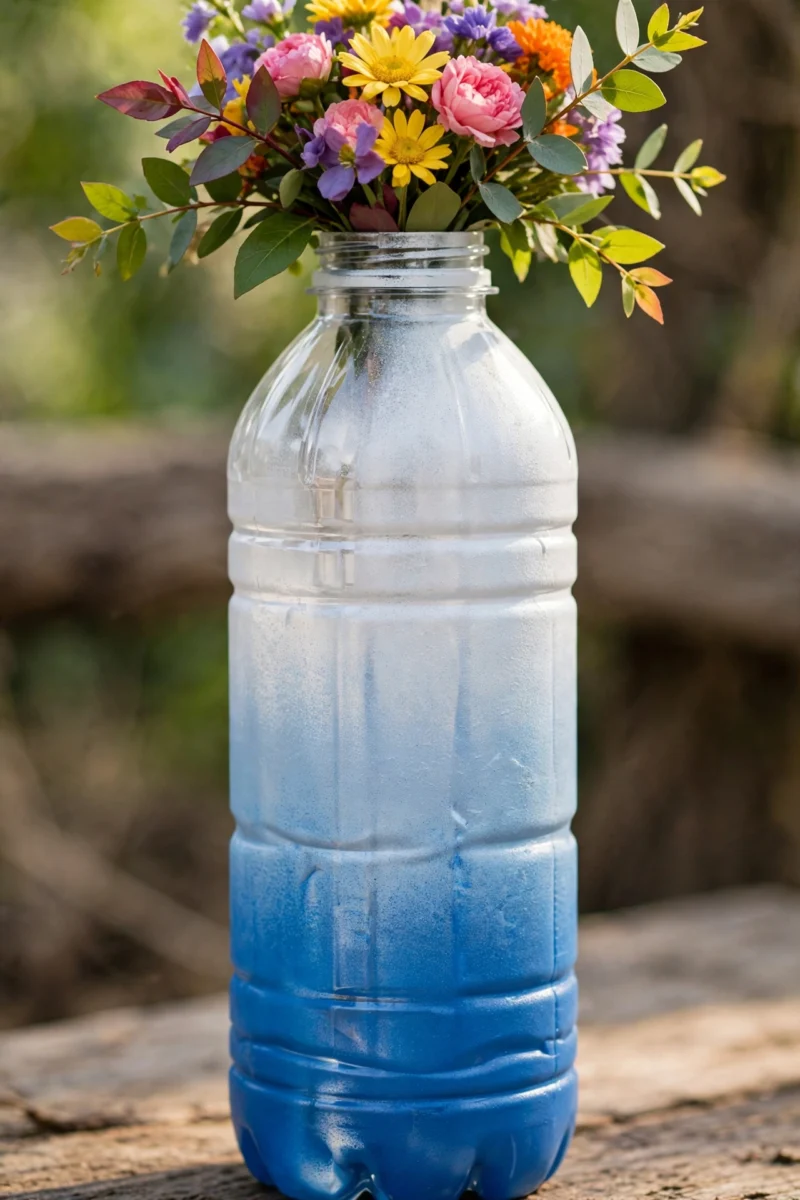
Prime the bottle first so the spray paint grips the plastic instead of peeling later. Spray the lighter shade first, let it dry, then spray the darker shade from the base upward, feathering the spray as you move toward the middle so the two colors blend rather than showing a hard line.
Work outdoors or in a garage with good airflow, and let each coat dry fully before adding the next. A finished ombre vase looks store bought once it is done.
8. Rope-Coiled Vase
Coil thick cotton or sisal rope around the bottle starting at the base and working up, gluing as you go, for a woven basket look. Rope gives a chunkier, more textured finish than thin twine.
Start the first coil at the base and press it firmly so it sets the shape for every row above it. Keep tension even as you wind upward, checking every few rows that the rope is sitting flat against the bottle and not twisting.
Trim the top coil neatly at the rim and glue the cut end down so it does not unravel. This style pairs well with dried grasses or pampas stems rather than fresh cut flowers.
9. Book Page Decoupage Vase
Glue torn pages from an old book onto the bottle using modge podge for a vintage, literary look that reading fans love. Tear the pages into rough strips rather than cutting them, since torn edges blend together more naturally.
Apply a layer of modge podge to the bottle, press a page strip on, then brush another layer over the top of that strip before adding the next one so everything is sealed in place. Overlap the strips slightly as you cover the bottle so no plastic shows through the gaps.
Finish with two coats of clear sealant once the pages are dry so the vase can handle a little moisture from cut flowers without the paper peeling. This is a favorite gift idea for teachers and book lovers.
10. Colored Bottle Collection Vase
Save naturally tinted plastic bottles, like blue bubble bath bottles or green soda bottles, and use them as vases with no extra work at all. Some bottles already have a color close enough to glass that painting would only hide a good thing.
Rinse the bottle well and remove any labels, using a bit of oil or a hair dryer on low heat to loosen stubborn adhesive residue. Group a few different colored bottles together on a windowsill for a stained glass effect when light passes through them.
This is the lowest effort idea on the whole list, and it works surprisingly well for anyone who collects colorful bottles already. No tools required beyond a good rinse.
11. Woven Basket-Style Vase
Cut several bottles into strips and weave them together into a basket shape that holds a smaller vase or jar inside. This is more advanced since it uses multiple bottles, but it turns a pile of plastic waste into something genuinely useful.
Cut even strips from the straight middle section of each bottle, avoiding the curved neck and base. Weave the strips over and under each other in a simple basket pattern, securing the ends with hot glue as you finish each row.
Once the woven shell is done, drop a small glass or jar inside to actually hold water and flowers. This keeps the plastic away from the water while still showing off the woven design on the outside.
12. Hanging Bottle Vase
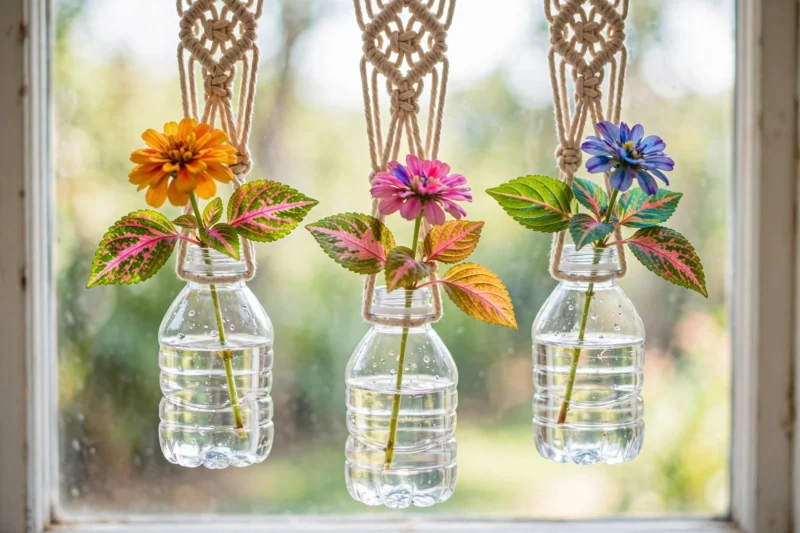
Punch two holes near the top of a small bottle, thread rope or macrame cord through, and hang it as a wall or window vase. This works well for single stem flowers or small cuttings of greenery.
Use a heated nail or small drill bit to make clean holes on opposite sides near the bottle’s rim, then thread cord through and knot it securely. Decorate the outside first with paint, twine, or fabric using any of the earlier ideas on this list before you add the hanging cord.
Hang a few of these at different heights near a bright window for a simple, low-maintenance plant display. They also make a nice small gift since they take up so little space.
What Kind Of Plastic Bottle Works Best For A Vase?
PET bottles, the kind marked with a number 1 recycling symbol, work best because they hold their shape well and are easy to find. Water bottles, soda bottles, and many juice bottles are made from PET plastic.
PET is thin but sturdy, and it takes paint and glue better than some thicker plastics used for things like laundry detergent jugs. For heat shaping projects specifically, PET softens at a manageable temperature that will not release harsh fumes if you keep the heat gun on a low setting and work in a ventilated space.
Before starting any project, make sure the bottle is completely clean, dry, and free of labels and sticky adhesive residue, since leftover glue keeps paint and other coatings from sticking properly.
How Do You Remove Labels And Sticky Residue From Bottles?
Soak the bottle in warm soapy water for ten to fifteen minutes, then peel the label off starting at one corner. Most labels loosen quickly once the glue underneath gets warm and wet.
For leftover sticky residue, rub a small amount of cooking oil or a store bought adhesive remover over the spot and let it sit for a minute before wiping with a cloth. This method avoids harsh chemicals and works on most standard label glues without damaging the plastic.
A final wipe with warm soapy water removes any oily residue left behind, and the bottle should feel completely smooth and clean before you start painting or gluing anything to it.
FAQ
Do plastic bottle vases hold water safely?
Yes, a clean PET bottle holds water fine for fresh flowers. Just check painted or coated versions occasionally, since some coatings can soften if left soaking in water for many days straight.
Can kids help with these projects?
Most of these ideas are kid friendly, especially painting, gluing, and glitter projects. Skip the heat gun project unless an adult is doing the actual heating and shaping.
What paint sticks best to plastic bottles?
Acrylic craft paint or spray paint labeled for plastic works best. Lightly sanding the bottle first or using a plastic primer helps any paint grip the surface longer.
How do I make a plastic bottle vase waterproof for real flowers?
Seal painted or fabric covered vases with a clear waterproof spray sealant. For decoupage or joint compound vases, use an inner jar or cup to hold the water so the outer decoration never gets wet.
References
- Easy Peasy Creative Ideas, “Simple & Easy Plastic Flower Vase DIY” (2024)
- The Simple Parent, “Make an Easy Plastic Bottle Flower Vase for Someone You Love!” (2019)
- Collective Gen, “How To Make Vases Out Of Plastic Bottles” (2022)
- The Kitchen Table Classroom, “DIY Plastic Vase” (2023)
- Upcycle My Stuff, “How to Upcycle a Plastic Bottle – Easy DIY Vase Tutorial” (2024)

A Teacher with 5 years of experience. Our Expertise, is reliable to meet your full Academic development needs . Worked on many crafts and construction projects offering services from design to development to deployment over the years. You will find many of my works in my business portfolio on request.