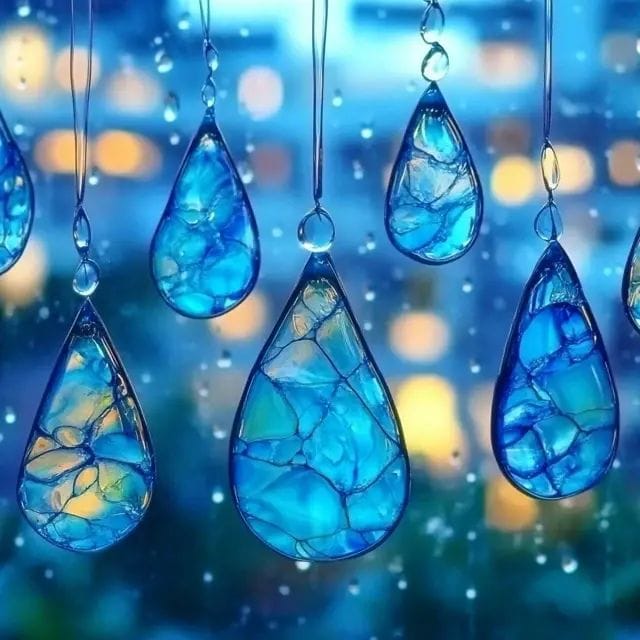

Now you can learn How to Make a Beautiful Blue Crayon Suncatcher. This is a simple tutorial
There’s something absolutely magical about watching sunlight dance through colored glass or translucent materials. I discovered this firsthand when I started making suncatchers with my children, and let me tell you – the blue crayon suncatcher quickly became our favorite project. The way the deep blues and lighter azure shades catch the morning light streaming through our kitchen window never fails to bring smiles to our faces.
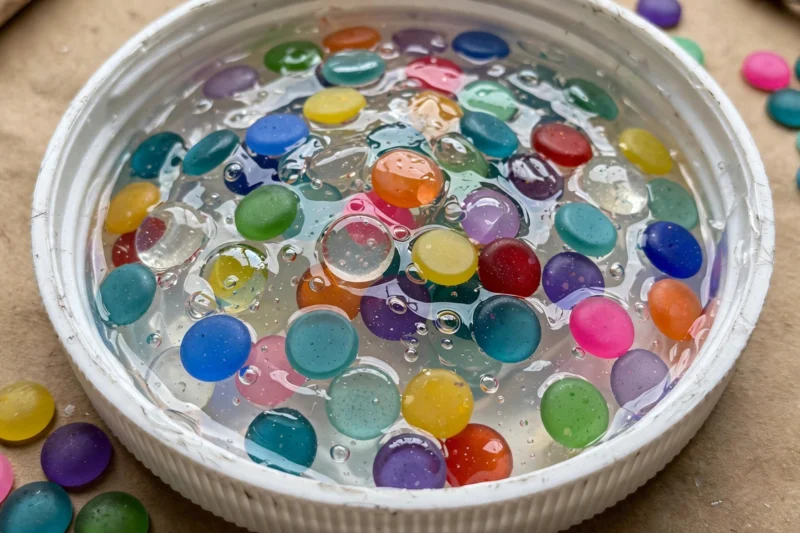
What I love most about this craft is how it combines creativity with a bit of science. Kids get to witness the fascinating transformation of solid crayons into liquid wax, then back into a beautiful, translucent decoration. The anticipation on their faces as they watch the crayons melt is priceless, and the pride they feel when displaying their finished suncatcher is even better.
Blue, in particular, creates such stunning effects when backlit. From the deep navy of a midnight sky to the pale powder blue of a spring morning, the various shades work together to create depth and interest that captivates both children and adults alike.

Materials You’ll Need
materials needed for the project: How to Make a Beautiful Blue Crayon Suncatcher ☀️💙
- Blue Crayons
Use different shades of blue for a more vibrant, layered suncatcher. Old or broken crayons work great. - Wax Paper
This holds the melted crayon wax and lets light shine through beautifully. - Crayon Shavings
Made by peeling or sharpening the crayons to create even melting pieces. - Heat Source (Iron or Hair Dryer)
Used to gently melt the crayon shavings between the wax paper sheets. - Scissors
For cutting the suncatcher into shapes once it cools.
✨ Optional but helpful: string or ribbon for hanging, a hole punch, and parchment paper to protect surfaces while ironing.
See latest discounted prices of blue crayons and wax paper on Aliexepress Us
or Visit the Temu website click here
. An old towel is essential for protecting your work surface, and you’ll want a hair dryer or the lowest setting on your oven for melting.
Safety-wise, make sure you have oven mitts, safety glasses for the kids, and good ventilation. I also keep a damp cloth nearby for quick cleanups.
Step-by-Step Instructions for Blue Crayon Suncatchers
Preparing the Crayons
I always start by having the kids help me sort and break the crayons. There’s something therapeutic about snapping those colorful sticks into smaller pieces! I give each child their own small bowl and let them break the crayons into roughly half-inch pieces. This size melts evenly and creates nice color distribution.
We arrange the pieces by shade, creating a gradient from darkest to lightest. I encourage the kids to think about how they want their colors to blend – darker blues at the bottom like deep ocean water, or lighter blues in the center like a summer sky.
Melting and Shaping Safely
Safety is my top priority during the melting phase. I always handle the heat source myself while the kids observe from a safe distance. If using an oven, I preheat it to the lowest possible temperature – usually around 200°F. The silicone molds go on a baking sheet for stability.
We fill each mold section about halfway with our broken crayon pieces, layering the colors intentionally. I’ve found that placing darker pieces at the bottom and lighter ones on top creates beautiful depth as they melt and naturally blend.
The melting process takes about 10-15 minutes, and I stay nearby the entire time. The kids love watching the transformation through the oven window. When using a hair dryer method, I hold it about six inches away and move it constantly to ensure even heating.
Creating the Suncatcher Design
Once the crayons are completely melted and starting to cool (but still warm), we work quickly to create our design. I use a toothpick to gently swirl the colors, creating marbled effects that look absolutely stunning when backlit.
For beginners, I recommend keeping the design simple – maybe a gentle spiral or just letting the colors naturally blend. More adventurous crafters might try creating wave patterns or even simple shapes by manipulating the cooling wax.
The key is working while the wax is still pliable but not so hot that it’s dangerous. I test the temperature myself before letting the kids get involved in this step.
Tips for Crafting with Kids
After making countless suncatchers with children of various ages, I’ve learned some valuable lessons. First, patience is everything. Kids work at their own pace, and rushing leads to frustration for everyone involved.
I always set up our crafting area with plenty of space and cover every surface with newspaper or plastic. Melted crayon can be tricky to clean, so prevention is key. I also have wet wipes handy – they’re surprisingly effective at removing waxy residue from little fingers.
Age-appropriate tasks are crucial. Younger children (ages 4-6) excel at breaking crayons and arranging colors, while older kids (7-12) can help with the actual melting process under close supervision. I’ve found that giving each child a specific role makes them feel more invested in the project.
Most importantly, I embrace imperfection. Some of our most beloved suncatchers have unexpected color combinations or slightly uneven shapes. These “flaws” often become the most charming features.
Creative Variations (Different Colors & Patterns)
While blue suncatchers hold a special place in my heart, we’ve experimented with countless variations over the years. Ocean themes using blues and greens create stunning underwater effects. Sunset combinations with blues transitioning to purples and pinks mimic evening skies beautifully.
We’ve tried creating layered effects by making multiple thin suncatchers and hanging them at different depths in the same window. The overlapping colors create an almost stained-glass effect that’s breathtaking.
For special occasions, we incorporate themed shapes. Heart-shaped molds for Valentine’s Day, star shapes for Fourth of July, or flower shapes for Mother’s Day add personal touches that make wonderful gifts.
terials You’ll Need
materials needed for the project: How to Make a Beautiful Blue Crayon Suncatcher ☀️💙
- Blue Crayons
Use different shades of blue for a more vibrant, layered suncatcher. Old or broken crayons work great. - Wax Paper
This holds the melted crayon wax and lets light shine through beautifully. - Crayon Shavings
Made by peeling or sharpening the crayons to create even melting pieces. - Heat Source (Iron or Hair Dryer)
Used to gently melt the crayon shavings between the wax paper sheets. - Scissors
For cutting the suncatcher into shapes once it cools.
✨ Optional but helpful: string or ribbon for hanging, a hole punch, and parchment paper to protect surfaces while ironing.
See latest discounted prices of blue crayons and wax paper on Aliexepress Us
or Visit the Temu website click here
Displaying Your Suncatcher at Home
The placement of your finished suncatcher can make or break its visual impact. I’ve discovered that east-facing windows work best for morning light shows, while west-facing windows create magical afternoon displays.
We use small suction cup hooks or thin fishing line for hanging. The key is positioning the suncatcher where it won’t be bumped but where sunlight can pass through freely. I avoid windows where curtains or blinds might obstruct the light.
Grouping multiple suncatchers at varying heights creates dynamic displays that change throughout the day as the sun moves across the sky.
Educational Benefits of This Craft
Beyond the obvious fun factor, crayon suncatchers offer numerous learning opportunities. We discuss states of matter as we watch solids become liquids and then solids again. Color theory comes into play as we observe how different blues blend and interact.
Fine motor skills develop through crayon breaking and color arrangement. Planning and sequencing skills improve as kids think through their design process. Even basic physics concepts like light refraction become accessible through hands-on observation.
F
For future projects, we’re planning galaxy-themed suncatchers with deep blues and purples, and ocean scenes incorporating blues with touches of green and white. The possibilities are truly endless, limited only by imagination and the colors in your crayon box.

A Teacher with 5 years of experience. Our Expertise, is reliable to meet your full Academic development needs . Worked on many crafts and construction projects offering services from design to development to deployment over the years. You will find many of my works in my business portfolio on request.