
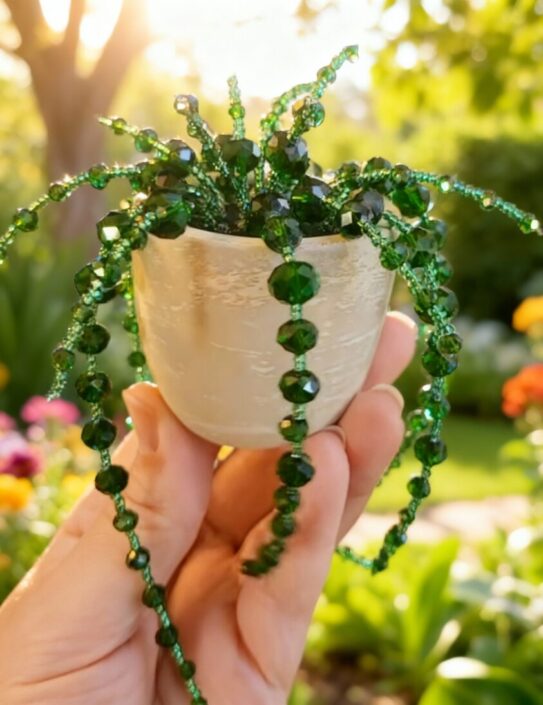

This is an experienced Post on 12 Beaded Plants Ideas to try. We added some extra ideas so its actually more than twelve.
I first saw a beaded plant on social media and thought, “That’s the cutest thing ever!” Within an hour, I was at the craft store buying wire and beads, completely excited to try making my own. There’s something magical about creating a plant that looks real but will never wilt, never need water, and will stay colorful forever.
Let me tell you, making beaded plants is absolutely addictive! Once you make your first one, you’ll want to create an entire garden. The best part? You don’t need a green thumb at all – just some beads, wire, and a bit of imagination.
Whether you’ve seen these trending on TikTok or you’re completely new to the idea, I’m going to share everything I know about making beautiful beaded plants. From simple beginner projects to more complex designs, these ideas will help you create stunning decorative pieces for your home or amazing gifts for friends.
Why I Love Beaded Plants
Before we dive into the projects, let me tell you why these crafts are so special. First, they’re perfect for people like me who love the look of plants but struggle to keep real ones alive. Second, you can make them in any color combination you want – imagine purple succulents or rainbow cacti!
They’re also incredibly relaxing to make. There’s something meditative about threading beads onto wire and shaping them into natural forms. Plus, they make fantastic gifts because they’re so unique and personal.
Your First Beaded TUTORIAL : Simple Leaf Design
Let me walk you through making your very first beaded plant. This is the project I wish I had started with because it’s simple but looks absolutely stunning.
You’ll need craft wire (18 or 24-gauge works great), colorful beads in different sizes, wire cutters, pliers, a small pot, and some floral foam to hold everything in place
Start by cutting a piece of wire about 14 inches long. Thread one bead to the center and fold the wire in half, twisting it a few times to secure the bead. Now add more beads to both strands of wire, leaving about 2 inches at the end for “planting” in your pot.
Here’s the fun part: bend the beaded wire into a leaf shape! Use your pliers to create gentle curves that look natural. Make about 12 of these “leaves” in different sizes and colors.
Once you have all your leaves ready, stick a piece of floral foam in your pot and insert each beaded stem. Arrange them so they look balanced and natural. Cover the foam with fake moss or small decorative stones, and you’ve got your first beaded plant!
MATERIALS You’ll Need to Get Started
Here’s everything I use to make my beaded plants. Don’t worry if this list looks long –
For the leaves and stems:
- Green seed beads (size 11 works best)
- Floral wire (24-gauge is perfect)
- Wire cutters
- Small pliers
- Brown floral tape
For the pot:
- Small terracotta pot or decorative container
- Plaster of Paris or modeling clay
- Small pebbles or decorative stones
- Acrylic paint (optional)
Extra supplies:
- Ruler or measuring tape
- Small bowl for beads
- Good lighting
- Patience (this is the most important one!)
Beaded Succulent Garden
Succulents are perfect for beading because their chunky, rounded leaves translate beautifully into wire and bead form. I love making these because you can use such gorgeous color combinations.
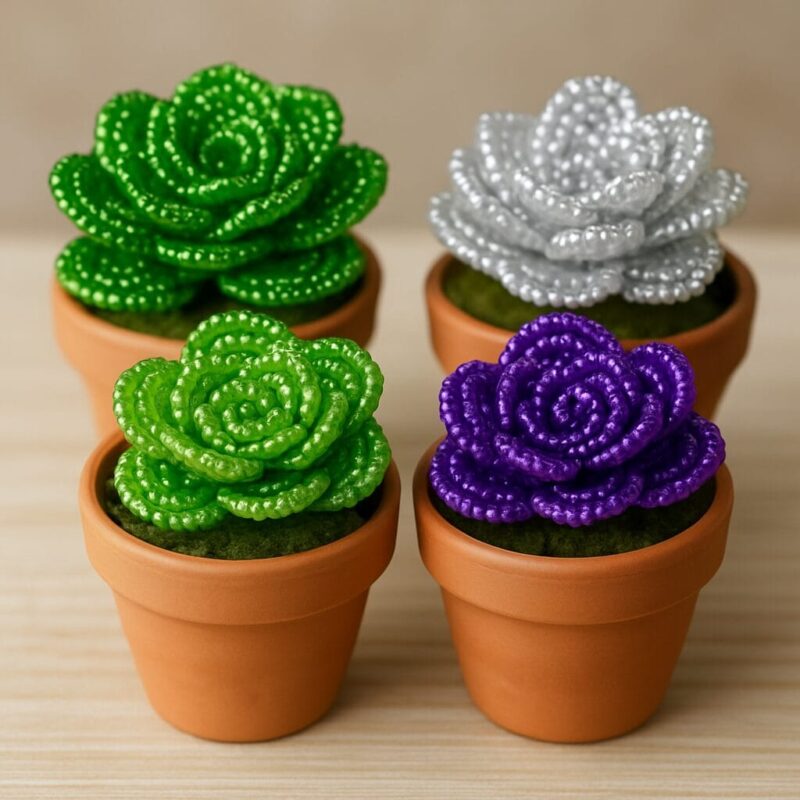
For succulent-style plants, make your wire loops shorter and rounder. Use beads in greens, purples, and silvery whites to mimic real succulent colors. Create multiple small “leaves” and cluster them tightly together at the base.
The trick with beaded succulents is layering. Make some leaves shorter and place them in the center, with longer ones around the outside. This creates that authentic succulent rosette shape that everyone recognizes.
Beaded Cactus Collection
Cacti are probably the easiest beaded plants to make, and they look so cute in small terra cotta pots! For a basic cactus, use green beads on a single straight wire. Instead of making loops like with other plants, keep the wire straight and bend small pieces at the ends so the beads don’t slide off.
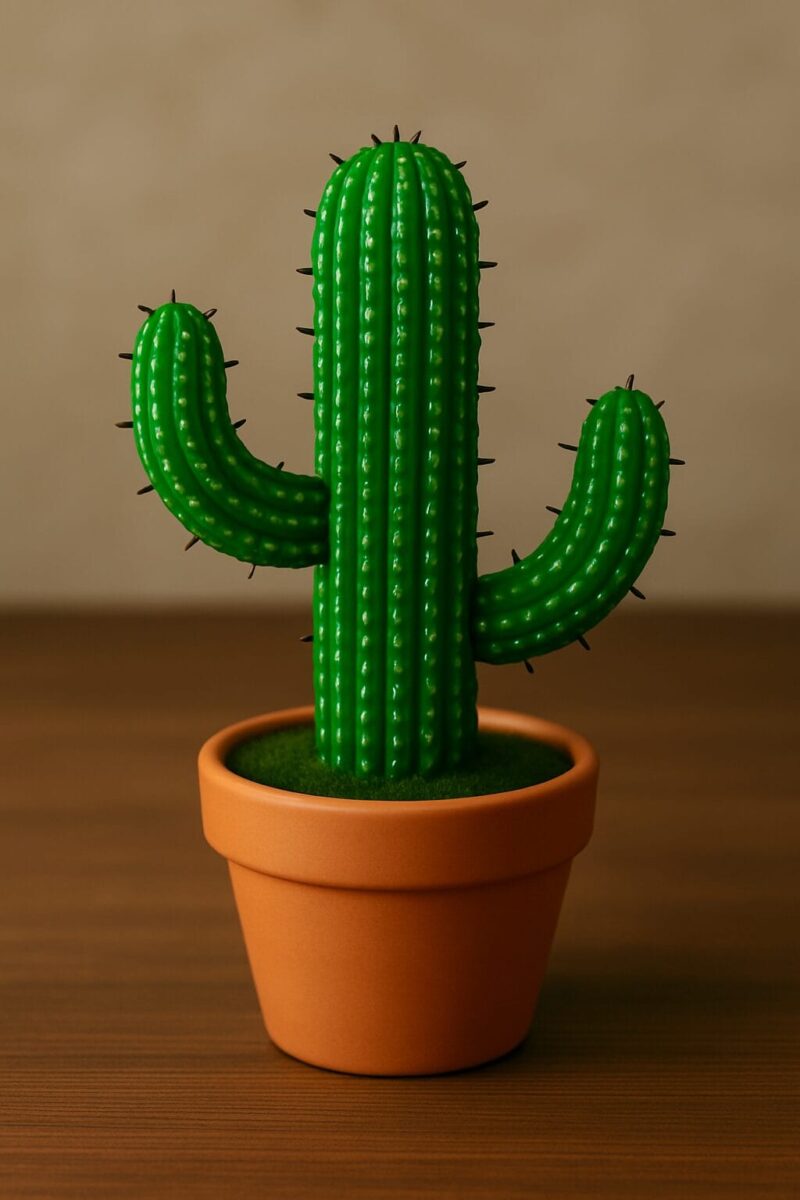
For the main cactus body, make it about 4-5 inches tall. For the arms, make shorter pieces (about 2-3 inches) and wrap the wire around the main stem. The beauty of beaded cacti is that they can be as simple or as elaborate as you want.
Try making different cactus varieties: tall skinny ones, short round ones, or even ones with multiple arms. Use different shades of green beads, or go wild with rainbow colors for a fantasy cactus garden!
Flowering Beaded Plants
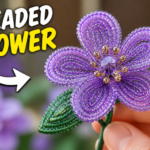
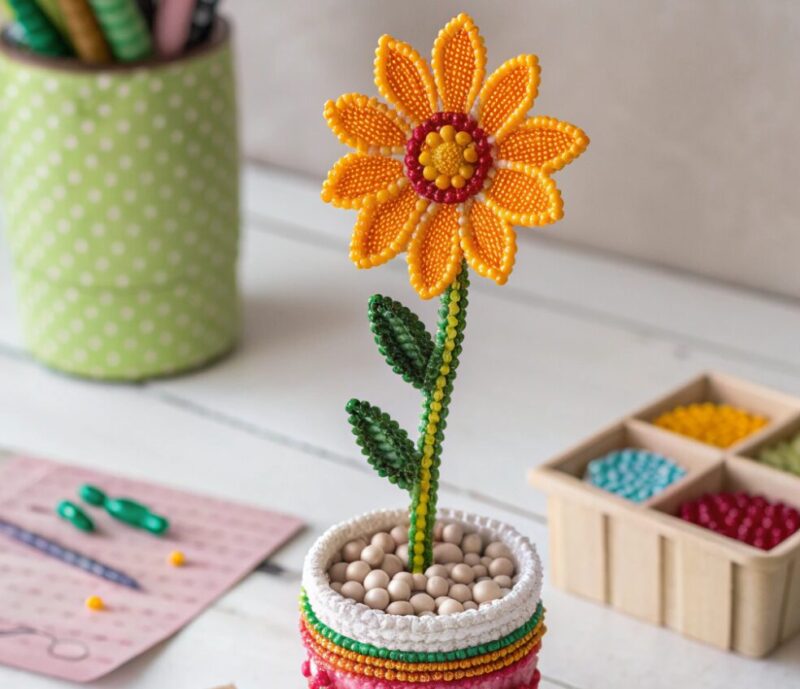
Adding flowers to your beaded plants makes them extra special. For simple flowers, create small loops with colorful beads at the tips of some stems. Use bright colors like pink, yellow, red, or purple for the flower beads, and green for the stems and leaves.
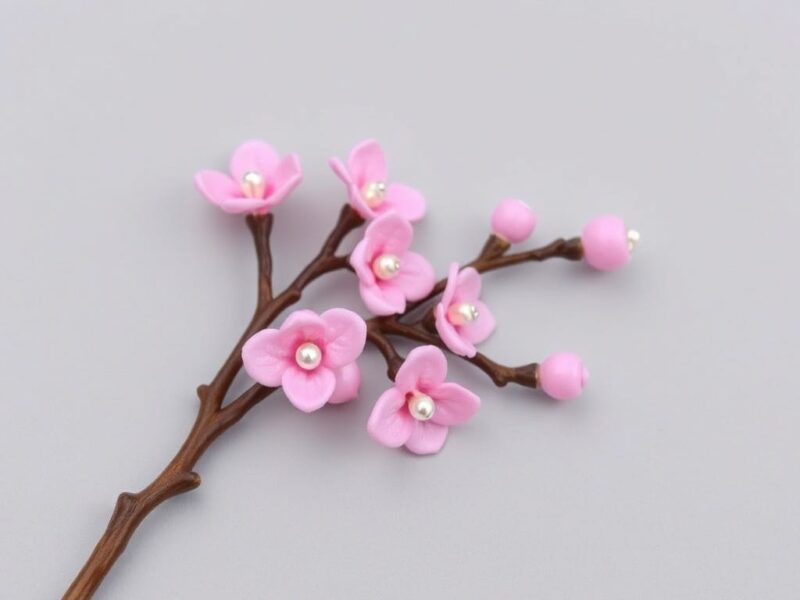
Cherry blossom-style branches are gorgeous and surprisingly easy. Make long, slightly curved brown wire stems, then add small pink or white bead clusters along the branches. These look stunning in tall, narrow vases.
For more complex flowers like roses or daisies, create multiple small petal loops around a center bead. It takes a bit more time, but the results are absolutely beautiful.
Seasonal and Holiday Beaded Plants
One of my favorite things about beaded plants is how you can customize them for different seasons and holidays.
Spring Plants
I love making spring beaded plants because they feel full of new life. I choose soft pastel beads in pink, white, and light green to make tiny blossoms and fresh leaves. Sometimes I add small bead buds to show flowers just starting to bloom. When I finish, the plants look like a little garden waking up after winter. These pastel colors make my desk bright and cheerful, and friends always notice them first. Crafting spring plants reminds me of warm breezes and sunny mornings, and it is a simple way to bring that feeling inside all year long.
Summer Plants
Summer beaded plants are my favorite because they are bold and full of energy. I use bright beads like orange, yellow, and hot pink to build tropical shapes with spiky leaves or large flowers. The colors make me think of beach vacations and sunny afternoons. I sometimes add shiny gold beads for an extra pop. These plants look amazing near windows where sunlight can show off their sparkle. Making them feels like a celebration of summer fun, and they add a lively mood to any room. It is a great way to keep summer vibes even when I am indoors.
Fall Plants
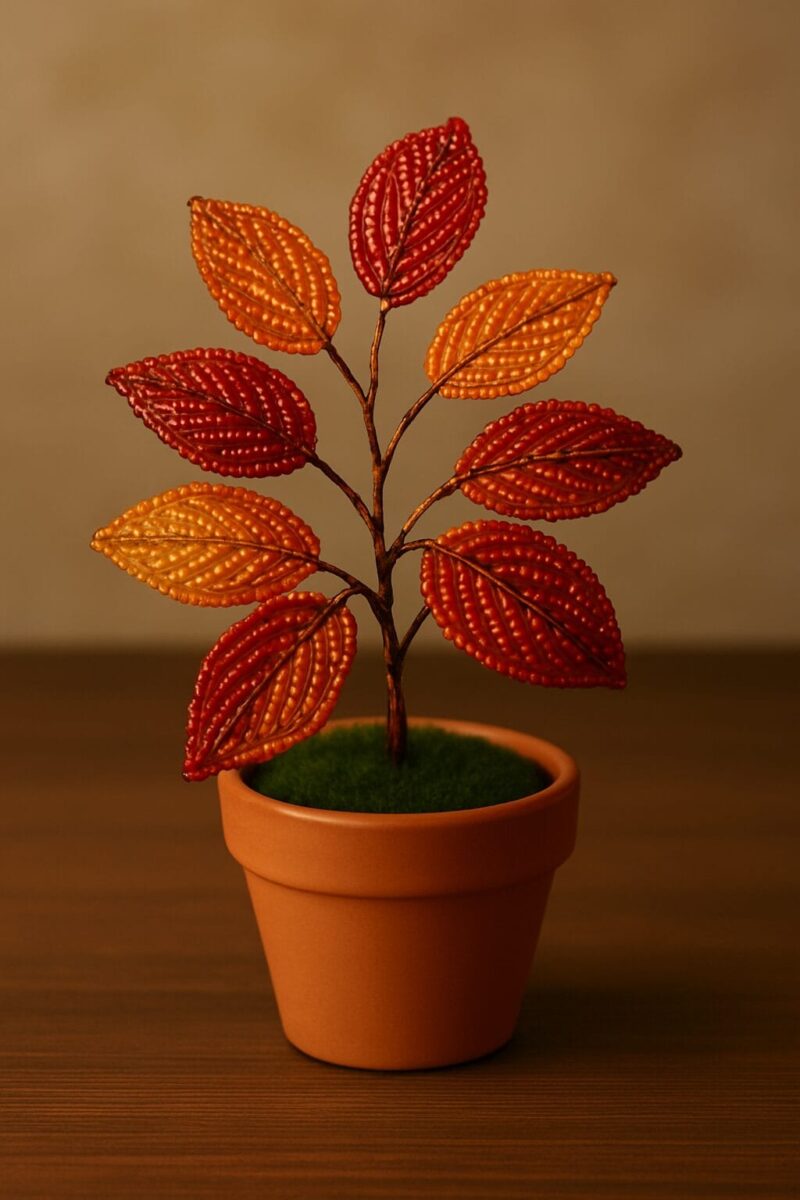
I enjoy creating fall beaded plants because the colors are so warm and cozy. I use deep reds, golden yellows, and soft oranges to make leaves that look like they are changing color. Sometimes I add clusters of dark beads to mimic berries or seeds. The finished plants remind me of walks through crunchy leaves and cool autumn air. They make beautiful decorations for my table or shelf. Crafting fall plants helps me slow down and enjoy the season, and it brings a little bit of that outdoor magic into my home without needing real plants or flowers.
Winter Plants
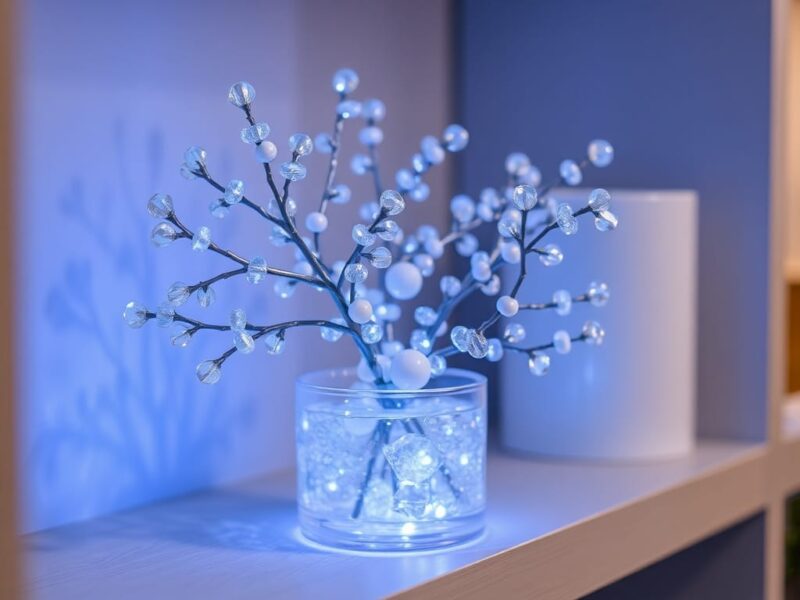
Winter beaded plants are so peaceful to make. I use silver, white, and icy blue beads to build snowy leaves and flowers. Clear beads look like ice crystals sparkling in the light. Sometimes I mix in a little pale green to show pine branches under frost. These plants make my room feel calm and cool, like a winter morning. They also look beautiful as holiday decorations or gifts. Crafting winter plants gives me a chance to work with shiny colors and create something elegant that stays fresh all season long without melting away like real snow.
Once you’ve mastered the basics, try these more complex ideas:
Hanging Air Plants TUTORIAL
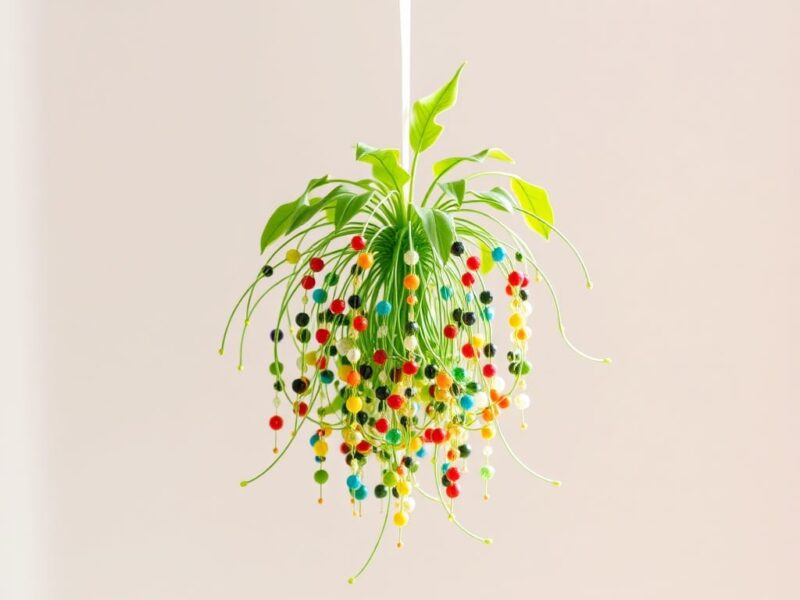
I love making hanging air plants with beads because they look weightless and magical. Instead of using a pot, I thread my beaded plant shapes onto clear fishing line. The line disappears so the plants seem to float in the air. I hang them in windows where sunlight hits the beads and makes them sparkle, or from hooks on the ceiling to create a tiny indoor garden. It is fun to experiment with different lengths so they hang at different heights. This project is easy but impressive, and it gives my room a fresh, airy look without taking up space.
Glow-in-the-Dark Plants
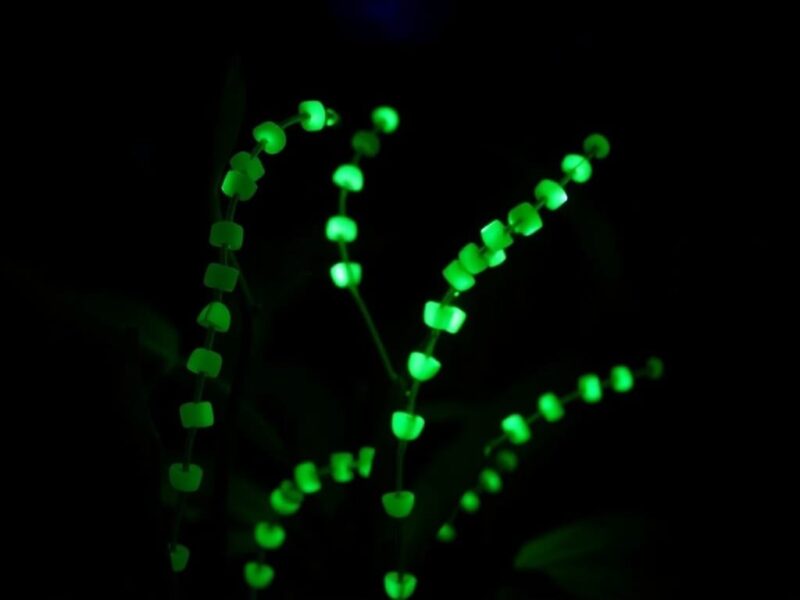
Creating glow-in-the-dark beaded plants makes me feel like I am building something from a fantasy world. I choose glow beads in green, blue, or even purple and shape them into flowers or leaves. When the lights go out, the plants shine softly like tiny lanterns. Kids and friends love seeing them glow at night. These plants look normal in the daytime and magical after dark, so they are perfect for a bedroom or a party decoration. It is an easy way to add a surprise effect to my crafts and bring a little bit of wonder to any space.
Beaded Herb Garden
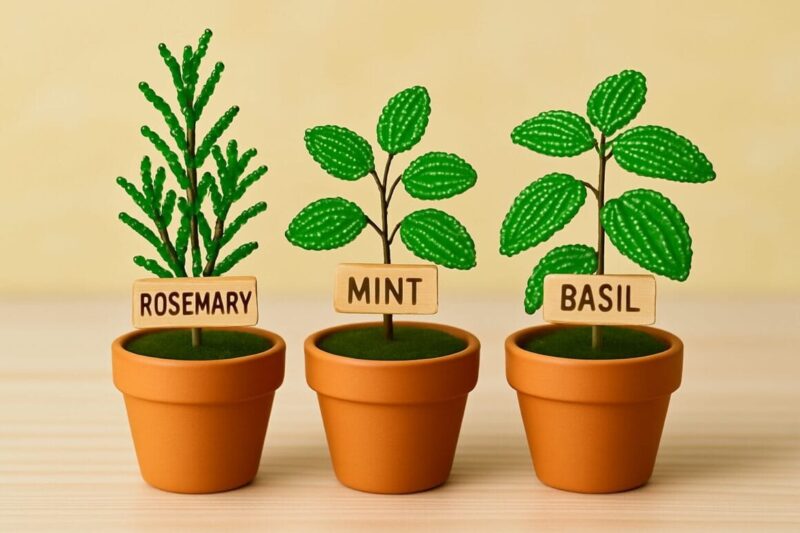
Making a beaded herb garden is one of my favorite crafts because it looks so real. I use thin green beads on straight wires for rosemary, then create small serrated leaves for mint. Sometimes I even add little bead flowers for herbs like lavender. I plant them in tiny pots and label each one with a handmade tag. It feels like I have a real indoor garden that never needs watering. This project also makes a cute display in the kitchen or as a gift. It shows how creative beads can be when making plants people recognize
How you display your beaded plants can make them even more stunning:
Mini Garden Scenes
I like making mini garden scenes with beads because they look like tiny worlds. I choose different small pots, each one holding a special beaded plant. Then I add tiny benches, garden tools, or even a small beaded path. It feels like I am building a dollhouse garden but with plants that never fade. Arranging them is relaxing, and I can change the layout whenever I want. These little gardens brighten up my desk and make me feel creative. They are also a fun way to show friends how beads can turn into something magical and surprising.
Wall-Mounted Displays
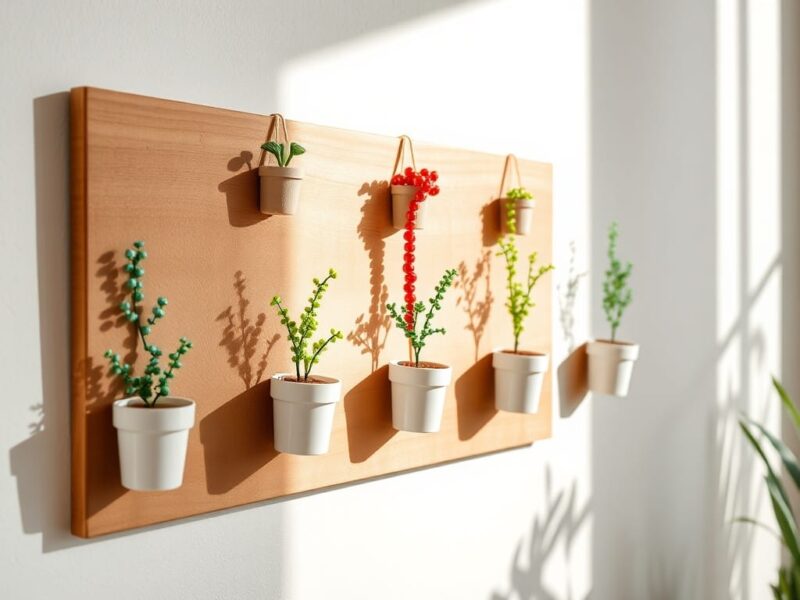
Creating wall-mounted displays with beaded plants is my favorite way to decorate empty walls. I attach small pots to a wooden board and fill them with my handmade beaded plants. The board becomes living wall art that never needs water. I can mix colors and shapes so each display looks unique. When sunlight hits the beads, the whole piece sparkles like stained glass. It makes my room feel stylish and fresh without taking up floor space. This project is simple but looks professional, and it is an easy way to show off my craft skills to anyone who visits.
Beaded Water Lily Pond
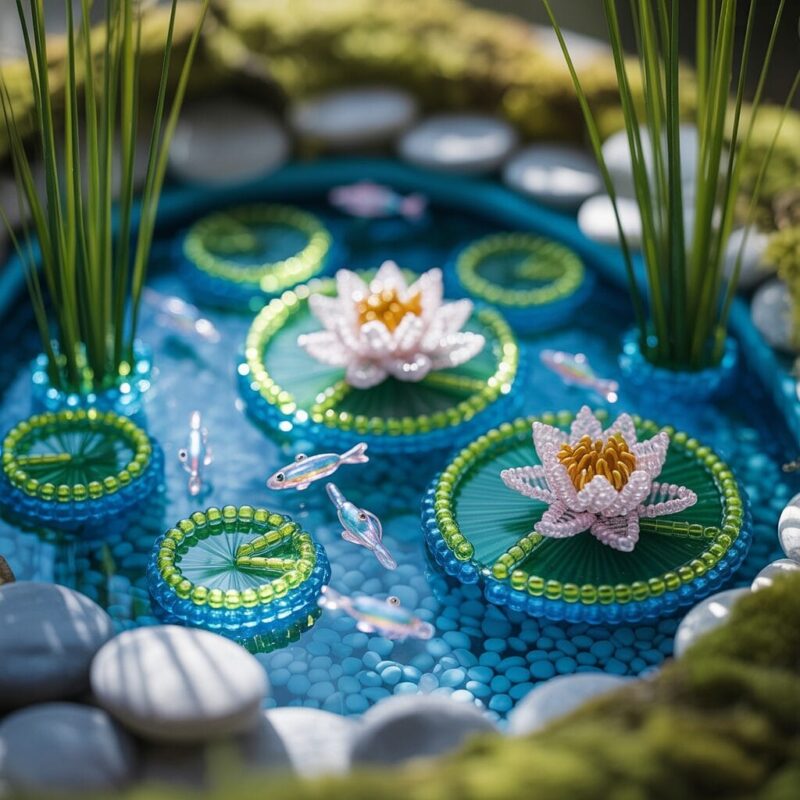
I always wanted to make a beaded water lily pond because it feels like a tiny world in my hands. I start with blue and clear beads for the water, shaping them into a small dish. Then I build lily pads from green beads and add bright pink or white beads for the flowers. Sometimes I even slip in a tiny beaded fish. When I finish, it looks like a magical pond frozen in time. This little scene makes me smile because it captures the beauty of nature without needing care, and I can place it anywhere in my room.
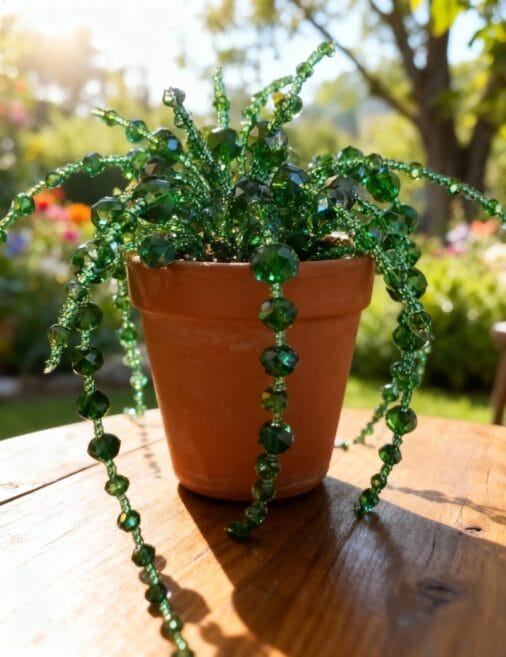
Beaded Hanging Ivy Garland
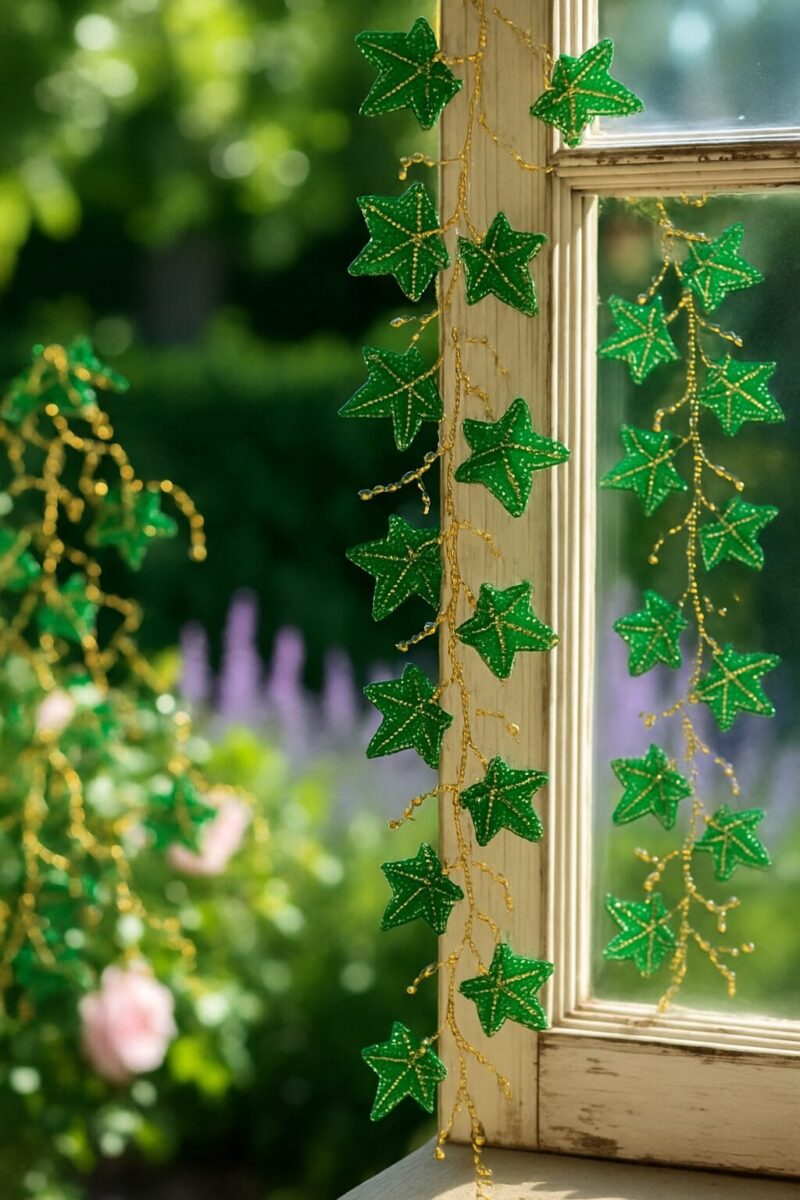
Creating a beaded hanging ivy garland is relaxing and fun. I twist green beads on thin wire to make leaves, then link the strands together. When it is finished, I hang it over my window or across a shelf. The beads catch the sunlight and sparkle like dew. Unlike real ivy, it never needs watering or trimming. I can also add gold or silver beads for a special touch. This craft turns any plain space into a cozy and stylish spot. It is a simple way to decorate a room and show off my love for handmade art.
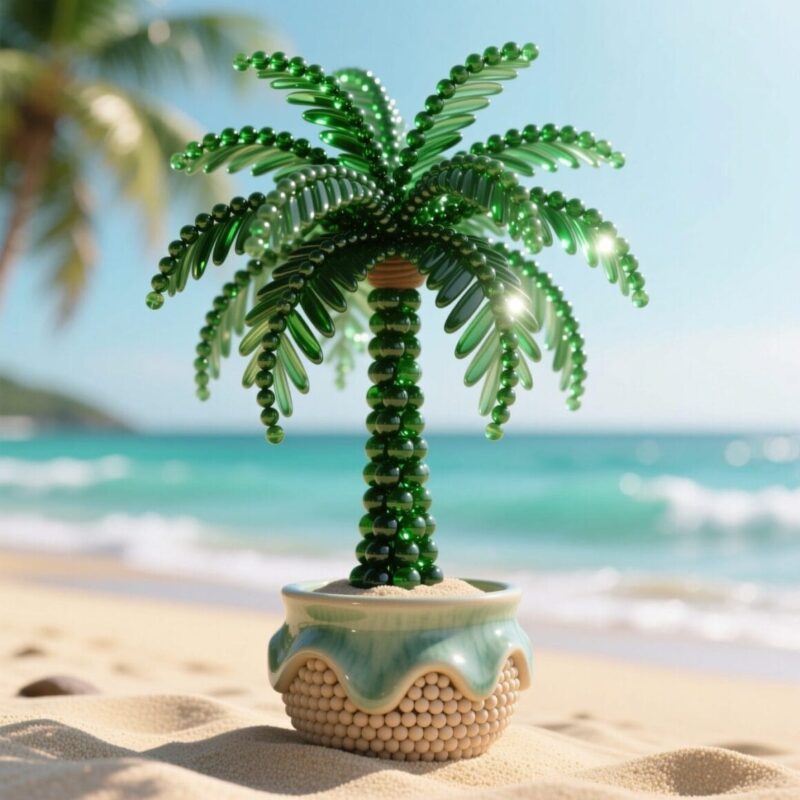
Beaded Tropical Palm Plant
Making a beaded tropical palm plant lets me bring a bit of the beach inside. I shape emerald and dark green beads into long fronds and attach them to a sturdy wire trunk. Then I plant the base in a small pot filled with sand-colored beads. It looks like a real mini palm tree. When I glance at it on my desk, I feel like I am on vacation. This craft also teaches me patience because each frond takes time to build. The result is a bright, cheerful plant that stays perfect all year long without any care.
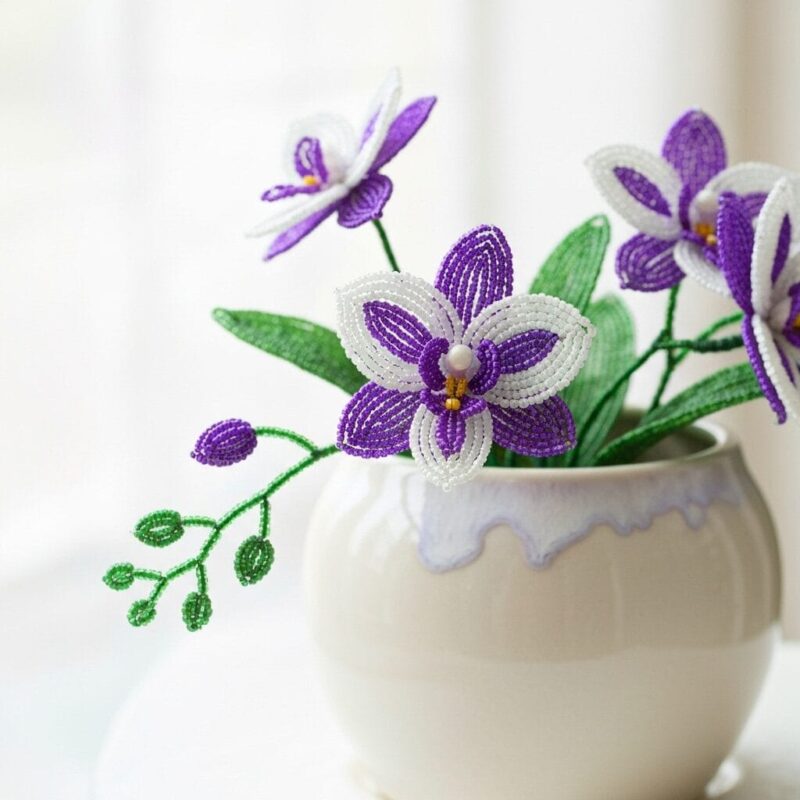
Beaded Orchid Arrangement
I love how delicate and elegant beaded orchids look. I use thin green wire for the stems and soft white and purple beads for the petals. Each flower takes time, but the result is worth it. I arrange the finished orchids in a ceramic pot with tiny bead stones at the base. They look real but never wilt. This craft makes a beautiful gift or a lovely decoration for my room. It also lets me experiment with different colors to create new kinds of orchids. Seeing them on my shelf always makes me feel proud and calm.
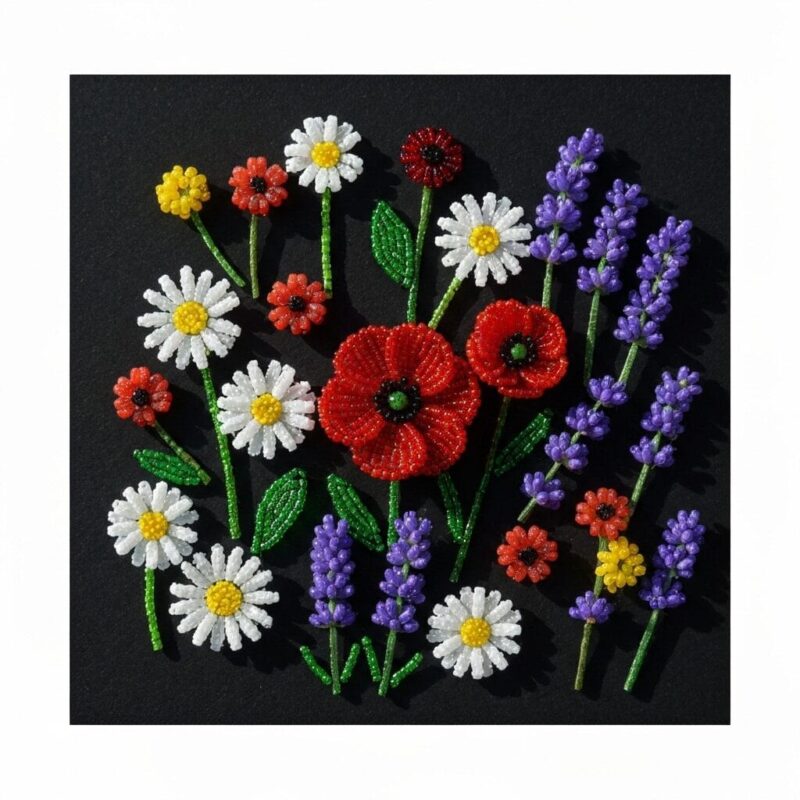
Beaded Wildflower Meadow
Making a beaded wildflower meadow feels like painting with beads. I create small daisies, poppies, and lavender stems, then arrange them in rows like a field. The bright beads shine under the light and bring color to my desk. I can move the flowers around to design new scenes whenever I want. It is like having a mini garden that stays in bloom forever. This project makes me slow down and enjoy each step because the flowers are tiny and detailed. When I finish, I have a cheerful piece of art that reminds me of summer days.
hat You’ll Need to Get Started
Here’s everything I use to make my beaded plants. Don’t worry if this list looks long – most of these items are cheap and you can find them on temu . click here or Aliexpress – click here
For the leaves and stems:
- Green seed beads (size 11 works best)
- Floral wire (24-gauge is perfect)
- Wire cutters
- Small pliers
- Brown floral tape
For the pot:
- Small terracotta pot or decorative container
- Plaster of Paris or modeling clay
- Small pebbles or decorative stones
- Acrylic paint (optional)
Extra supplies:
- Ruler or measuring tape
- Small bowl for beads
- Good lighting
- Patience (this is the most important one!)
most of these items are cheap and you can find them on temu . click here or Aliexpress – click here
Tips for Beaded Plant Success
Here’s what I’ve learned from making dozens of beaded plants:
Mix bead sizes and textures for more realistic-looking plants. Combine smooth round beads with faceted ones, or mix matte and shiny finishes.
Don’t make them too perfect. Real plants are asymmetrical and a bit wild-looking, so let your beaded plants have some natural irregularity.
Invest in good wire. Cheap wire breaks easily and doesn’t hold its shape well. Good craft wire makes all the difference in how your finished plants look and last.
Take your time with shaping. The magic happens when you bend and adjust the wire to create natural-looking curves and movement.
Making beaded plants has brought so much joy into my crafting life. There’s something incredibly satisfying about creating something beautiful that will last forever. Whether you make one simple plant or create an entire beaded garden, you’re making something truly special.
Start with one easy project, and I guarantee you’ll be hooked. Before you know it, you’ll have a whole collection of colorful, creative plants that bring life and beauty to any space – no watering required!

A Teacher with 5 years of experience. Our Expertise, is reliable to meet your full Academic development needs . Worked on many crafts and construction projects offering services from design to development to deployment over the years. You will find many of my works in my business portfolio on request.





Hi, I read the directions for the beaded cactus. What do you use for the body of the. Cactus?
For a beaded cactus, the “body” is typically made using either craft wire with green seed beads or a solid base material that is then covered with beaded elements.
Using Wire and Beads (French Beading Method)
In this common method, the entire cactus is built from wire and beads:
Craft wire (typically 24-gauge for flexibility and sturdiness) is the primary structural material.
Green seed beads are strung onto the wire.
The wire is twisted into individual leaf or branch shapes, which are then assembled together to form the main cactus body and its arms.
This article was very disappointing. The instructions were not detailed and specific enough to adequately describe the process. The lack of pictures showing the actual process was also disappointing and make it hard/impossible to follow the steps. AI needs to do better.
Sorry about that , i created another post for the actual tutorial. Now i have updated this post and added two videos as guide to include two tutorials on bead plants. i hope this helps.