
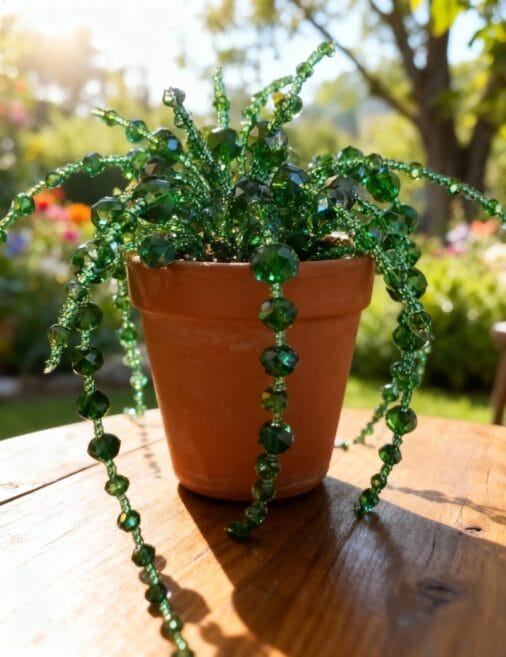

Making a DIY beaded plant is one of those crafts that feels relaxing—until you realize you’ve just made something pretty enough to display anywhere. It’s bright, customizable, and perfect when you want “green” without the mess. I love that I can choose my exact bead colors, make it small or big, and never have to worry about watering schedules. It’s also a great activity for beginners because the process is mostly repeating simple steps: cut wire, thread beads, shape, then tuck everything into a base. Plus, you can use different materials (foam, Styrofoam, or longer “forever” strands) to get three distinct looks. Let’s make your beaded plant the kind of décor you’ll actually want to keep out on a shelf.
After weeks of practice and a few mistakes, I finally mastered the art of beaded plant making. Now I want to share everything I learned with you. Trust me, it’s easier than you think, and the results are absolutely stunning.
Key Takeaways
- You can make beaded plants in 3 easy ways: short wire leaves in floral foam, longer “forever plant” beaded strands, or a painted Styrofoam “soil” base.
- Beads like seed beads, pony beads, faceted glass beads, and leaf-shaped beads all work well—variety packs help you mix colors.
- Wire length controls the size and fullness: shorter pieces for tight clusters, longer pieces for fuller leaf/strand looks.
- If you use glass beads, avoid direct sunlight (glass can act like a prism and create a safety risk).
- No watering is required—these are display-only plants—so you can focus on shaping and styling.
Quick Answer
To make a DIY beaded plant, cut wire into pieces, thread beads onto the wire, shape the beaded wire into leaf/petal forms using pliers, then secure the pieces into a base (floral foam in a pot, a planted “forever” style with longer strands, or a painted Styrofoam soil ball). Finish by arranging leaves evenly and letting any painted parts dry fully.
What You Need
| Item | Purpose | Notes |
|---|---|---|
| Seed beads / pony beads / faceted glass beads / leaf-shaped beads | Create your beaded leaf or strand | Variety packs let you mix colors easily |
| Thin craft wire (green for leaf strands) | Thread beads and shape leaves | For “forever plants,” cut longer wire pieces (about 6–10 inches) |
| Silver wire (optional) | Alternative stem/leaf color | Works great with many bead colors |
| Round-nose pliers | Make loops at the wire tips and shape curves | Helps keep beads from sliding off |
| Pliers (flat/needle-nose) | Twist ends and bend wire firmly | Used to secure leaf shapes |
| Scissors or wire cutters | Cut wire to length | Snip carefully for clean edges |
| Hot glue gun + glue sticks | Secure floral foam or anchor pieces | Use adult supervision if needed |
| Floral foam (inside a pot) | Base for inserting leaf strands | Great for method 1 |
| Small pot or container | Holds your plant | Any simple pot shape works |
| Styrofoam ball (optional method 3) | Faux “soil” base | Paint it to look like soil |
| Brown acrylic paint (method 3) | Create a soil look | Let it dry completely before assembling |
| Optional: tweezers or spoon | Help place leaves neatly | Makes adjusting easier |
Step 1: Plan Your Beaded Plant Look (Colors + Size)
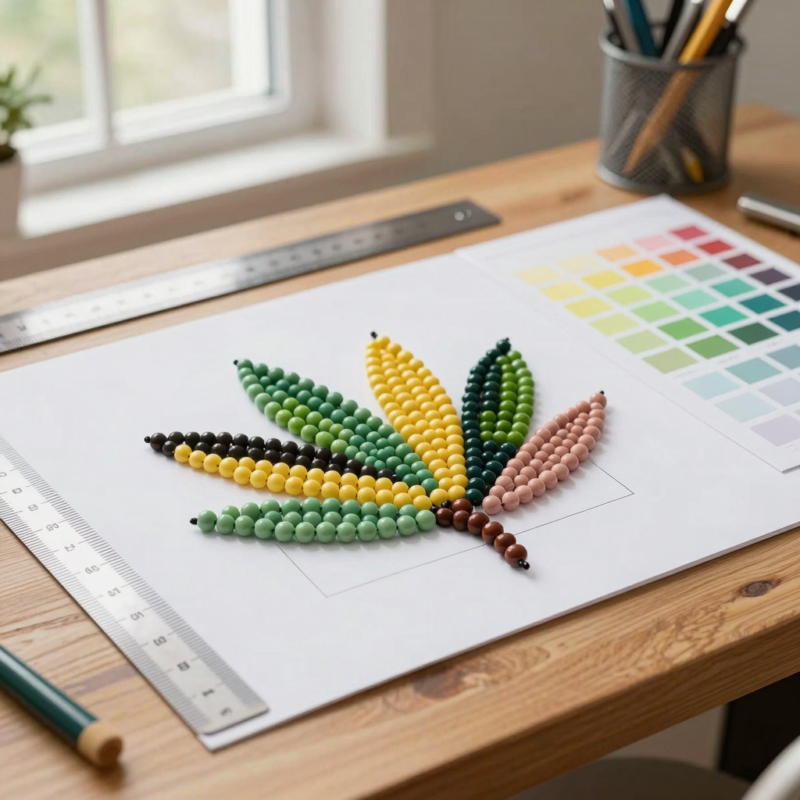
Before I cut any wire, I pick the vibe I’m going for. Do I want a bright tropical plant, a soft pastel plant, or something that looks like it belongs in a farmhouse room? Once I decide, I choose my bead colors.
Here’s what helps me most:
- Pick one main color + 1–2 accents. For example: green beads for leaves, plus a few warm tones for interest.
- Choose a bead style you can work easily.
– Seed beads are tiny and give detailed texture. – Pony beads are bigger and faster for beginners. – Faceted glass beads sparkle but need extra care. – Leaf-shaped beads can make the whole plant look extra “leafy” with less shaping.
- Decide the size. If I want a small plant on a desk, I use shorter wire pieces. If I want fuller “statement” leaves, I use longer wire pieces.
Quick safety note I always keep in mind: if you use glass beads, avoid direct sunlight. Glass can act like a prism and can increase fire risk. I treat my finished plant like décor that lives in indoor, indirect light.
Step 2: Choose the Right Wire and Cut It for Your Method
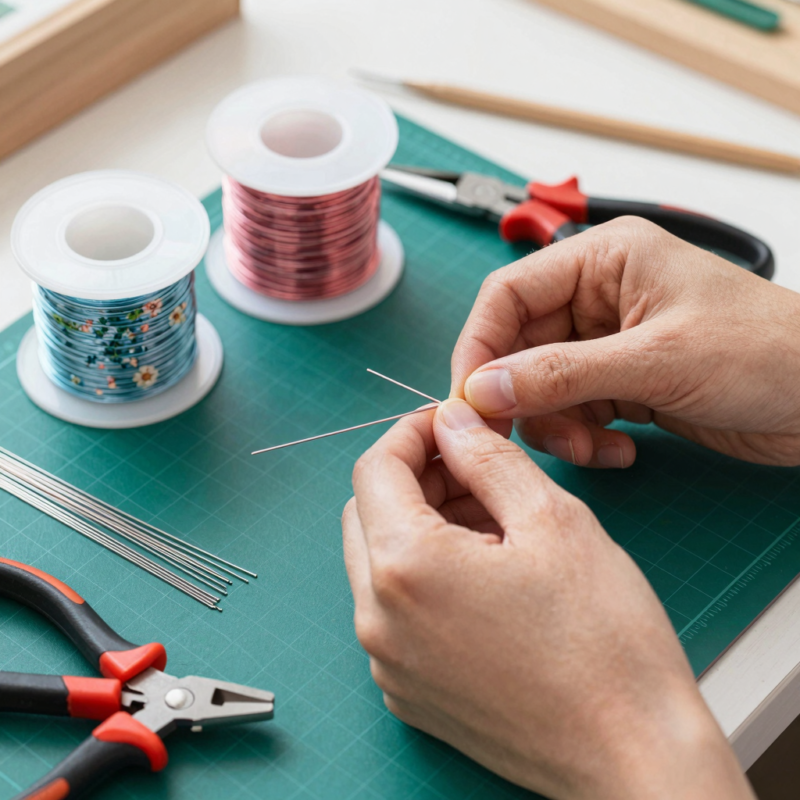
Wire choice affects everything: how easy it is to thread beads, how well it holds the shape, and how full the plant looks.
I typically use thin craft wire because it bends nicely and holds shapes once twisted. Then I cut wire based on the method:
- Method 1 (floral foam): I cut several pieces around 3–6 inches for leaf sections. Shorter pieces create tight clusters.
- Method 2 (“forever plant”): I cut longer pieces around 6–10 inches to build more full, flowing leaf strands.
- Method 3 (painted Styrofoam soil): I cut stems/leaves similar to method 1 or a bit longer, depending on how tall I want the plant.
When I cut multiple pieces, I like to line them up like a stack so all my leaves look consistent in scale.
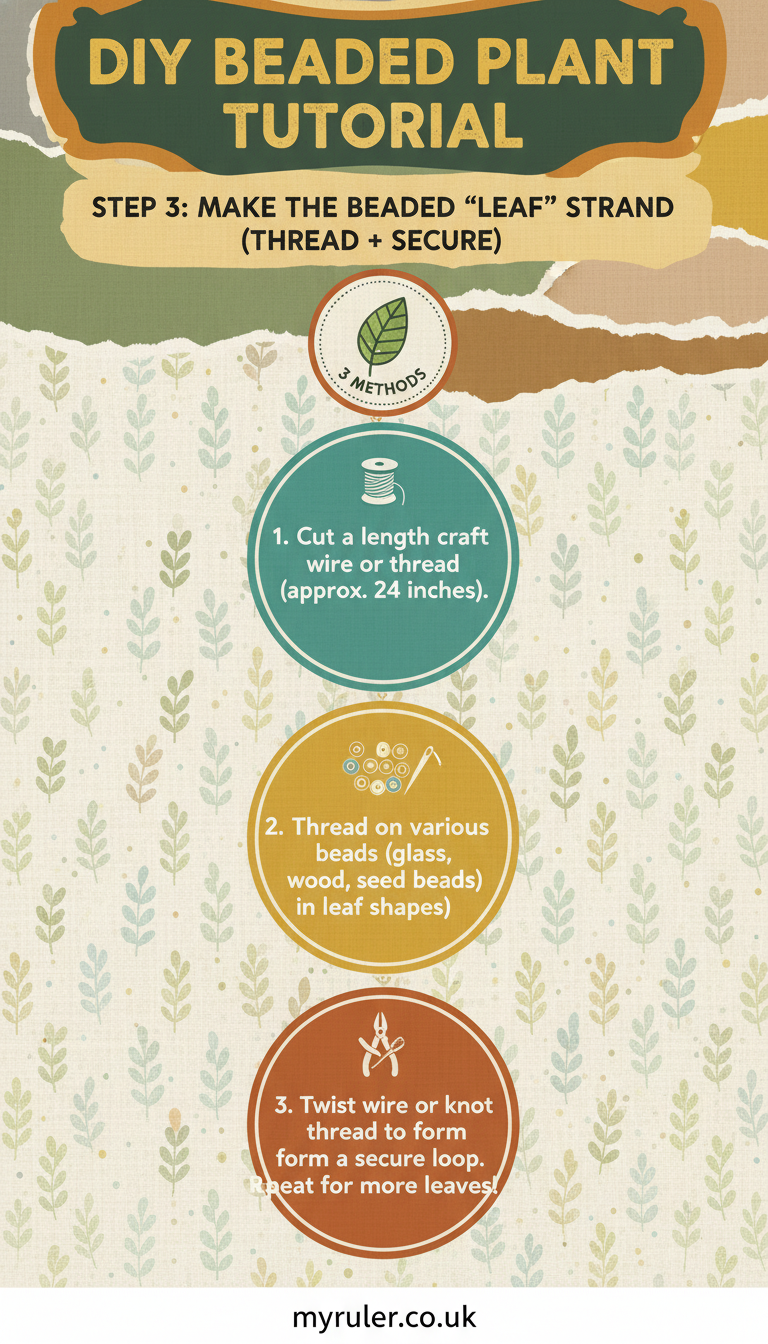
Step 3: Make the Beaded “Leaf” Strand (Thread + Secure)
Now comes the repeating step that makes everything come alive.
- Form a small loop at one end of the wire using round-nose pliers.
This keeps the first beads from sliding off.
- Thread beads onto the wire in the pattern I want.
– Random mix looks organic and natural. – A simple pattern (like lighter center, darker edges) can look more designed.
- Stop at the length you want your leaf to be.
I usually eyeball it, then compare against the other leaves so the plant stays balanced.
When I’m happy with the bead coverage, I twist the wire tail to hold everything in place.
Step 4: Shape Beads into Leaf or Petal Form
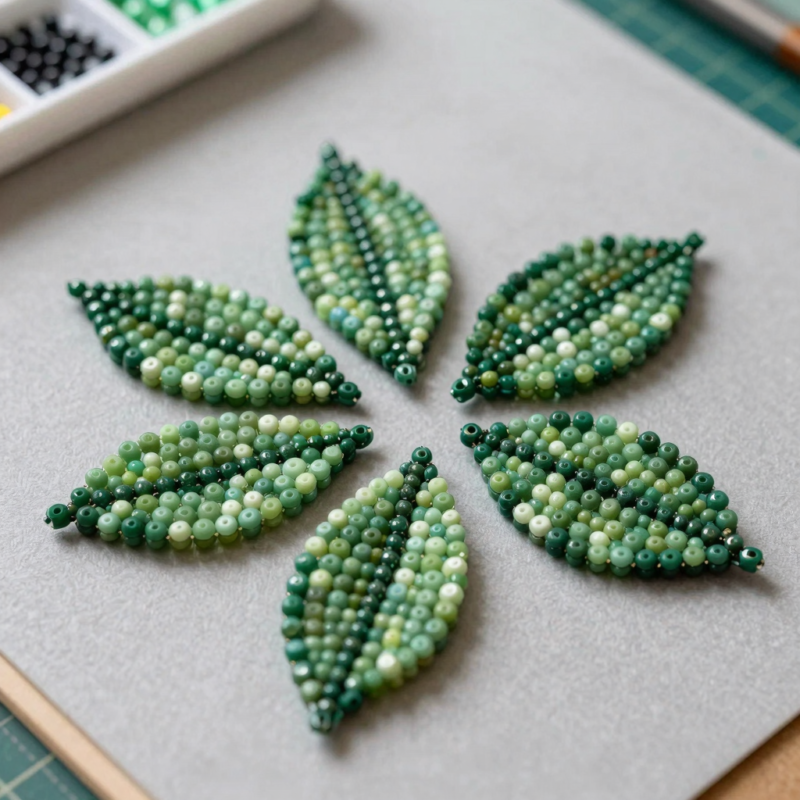
This part is where it starts looking like a plant instead of just beads on wire.
Using pliers, I bend the beaded section into a leaf/petal shape:
- Create a curve by gently bending the middle.
- Make pointed tips by folding the end slightly inward.
- If I want a thicker “leaf,” I shape the wire more tightly so it stands out.
Once the leaf looks right, I twist the wire ends together (or twist the stem side points) so the shape locks in. That twist matters—if I don’t secure it well, the leaf can droop later while I’m adjusting placement.
Step 5 (Method 1): Insert Beaded Leaves into Floral Foam (Pot Planter)
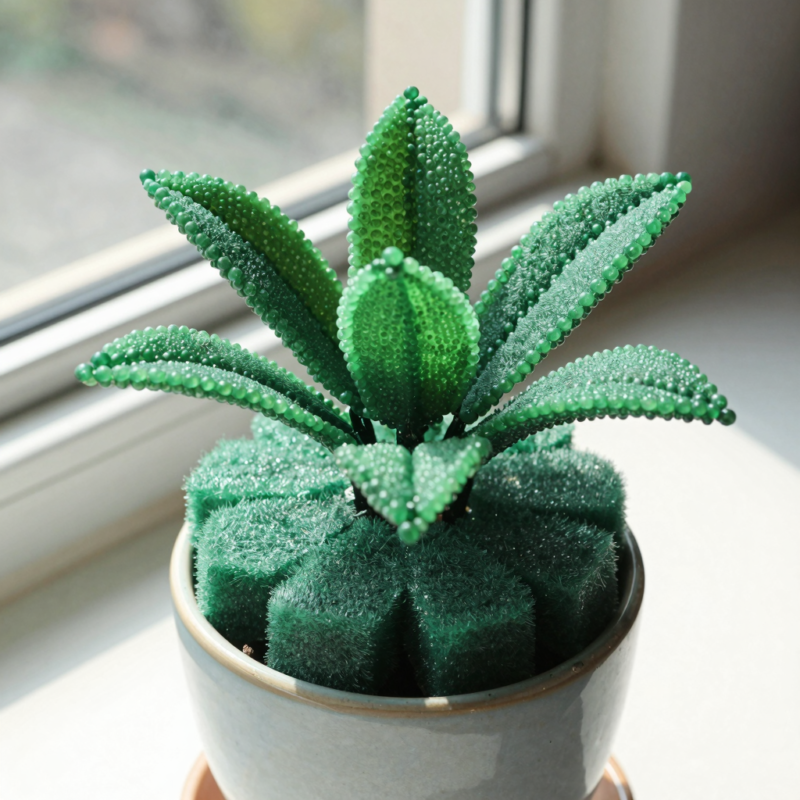
This is my go-to method when I want a clean, easy assembly and a stable plant.
1) Prep the pot + floral foam
- I hot-glue floral foam inside the pot (so it doesn’t shift).
- Then I let it cool for a minute.
2) Assemble the plant
- I insert each leaf piece one by one into the foam.
- I space them out as I go instead of waiting until the end.
- I try to make sure leaves are distributed evenly, so it doesn’t look too heavy on one side.
3) Final adjustments
- I push some leaves a bit deeper, pull others up, and slightly angle them.
- If some leaves look too similar, I swap a couple positions so the plant has natural movement.
Optional variation (extra structure)
If I want a fuller “cluster” look, I can create multiple strands and wrap or tuck the ends together as I arrange them, then insert the bunch into the foam. This gives the plant a more “blooming” feel without needing lots of extra leaves.
Step 6 (Method 2): Make a “Forever Plant” with Longer Beaded Strands
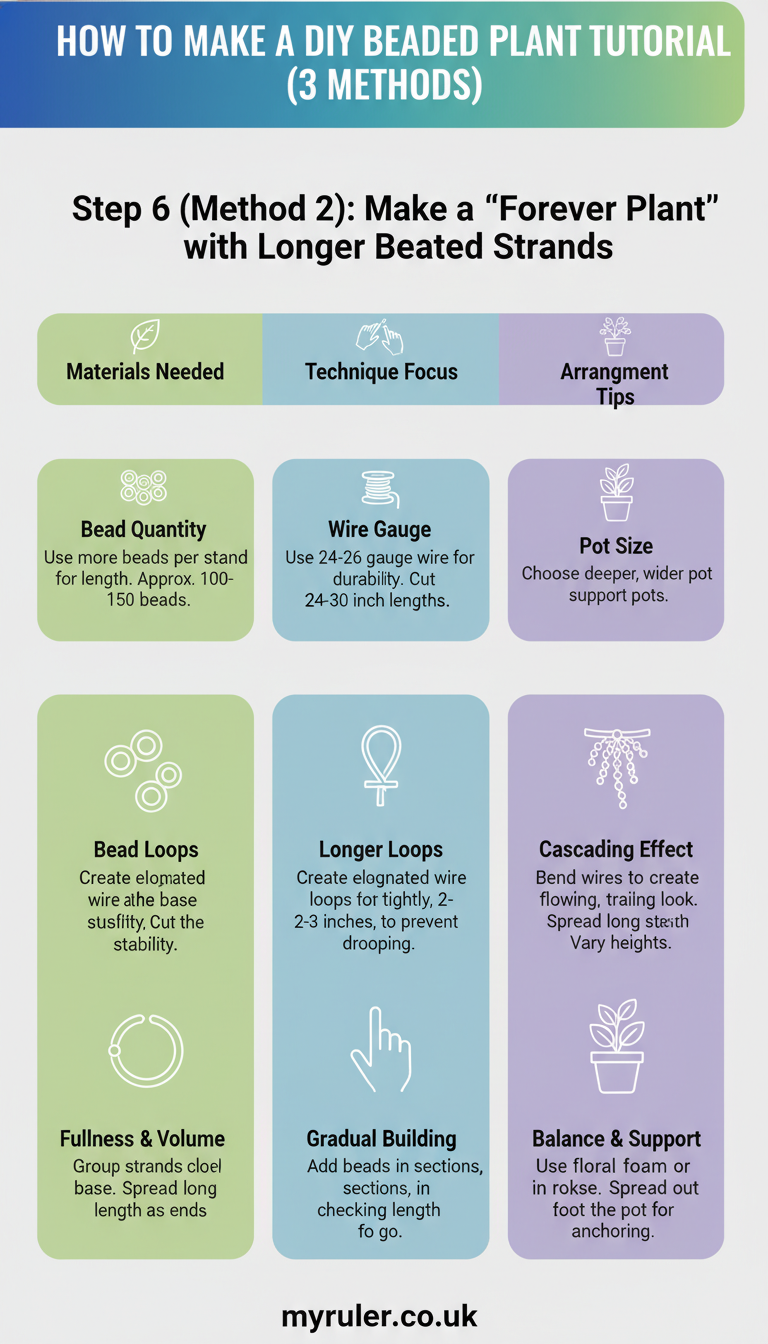
This method is more about sculpting and display than stuffing pieces into a base. It’s great when you want a plant that feels airy and a little whimsical.
1) Cut longer thin green wire pieces
I cut wire into 6–10 inch lengths so my leaves/strands have enough room to curve.
2) Build the bead body
- I thread beads onto each wire piece.
- Then I bend it into a leaf/petal structure and twist to secure.
3) Assemble as a display-only plant
Instead of relying on foam insertion like method 1, I usually gather the strands and anchor them into a simple holder (a small pot with foam can still work, but the “main look” comes from the longer leaf shapes). The key is that I’m designing the plant’s silhouette using the length and curl.
4) Display safely (especially if glass beads)
Since this style often looks best from closer viewing angles, I’m extra careful:
- I keep it in indirect light.
- I avoid direct sun on any glass bead elements.
- I group it with other décor so it looks intentional, not temporary.
Step 7 (Method 3): Build a Painted Styrofoam “Soil” Base
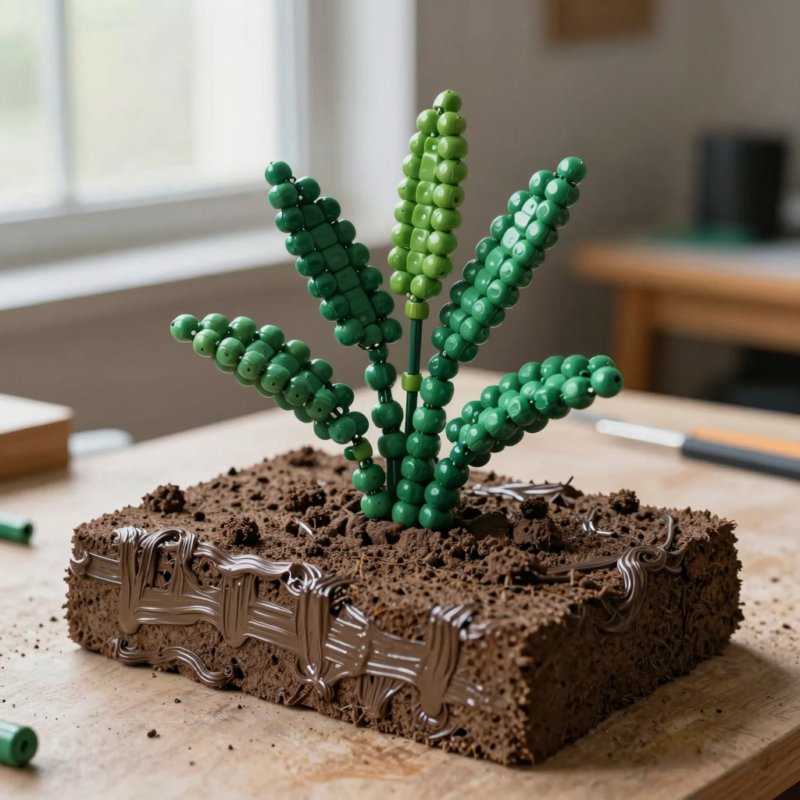
This method gives a classic plant look, like it’s growing from soil—even though it’s totally handmade.
1) Make the faux soil base
- I paint a Styrofoam ball brown with acrylic paint.
- Then I let it dry completely before touching it (dry time matters so paint doesn’t smear).
2) Create and prep beaded components
I thread beads onto wire and shape them into leaf forms like the earlier steps. Then I decide the angle: some leaves point up, some hang slightly outward, which helps the plant look natural.
3) Anchor into the painted base
I insert the wire/stem parts into the Styrofoam ball. Because the foam is soft, it holds the stems, but I still adjust carefully:
- I space leaves so the top looks full.
- I tilt some pieces at different angles so it doesn’t look like a flat “hair” curtain.
4) Finish details
Once everything is anchored, I push a few stems deeper or gently pull them up to get the fullness right. This is where the plant really starts to look like “oh wow, I made that.”
Tips for Better Results (Across All Methods)
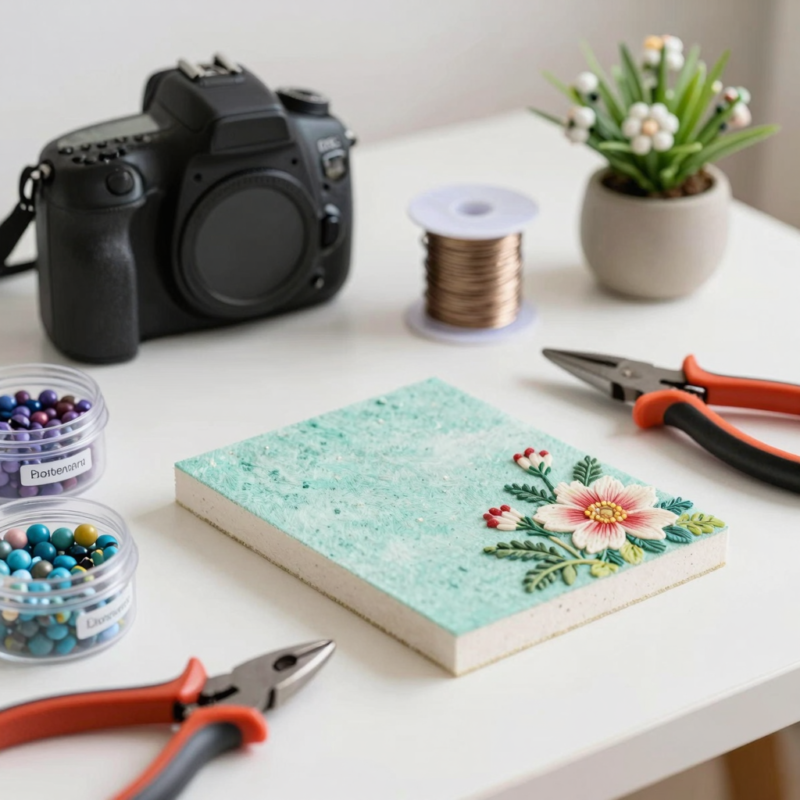
- Use consistent wire twists. If your leaf shape seems floppy, it’s usually because the twist isn’t tight enough.
- Plan your wire length. Shorter pieces = clustered look. Longer pieces = wider leaf spread and more dramatic silhouette.
- Pick a color theme. I like to choose one “main green” and then add small accents so the plant doesn’t look flat.
- Match leaf sizes. If you accidentally make half your leaves way longer, the plant may look uneven. I compare each leaf to a “standard” leaf while making them.
- Let painted parts dry fully. If I rush the Styrofoam paint, it can smear when I push in stems.
- Test spacing before final insertion. I sometimes arrange pieces on top first, then insert when I like the layout.
Care, Display, and Troubleshooting
These plants are no-water décor, so “care” is really about placement and keeping them looking neat.
How I keep them looking good
- I dust gently with a soft cloth or brush.
- I keep them out of direct sun if they include glass beads.
- I avoid places where they’ll get bumped a lot (wire can hold shape, but you’ll still want them safe).
If leaves droop
I check the twisting points first. If they’re loose, I redo the twist or slightly re-bend the leaf so it holds its curve.
If the plant looks lopsided
I stop trying to “force” the look and instead redistribute:
- remove 1–2 leaves,
- reinsert them at better angles,
- then step back and check from different sides.
If your plant looks too dense (or too sparse)
This is usually a spacing problem:
- Dense? angle some leaves outward.
- Sparse? add a few more leaves using the same bead length and wire thickness so everything stays cohesive.
FAQ
What beads are best for a DIY beaded plant?
I’ve used several and they all work. Seed beads are detailed, pony beads are quick, and faceted glass beads add sparkle. If you want less shaping, leaf-shaped beads can make the whole project easier. Variety packs are great because you can experiment without buying a huge amount of one color.
Do I need to water a beaded plant?
Nope—this is a display-only craft. There’s no soil that needs moisture (even with the “soil” look in method 3). That’s part of why I love this craft: I can keep it wherever I want without worrying about watering.
Is it safe to use glass beads?
I consider glass beads safe as long as the finished plant stays in indirect light and out of direct sunlight. Glass can concentrate light like a prism, which is why I avoid sunny windows. If you want zero worry, stick to non-glass beads.
How long does it take to make?
It depends on your bead size and how many leaves you want. For a small beginner plant, I can do it in a couple of focused sessions. For a larger fuller plant, it can take longer just because there are more leaves to thread and shape.
Can I make one plant with more than one method?
Yes! I’ve mixed ideas. For example, I might use method 1 for most leaves (floral foam stability) and add a few longer “forever” strands for extra drama. Just keep your leaf sizes and angles consistent so it looks intentional.
What if my leaves don’t hold their shape?
That usually means the wire wasn’t twisted tightly enough at the secure points. Use pliers to re-bend and then twist firmly so the leaf shape locks in.
Conclusion
Making a DIY beaded plant is one of those crafts that instantly upgrades your space—and it feels so satisfying because every leaf is handmade by you. I love that you can choose your exact bead colors, control the fullness with wire length, and pick the assembly style that matches your comfort level. If you want stability and quick structure, go with floral foam. If you want a lighter, sculptural look, try the longer “forever plant” strands. And if you want that classic “grown from soil” vibe, build a painted Styrofoam base. Whichever method you choose, take your time shaping and adjusting, and soon you’ll have a plant that looks like décor you bought—but with the pride of something you made yourself.

A Teacher with 5 years of experience. Our Expertise, is reliable to meet your full Academic development needs . Worked on many crafts and construction projects offering services from design to development to deployment over the years. You will find many of my works in my business portfolio on request.

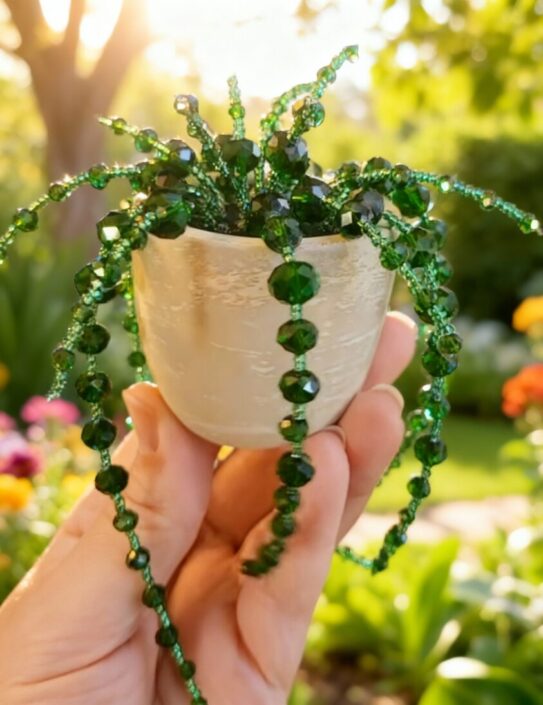






So cute and it looks like so much fun! Have you made a video showing how you make these? I would love to watch!
Will notify all when its posted
Thanks for the tips. It would be so very helpful if you included some pictures at each step