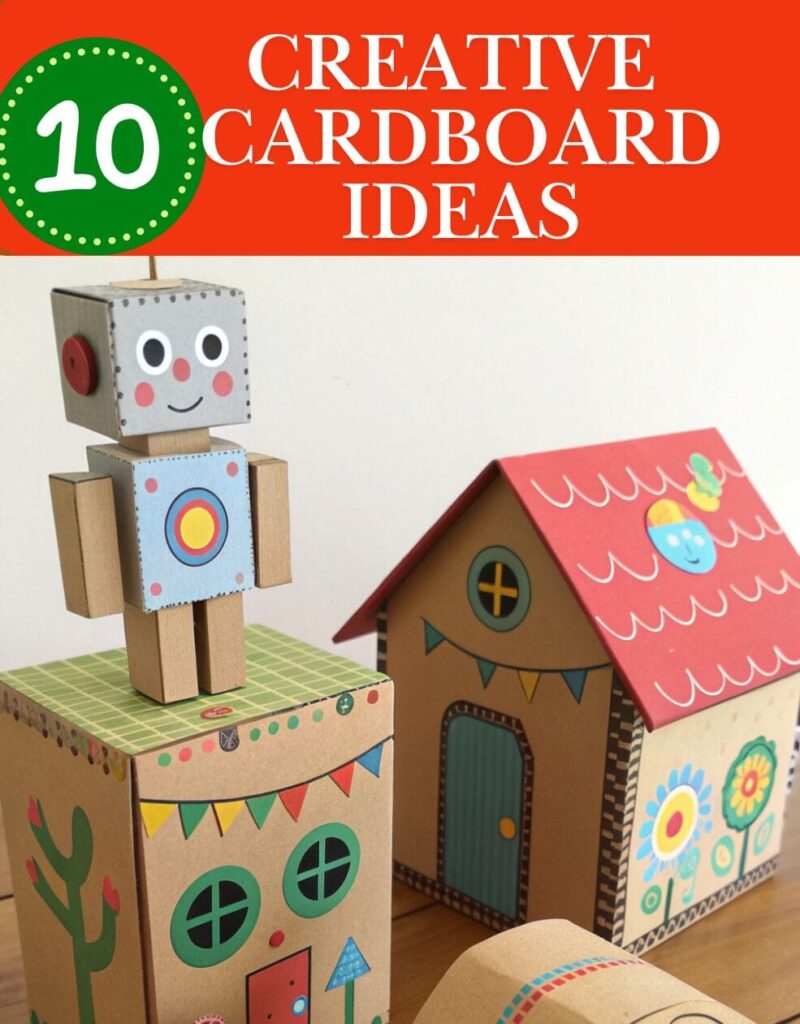

When I first started looking for budget-friendly ways to decorate my room, I never imagined that cardboard would become my go-to crafting material. What began as a desperate attempt to avoid expensive store-bought decor has turned into a passion for creating unique, personalized pieces that reflect my style perfectly. Today, I’m excited to share ten cardboard craft ideas that have completely transformed my living space without breaking the bank.
1. Geometric Wall Art That Catches Every Eye
My first venture into cardboard crafting was creating geometric wall art, and I’m still amazed by how professional it looks. I started by cutting various geometric shapes from sturdy cardboard boxes – triangles, hexagons, and diamonds in different sizes. The key is layering these shapes and painting them in complementary colors. I used a gradient effect, going from deep navy to light blue across my pieces, creating a stunning ombre wall display.
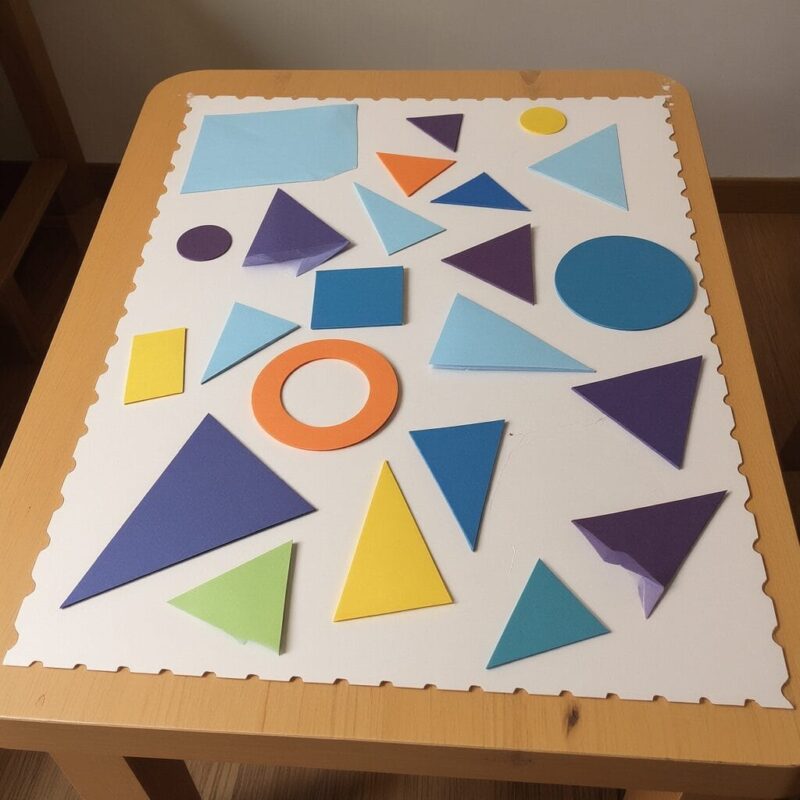
What I love most about this project is its versatility. You can arrange the pieces in countless ways, and if you get tired of one configuration, simply rearrange them. I’ve changed my wall art three times this year, and each time it feels like I have a brand new room.
2. Floating Shelves with Hidden Storage
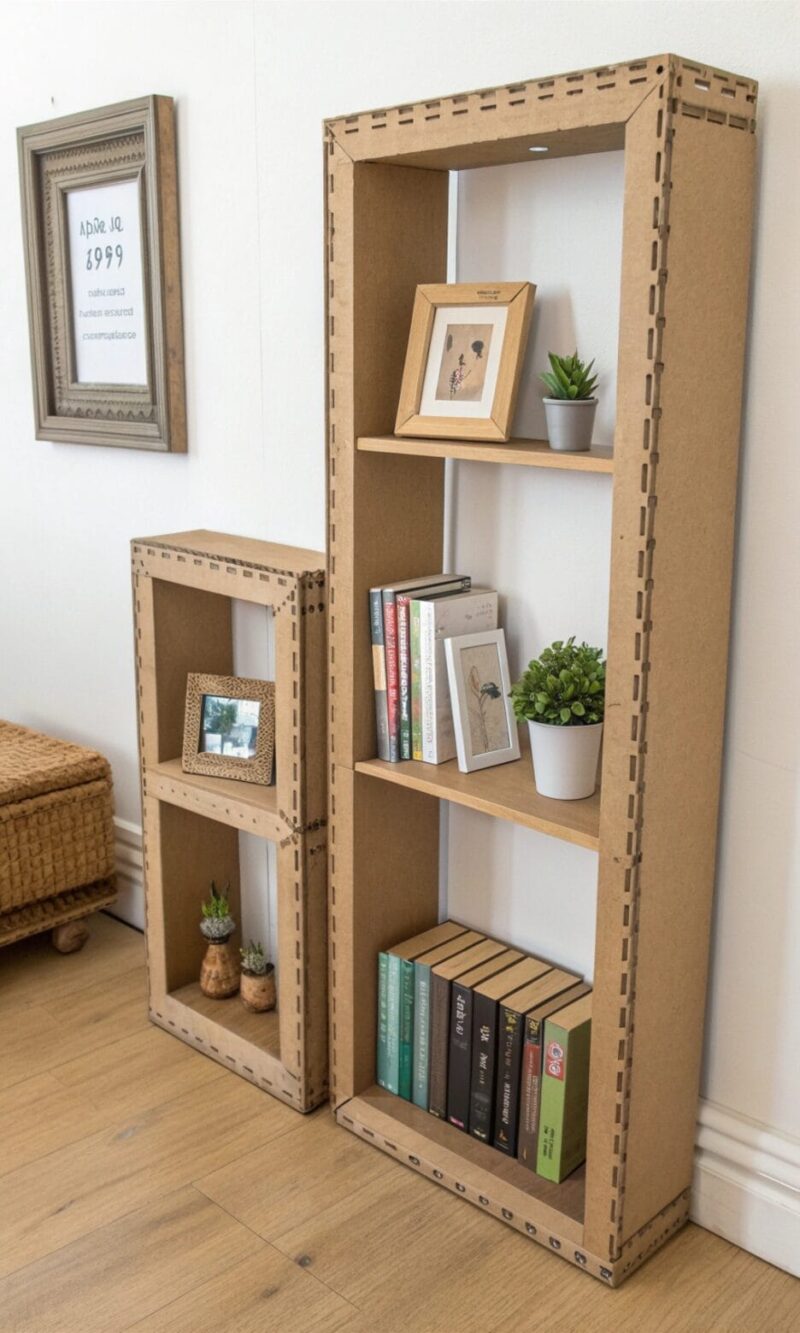
Creating floating shelves from cardboard was a game-changer for my small space. I constructed these by cutting rectangular pieces and creating internal compartments for hidden storage. The trick is reinforcing the structure with multiple layers of cardboard and using strong adhesive tape on all joints.
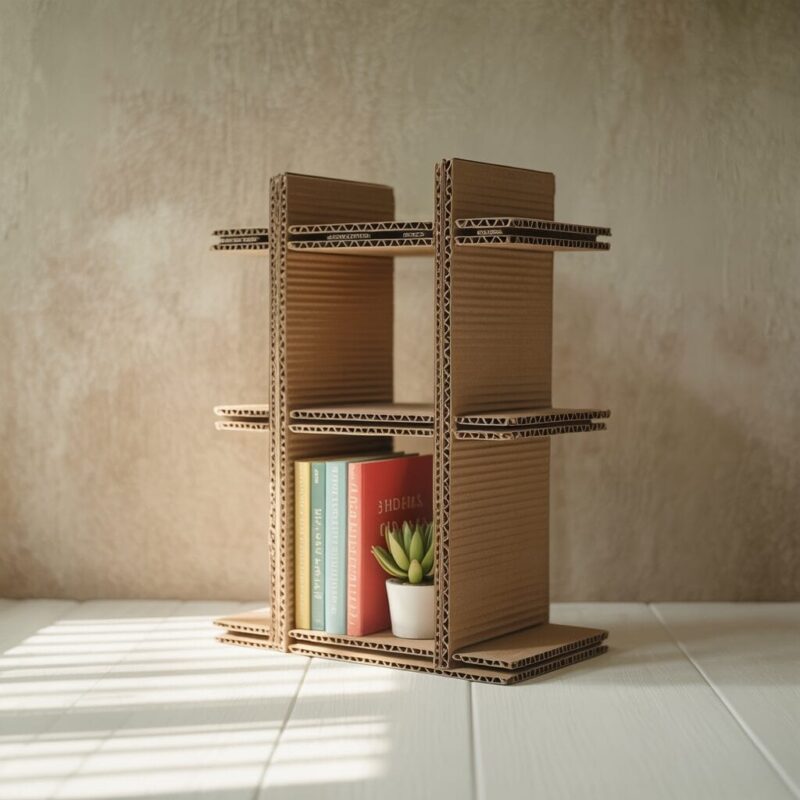
I covered mine with contact paper that mimics wood grain, and honestly, guests can’t tell they’re not real wood unless they touch them. These shelves now hold my books, small plants, and decorative items while secretly storing cables, chargers, and other small items I want to keep handy but hidden.
3. Custom Picture Frames That Tell Your Story
Store-bought frames can be expensive and often don’t match your exact vision. I discovered that creating custom picture frames from cardboard allows me to make them any size, shape, or style I want. I’ve made everything from oversized frames for my favorite concert posters to tiny circular frames for Instagram prints.
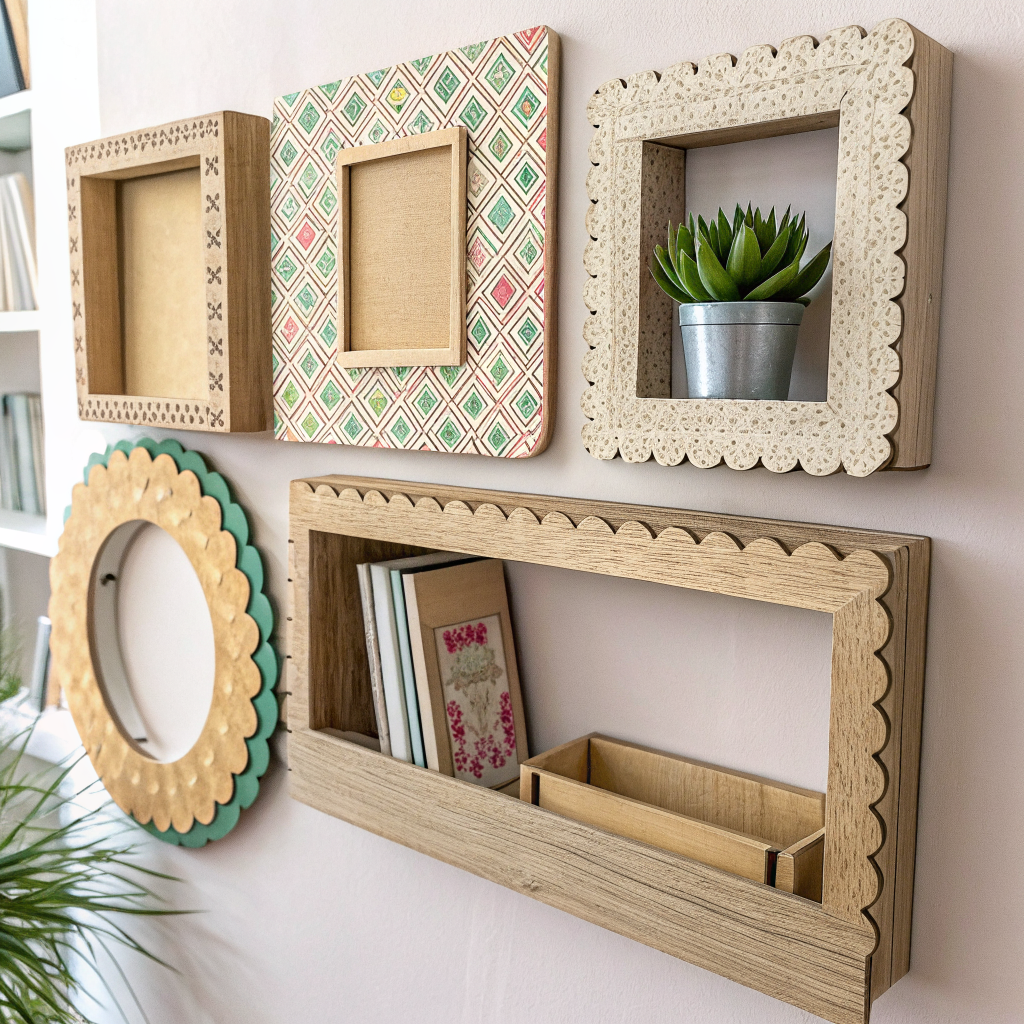
My favorite technique involves cutting the cardboard into decorative shapes around the frame border – like scalloped edges or geometric patterns. After painting and adding some texture with fabric or decorative paper, these frames look like expensive boutique pieces.
4. Standing Room Dividers for Privacy and Style
Living in a studio apartment, I needed to create separate zones without permanent walls. Cardboard room dividers became my solution. I created a tri-fold divider using large pieces of cardboard, reinforcing the hinges with fabric tape for durability.
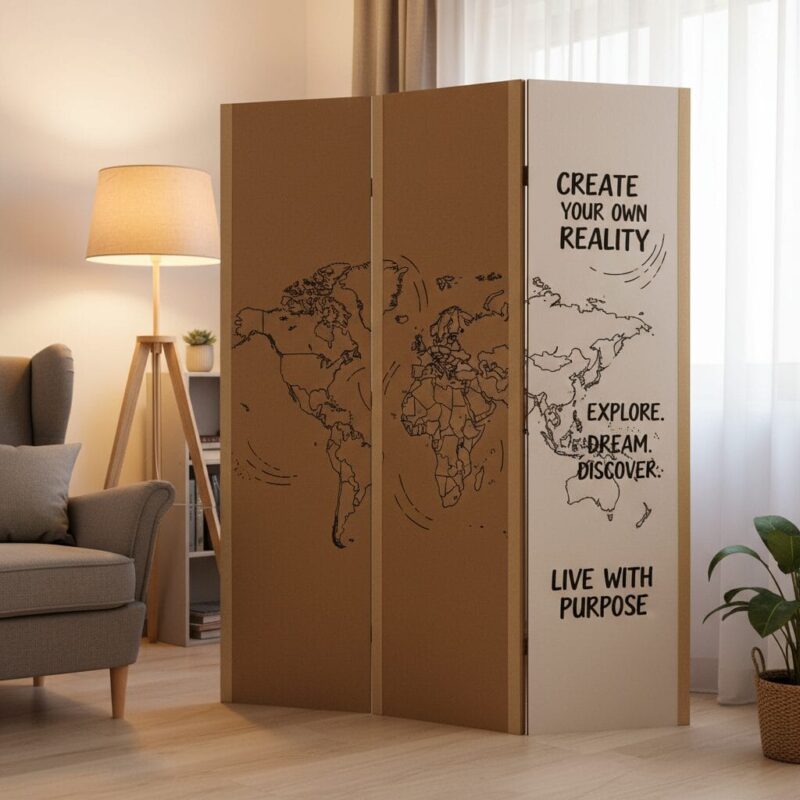
The beauty of this project lies in the decoration possibilities. I covered one side with a world map for my “office” area and the other with inspirational quotes for my relaxation zone. The divider is lightweight, easy to move, and adds serious style points to my space.
5. Pendant Light Covers That Set the Mood
Plain pendant lights are functional but boring. I transformed mine by creating decorative cardboard covers that filter and diffuse the light beautifully. I cut intricate patterns – stars, flowers, and geometric designs – that cast gorgeous shadows on my walls when the lights are on.
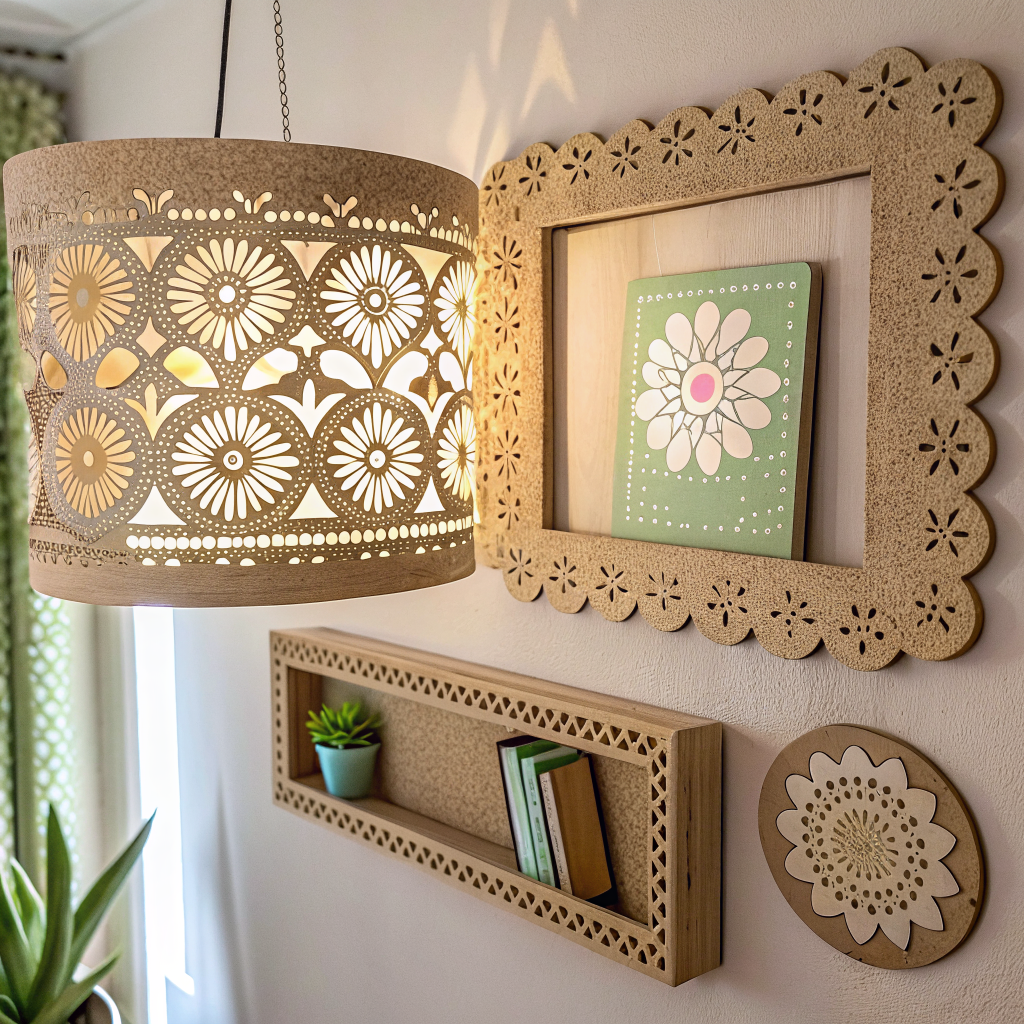
Safety is crucial here, so I ensure the cardboard never touches the bulb directly and use LED lights that don’t generate much heat. The effect is magical, especially in the evening when these custom light covers turn my room into a cozy sanctuary.
6. Desktop Organizers That Actually Organize
My desk was always cluttered until I created a comprehensive organizer system from cardboard. I built compartments of different sizes to hold pens, papers, charging cables, and small office supplies. The modular design means I can add or remove sections as my needs change.
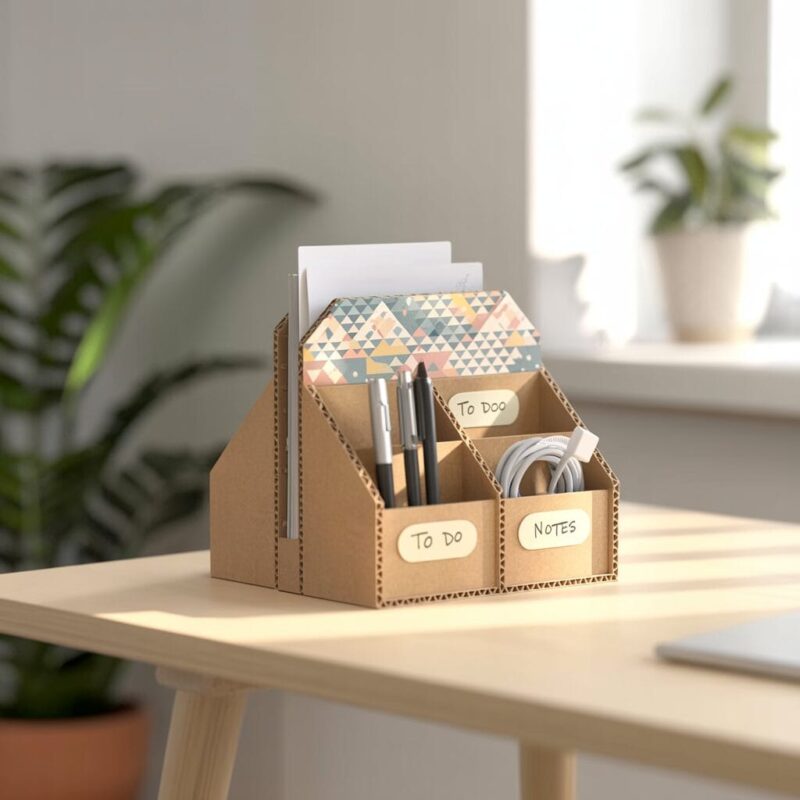
I covered the entire organizer with decorative paper and added labels to each compartment. It’s not just functional – it’s become a focal point of my workspace that visitors always ask about.
7. Wall-Mounted Planters for Green Vibes
Bringing plants into my room was important for both aesthetics and air quality, but I lacked surface space for traditional pots. My solution was creating wall-mounted planters from cardboard, lined with plastic bags for waterproofing.
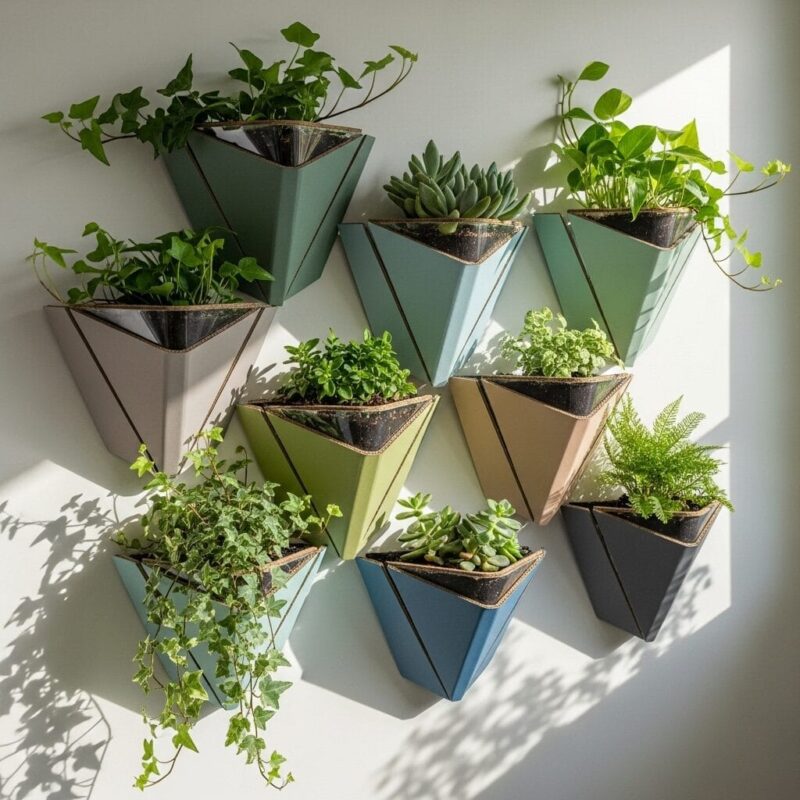
I designed them with a modern, angular look and painted them in colors that complement my room’s palette. Now I have a living wall of plants that adds life and color to my space without taking up precious floor or shelf space.
8. Storage Ottoman That Multitasks
Every small space needs furniture that serves multiple purposes. My cardboard storage ottoman functions as extra seating, a footrest, and hidden storage all in one. I reinforced it heavily with internal cardboard bracing and covered it with thick fabric and padding for comfort.
The storage compartment inside holds blankets, pillows, and seasonal items. It’s sturdy enough to sit on regularly and has become one of my most-used pieces of furniture.
9. Decorative Letters and Numbers for Personalization
Nothing makes a space feel more personal than custom signage. I’ve created large decorative letters spelling out inspiring words, my initials, and important dates using cardboard. The process involves cutting out the letters, adding dimensional elements like layers or curves, and finishing with paint or decorative coverings.
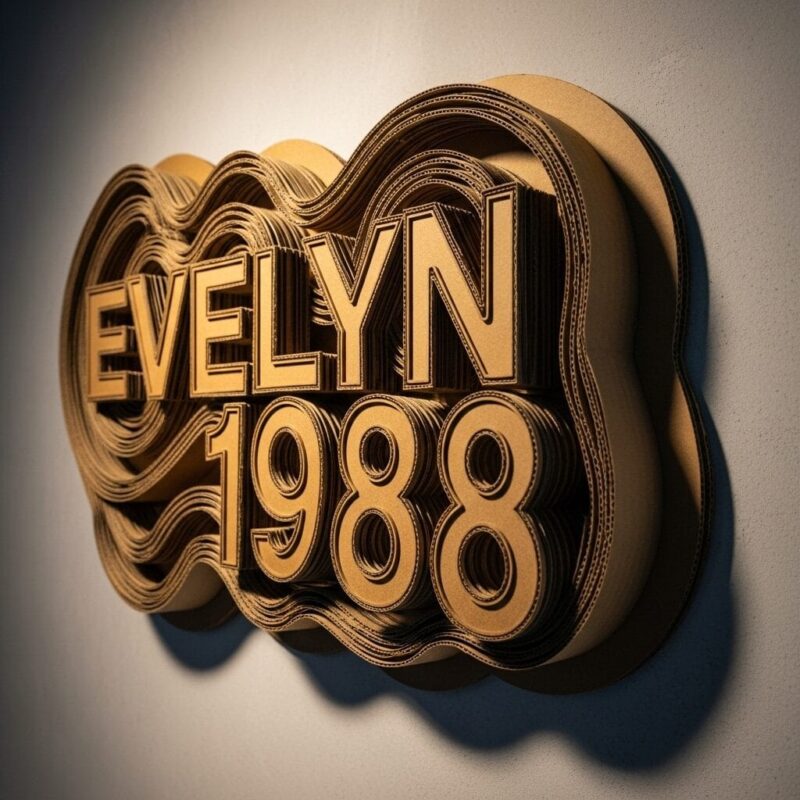
My latest project was creating oversized numbers representing my graduation year. They’re mounted on my wall as a proud reminder of my achievement and add a personal touch that no store-bought decoration could match.
10. Mirror Frames That Reflect Your Style
Basic mirrors are functional but don’t add much to room decor. I transformed several plain mirrors by creating elaborate cardboard frames around them. One features a sunburst design with rays extending in all directions, while another has an ornate, baroque-inspired frame.
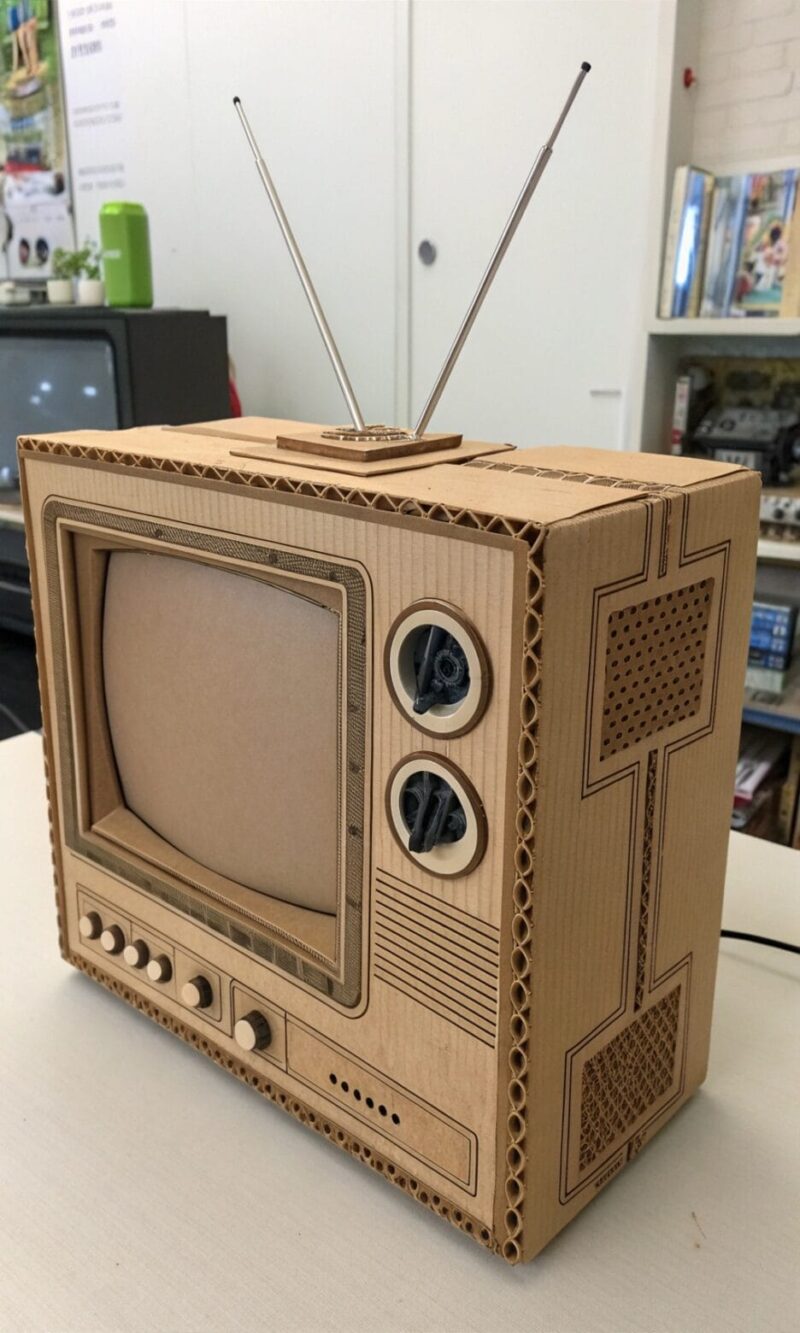
The key is building up layers and textures, then painting everything to look cohesive. These custom mirror frames have become statement pieces that make my room look more expensive and thoughtfully designed.
Tips for Success
Through all these projects, I’ve learned that preparation is everything. Always plan your cuts carefully, use sharp tools for clean edges, and don’t rush the painting or covering process. Good finishing techniques make the difference between a craft project and professional-looking decor.
Most importantly, don’t be afraid to experiment. Cardboard is forgiving and inexpensive, so if something doesn’t work out, you can always start over. Some of my best pieces came from happy accidents or modifications of original plans.
These cardboard crafts have taught me that creativity and resourcefulness matter more than budget when it comes to room decor. Each piece tells a story and reflects my personality in a way that mass-produced items never could.

A Teacher with 5 years of experience. Our Expertise, is reliable to meet your full Academic development needs . Worked on many crafts and construction projects offering services from design to development to deployment over the years. You will find many of my works in my business portfolio on request.