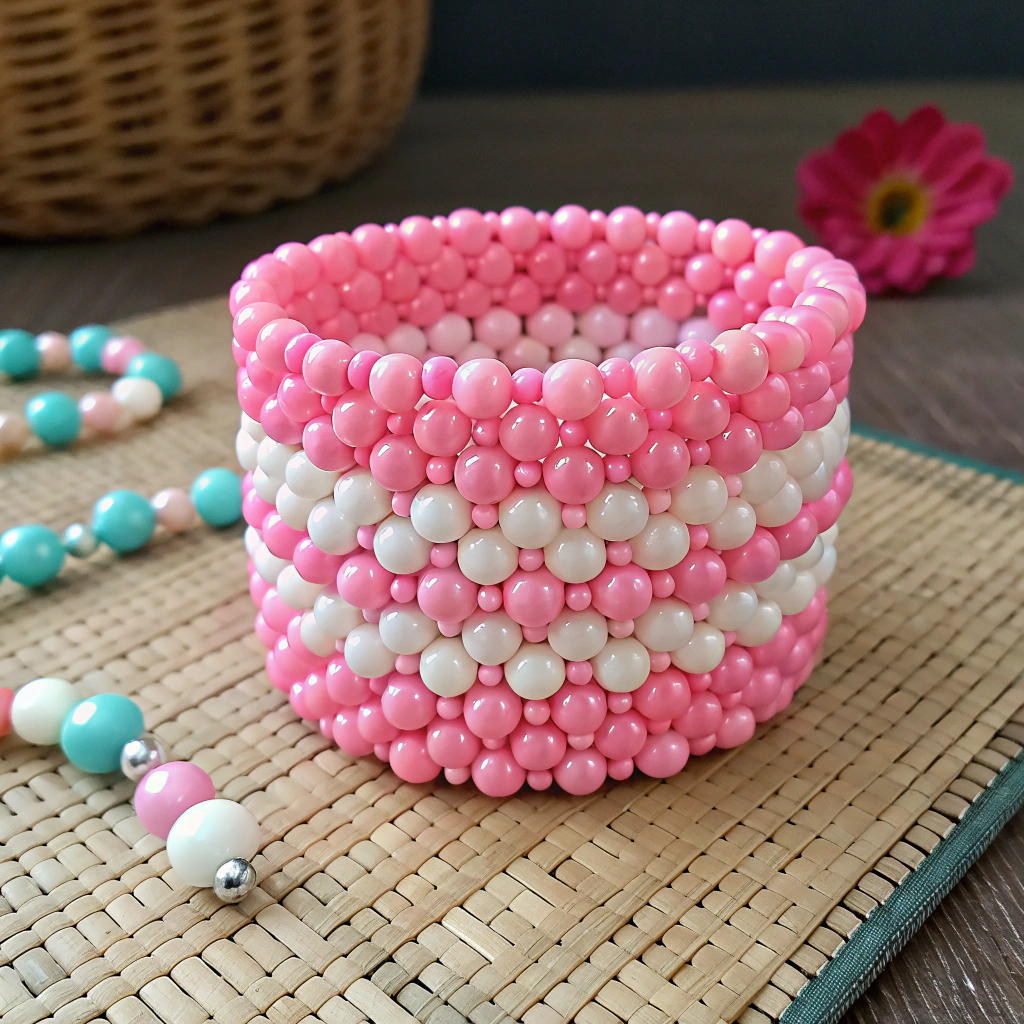
When I first dipped my toes into the colorful world of kandi, I honestly didn’t know what I was doing. I had seen these bright, chunky bead cuffs at music festivals and raves, and they always caught my eye. People wore them proudly, traded them joyfully, and talked about the stories behind each one. At that point, I realized kandi wasn’t just beads on string—it was a whole culture of creativity, kindness, and connection.
The first time I made a cuff, it felt clumsy. My beads spilled everywhere, my string knotted itself, and I had no idea if it would look right. But once I finished that first piece, I couldn’t stop smiling. It didn’t matter that it wasn’t perfect—I had actually created something meaningful with my own hands. That’s the magic of kandi: it’s not about perfection, it’s about expression.
In this tutorial, I’ll walk you step by step through making your first kandi cuff. Don’t worry if you’ve never crafted before; I’ll keep things simple, explain everything clearly, and share little tricks I’ve picked up along the way. By the end, you’ll have your very own cuff ready to wear or trade. Let’s dive in!
Table of Contents
- What is Kandi?
- Gathering Supplies
- Choosing Beads and Patterns
- Preparing Your Elastic Cord
- Starting the Base Row
- Building the Second Row
- Expanding into a Full Cuff
- Adding Creative Touches
- Common Mistakes and Fixes
- Finishing Your Kandi Cuff
- Wearing and Sharing Your Cuff
- Conclusion
1. What is Kandi?
Kandi is more than just plastic beads strung together—it’s a form of wearable art rooted in rave and EDM culture. At festivals, kandi bracelets and cuffs are exchanged as a symbol of friendship and positivity. The tradition is tied to the idea of PLUR: Peace, Love, Unity, and Respect. For me, kandi represents a way to connect with strangers instantly, without needing words. When you trade a cuff, you’re not just giving away beads—you’re sharing energy, joy, and creativity. It’s this beautiful mix of craft and community that makes kandi so special to both makers and wearers.
2. Gathering Supplies
When I began, I thought I needed fancy tools. Truth is, the basics are simple. You’ll want pony beads (those chunky plastic beads in bright colors), stretchy cord or elastic string, and a pair of scissors. That’s enough to start. Some people like adding charms, letter beads, or glow-in-the-dark pieces for flair. I also recommend grabbing a bead organizer, since loose beads roll away so quickly. A measuring tape is useful too, especially if you want the cuff to fit snugly. Keeping everything at hand before you start makes the process smoother and a lot less frustrating later.
3. Choosing Beads and Patterns
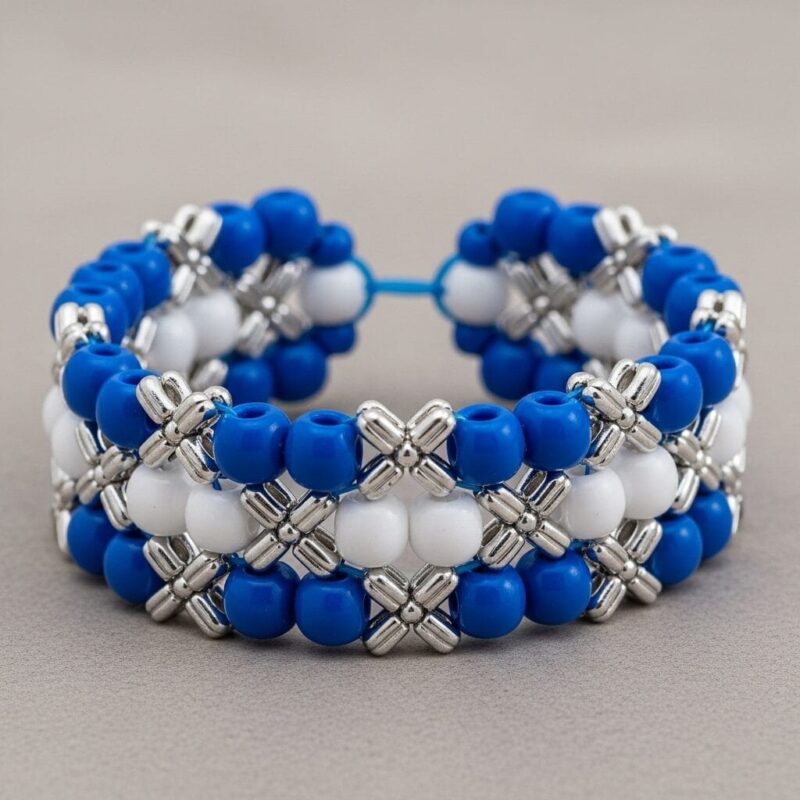
Picking out your beads is honestly the most fun part for me. Think about the mood you want your cuff to have. Do you want something bright and rainbow-like, or do you prefer a darker, monochrome vibe? You can also use letter beads to spell out messages or your favorite lyrics. Many beginners start with simple repeating patterns like alternating colors. Over time, you might try checkerboard styles, hearts, or even 3D designs. There’s no “right” or “wrong” here—your cuff reflects your personality. Let your imagination guide you, and don’t be afraid to experiment as you go.
4. Preparing Your Elastic Cord
The cord you choose matters. I always go with a stretchy cord that’s about 0.7 to 1mm thick. Anything thinner risks snapping, and thicker cords might not fit through beads. Cut a length that’s long enough for the cuff plus some extra for tying knots—usually around three feet. Before I string beads, I like to stretch the cord gently so it won’t loosen later. Pro tip: keep a small binder clip or tape on one end to prevent beads from slipping off while you work. Trust me, losing 50 beads on the floor is not fun at all!
5. Starting the Base Row
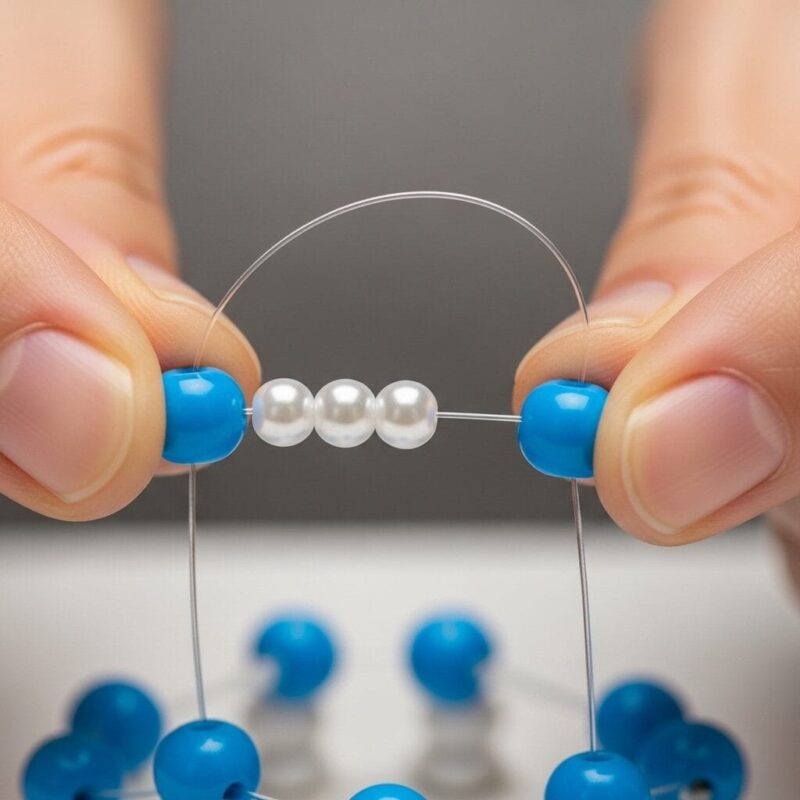
Every cuff begins with a single row of beads. This base row sets the size, so measure your wrist first. Most adult wrists need about 28–32 beads for a comfortable fit, but check what feels right. String the beads in your chosen pattern until you’ve got the full circle. Tie the ends securely with a double knot, then pull it tight. To be safe, I always tie an extra knot and test the stretch. If it feels sturdy and fits well, congratulations—you’ve completed the foundation. This row is what you’ll build every other bead onto as the cuff grows
6. Building the Second Row
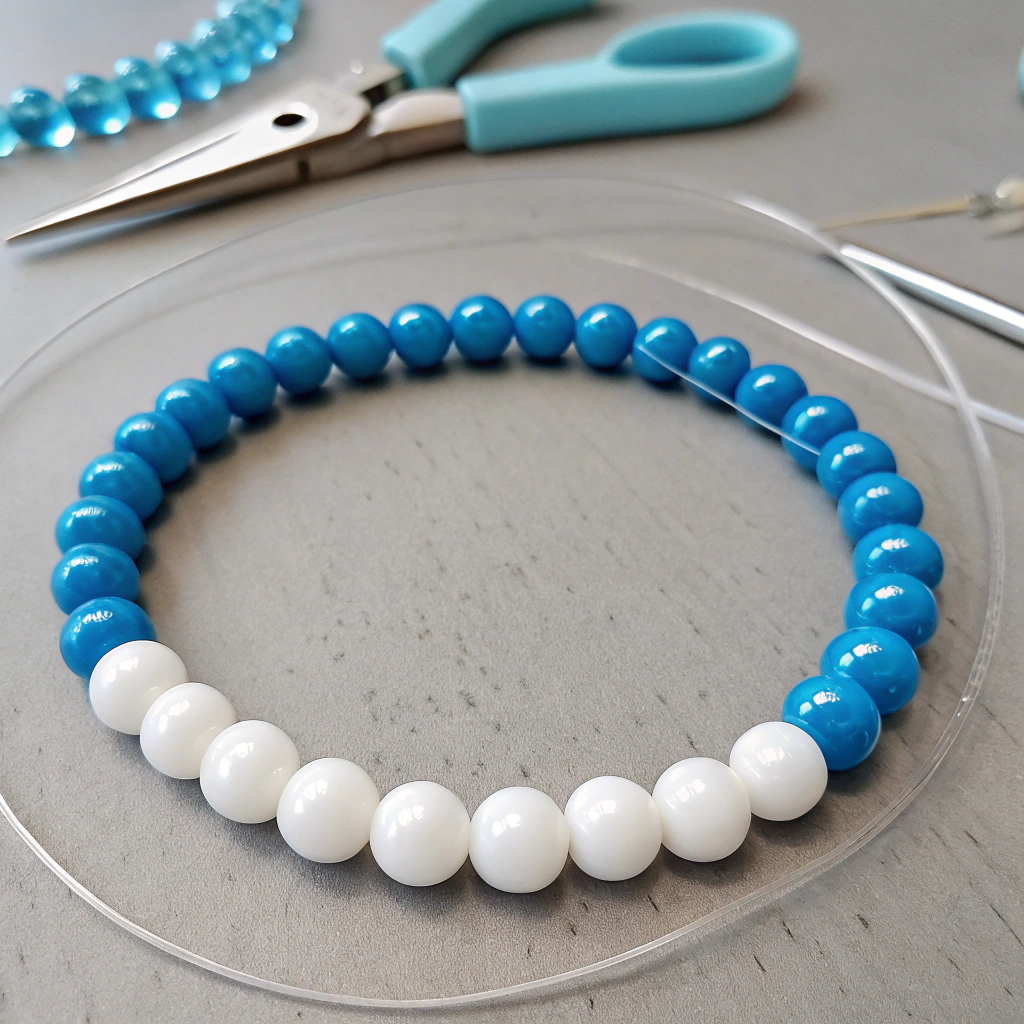
The second row is where your cuff starts taking shape. Thread a new bead, then pass the string through a bead from the base row, repeating the process until you’ve gone all the way around. The beads should sit in between the ones below, creating a stacked effect. It may feel awkward at first, but keep pulling the cord snugly and the pattern will tighten. After finishing the row, knot the string again to secure it. Suddenly, the project starts to resemble the cuffs you’ve seen at festivals—it’s so rewarding watching it come alive row by row.
7. Expanding into a Full Cuff
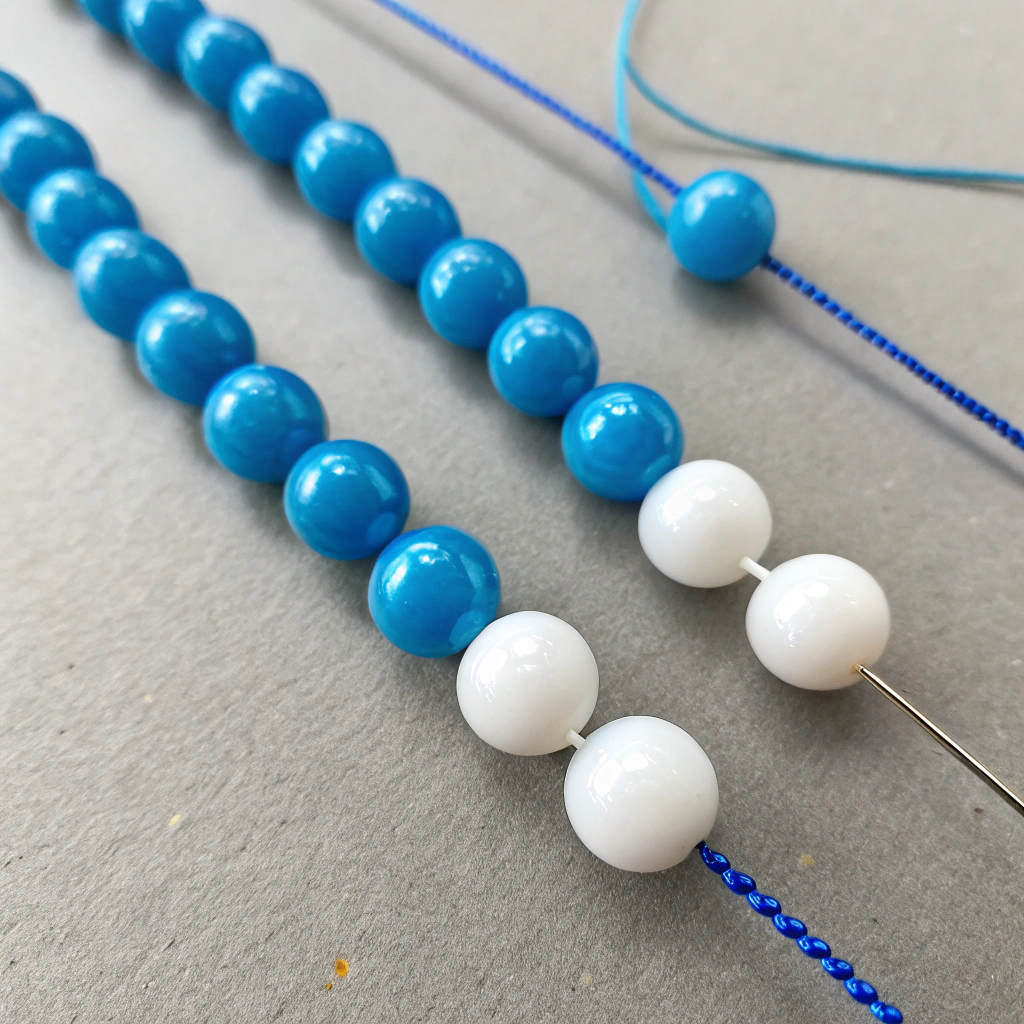
From here, you’ll keep adding rows using the same method. Each layer stacks beads between the previous ones, making the cuff thicker and sturdier. Depending on your design, you can stop at three or four rows for a slim style, or keep building up to six or seven rows for a chunky, dramatic look. I love experimenting with color transitions—like blending from pink to purple to blue as the cuff expands. It creates a gradient that looks amazing under festival lights. Don’t rush the process; enjoy each row as the cuff becomes this bold, wearable piece of art.
8. Adding Creative Touches
Once you’ve mastered the basics, it’s time to get playful. I sometimes add alphabet beads to spell out positive words like “LOVE” or “UNITY.” Charms, miniature figures, or glow beads can also make your cuff unique. Some kandi artists even weave multiple strings together to form 3D designs that pop out from the cuff. Another fun trick is alternating bead sizes for texture. Remember, the point is self-expression. There’s no limit except your imagination. My most treasured cuffs aren’t the fanciest—they’re the ones that tell a story or remind me of the person I traded with.9. Common Mistakes and Fixes
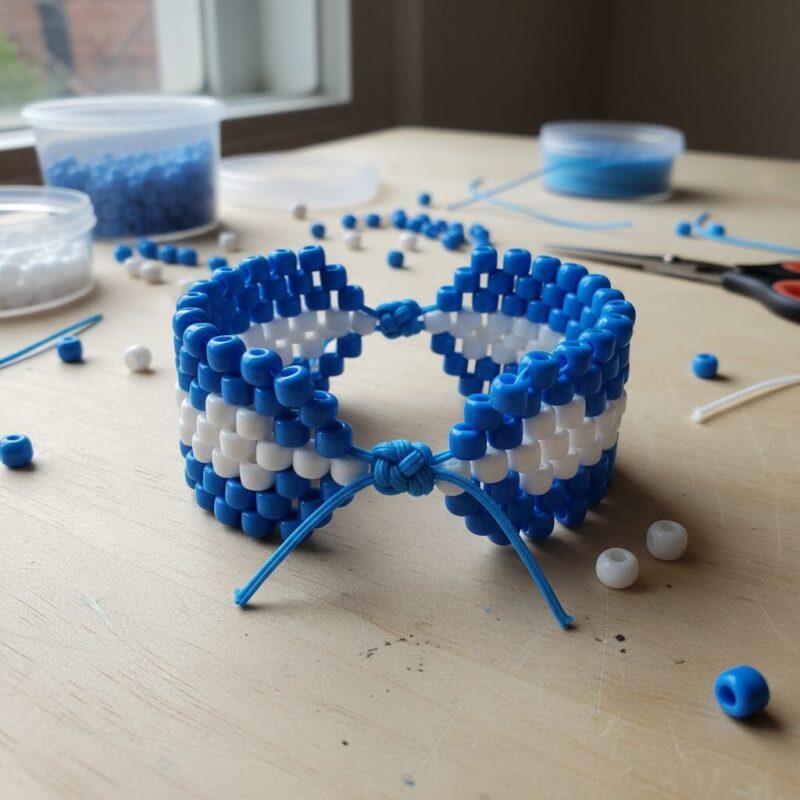
Don’t worry if your first cuff feels a little uneven. Everyone’s does! One mistake beginners make is tying knots too loosely, causing beads to slip around. Just double-check your knots and pull them tight. Another issue is running out of string midway—if that happens, tie a new piece securely and keep going. Sometimes beads won’t sit neatly at first; give the cuff a gentle twist or stretch, and they usually settle into place. Above all, don’t get discouraged. Each cuff you make will look better than the last, and mistakes just become part of your learning curve.
10. Finishing Your Kandi Cuff
When your cuff is the height you want, it’s time to finish. End by tying the working string securely to the base row or to a nearby knot. Triple-knotting is my go-to. If you’re worried about slippage, you can dab a tiny bit of clear nail polish on the knot for extra hold. Trim the excess string with scissors, but leave a tiny tail tucked inside the beads so it doesn’t unravel. Give the cuff a final stretch test, and if it feels firm, you’re done. You now have a handmade kandi cuff, ready to wear or share proudly!
11. Wearing and Sharing Your Cuff
The most special part of kandi isn’t making it—it’s giving it. At festivals, people trade cuffs using the PLUR handshake: peace, love, unity, respect. You press palms, form a heart with your hands, and exchange cuffs as a sign of connection. Wearing your own kandi also feels amazing, especially when it matches your outfit or glows under blacklight. I love stacking several cuffs on each arm and letting the colors speak for me. Sharing what you’ve made is like spreading tiny bursts of happiness, one bead at a time. That’s what keeps me making more and more.
Conclusion
Making kandi cuffs taught me more than how to string beads—it taught me patience, creativity, and the joy of giving. My first cuff wasn’t perfect, but it meant everything because it came from my own two hands. Over time, I’ve found that each cuff tells a story, whether I keep it or trade it. For beginners, the most important advice is simply to start. Don’t stress about being flawless; focus on enjoying the process. With every cuff you make, your skills grow—and so does the community you’re part of. So grab some beads, and let’s create together!

A Teacher with 5 years of experience. Our Expertise, is reliable to meet your full Academic development needs . Worked on many crafts and construction projects offering services from design to development to deployment over the years. You will find many of my works in my business portfolio on request.