Introduction
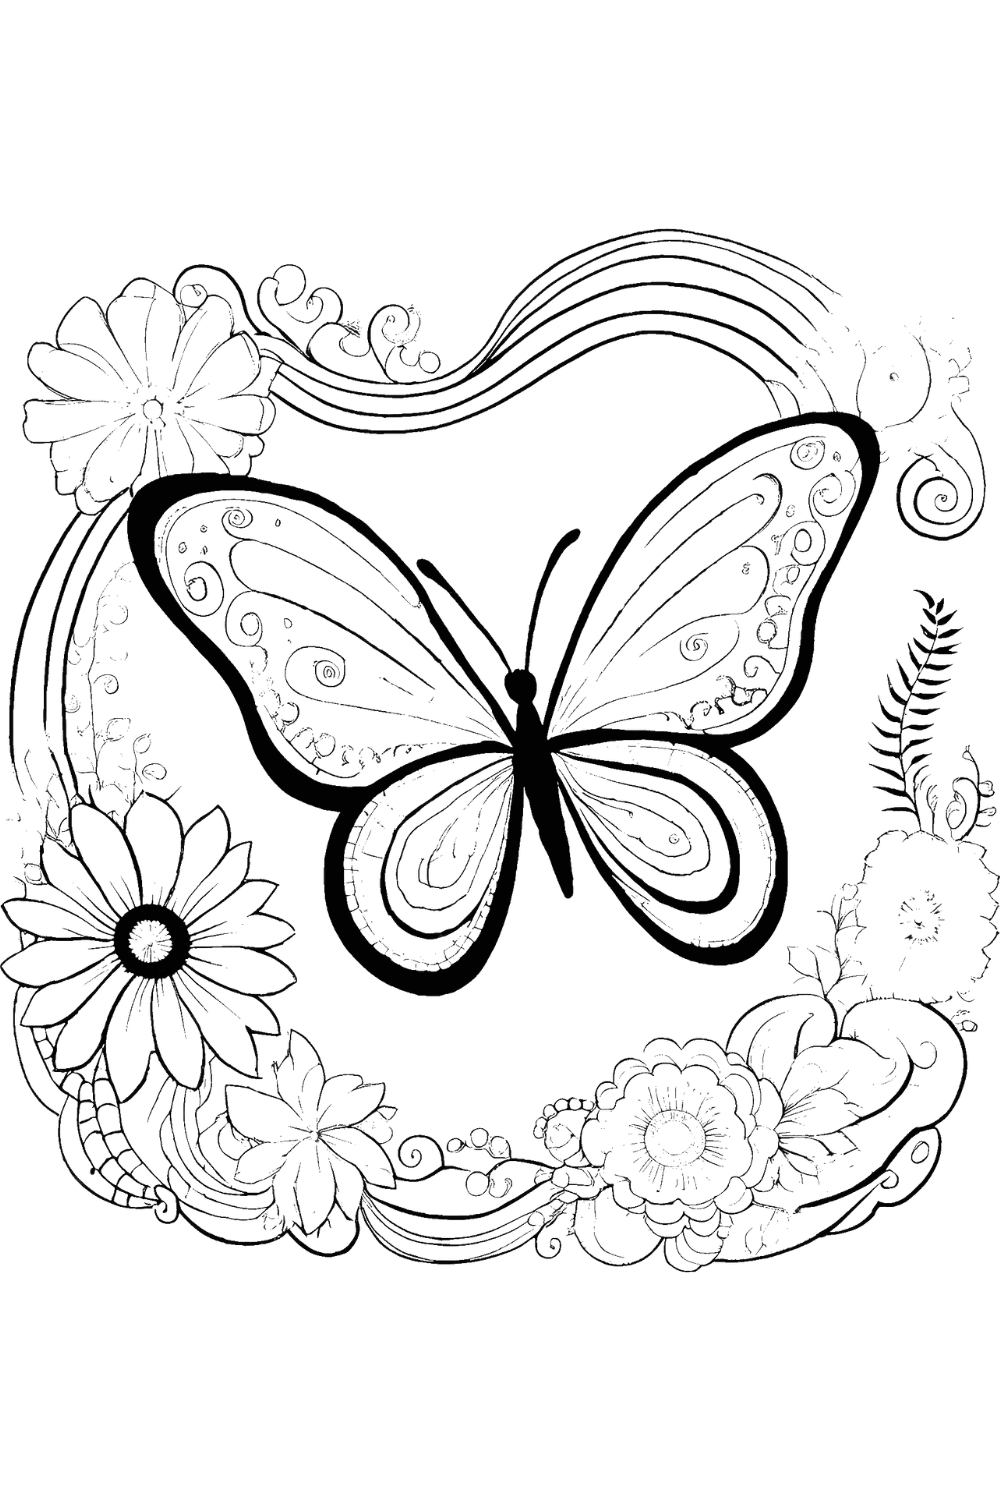
Butterflies are some of nature’s most beautiful creatures, with their colorful wings and graceful flight patterns. These amazing insects have inspired artists and crafters for centuries. Making butterfly paper crafts is a wonderful way to bring the beauty of butterflies into your home while developing your creativity and artistic skills.
Paper crafting is an excellent hobby that helps improve hand-eye coordination, patience, and attention to detail. When you create butterfly crafts, you’re not just making decorations – you’re learning about symmetry, color combinations, and design principles. Plus, these projects are budget-friendly and environmentally conscious since you can use recycled materials.
Whether you’re working on a school project, decorating your room, or just looking for a fun weekend activity, butterfly paper crafts offer endless possibilities. From simple designs perfect for beginners to more complex creations that challenge your skills, there’s a butterfly craft for every skill level.
Materials You’ll Need
Basic Materials:
- Colored paper or cardstock (various colors)
- White copy paper
- Scissors (safety scissors work fine)
- Glue stick or white school glue
- Pencil for sketching
- Ruler
- Eraser
Decorating Supplies:
- Colored markers or crayons
- Glitter (optional)
- Stickers
- Pipe cleaners for antennae
- Tissue paper
- Old magazines for cutting out patterns
- Hole punch
- String or yarn
Basic Paper Butterfly Tutorial
Let’s start with a simple butterfly that anyone can make successfully. This basic design will teach you the fundamental techniques used in all butterfly crafts.
Step-by-Step Instructions:
- Step 1: Take a piece of colored paper (8.5 x 11 inches works well) and fold it in half lengthwise. This ensures your butterfly will be perfectly symmetrical.
- Step 2: Draw half of a butterfly wing along the folded edge. Start from the fold and draw a large upper wing that’s about 4 inches wide at its widest point. Below it, draw a smaller lower wing about 2 inches wide.
- Step 3: Carefully cut along your pencil lines while keeping the paper folded. Remember not to cut the folded edge completely – leave about half an inch connected.
- Step 4: Unfold your paper to reveal your butterfly shape. You should now have a complete butterfly with matching wings on both sides.
- Step 5: Create the butterfly’s body by cutting a thin strip of darker colored paper, about 6 inches long and half an inch wide. Glue this strip down the center of your butterfly, from top to bottom.
- Step 6: Make antennae by cutting two thin strips of paper, each about 2 inches long. Glue small circles at the ends and attach them to the top of the body.
Pro Tip: If you make a mistake while cutting, don’t throw it away! You can often turn “mistakes” into unique wing patterns or use them as templates for smaller butterflies.
Advanced Techniques
Accordion Fold Butterfly
This technique creates beautiful, three-dimensional butterflies with textured wings that seem to flutter.
- Step 1: Cut two rectangles of colored paper, one measuring 6 x 4 inches for the upper wings, and another measuring 4 x 3 inches for the lower wings.
- Step 2: Create accordion folds in both rectangles by folding back and forth every half inch. Make sure your folds are crisp and even.
- Step 3: Pinch each folded rectangle in the center and twist a small piece of pipe cleaner around the middle to hold the shape.
- Step 4: Attach the smaller wing section below the larger one using glue or by twisting them together with the pipe cleaner.
- Step 5: Use the remaining pipe cleaner length as antennae, curling the ends into small spirals.
Layered Paper Butterfly
This advanced technique creates depth and complexity by layering different colored papers.
- Step 1: Cut out three butterfly shapes in decreasing sizes using different colored papers. Make the largest about 6 inches wide, the medium about 4 inches wide, and the smallest about 2 inches wide.
- Step 2: Layer the butterflies with the largest on the bottom and smallest on top, slightly offsetting each layer to create a shadow effect.
- Step 3: Glue the layers together, being careful to place glue only in the center so the wing edges can move freely.
- Step 4: Add details to each layer using markers or small cut-out shapes to create intricate wing patterns.
Decoration and Personalization Tips
The fun really begins when you start decorating your butterflies! Here are some creative ways to make your butterflies unique:
- Color Patterns: Research real butterfly species and try to recreate their wing patterns. Monarchs, swallowtails, and blue morphos offer beautiful inspiration.
- Texture Techniques: Crumple tissue paper and glue it onto wings for texture, or use a hole punch to create polka dot patterns.
- Mixed Media: Combine different materials like fabric scraps, magazine cutouts, or even pressed flowers for unique designs.
- Glitter Effects: Apply glue in patterns and sprinkle glitter for magical, shimmering wings. Always work over newspaper to catch excess glitter.
- Symmetrical Designs: Remember that real butterflies have symmetrical wings. Whatever pattern you create on one side should be mirrored on the other.
Creative Challenge: Try making butterflies using only materials you find around your house – old wrapping paper, newspaper, or even pages from magazines can create stunning effects!

A Teacher with 5 years of experience. Our Expertise, is reliable to meet your full Academic development needs . Worked on many crafts and construction projects offering services from design to development to deployment over the years. You will find many of my works in my business portfolio on request.