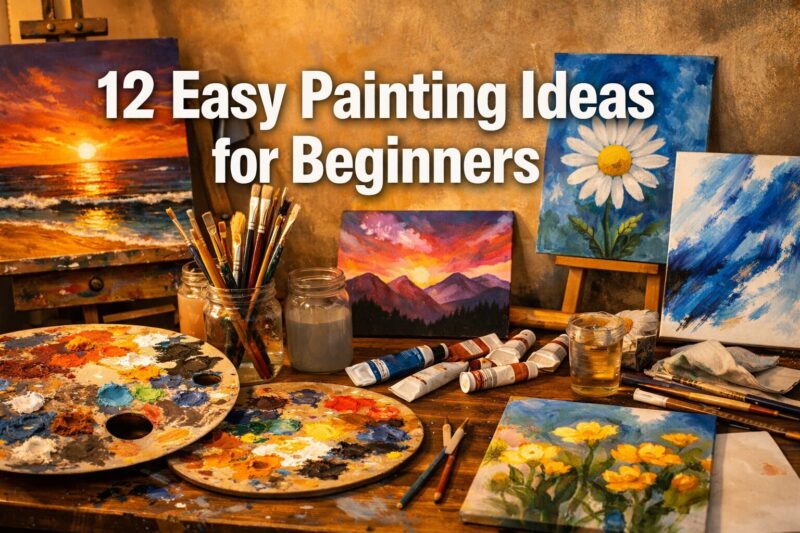
You don’t need a fancy studio or a degree to make something gorgeous—just a brush, some paint, and a little bravery. These beginner-friendly ideas help you skip the overwhelm and jump straight into the fun part: putting color on canvas and watching it come to life. Each project teaches a simple skill you can actually use again, whether you want calming abstracts or bold botanicals. Ready to surprise yourself with what your hands can do?
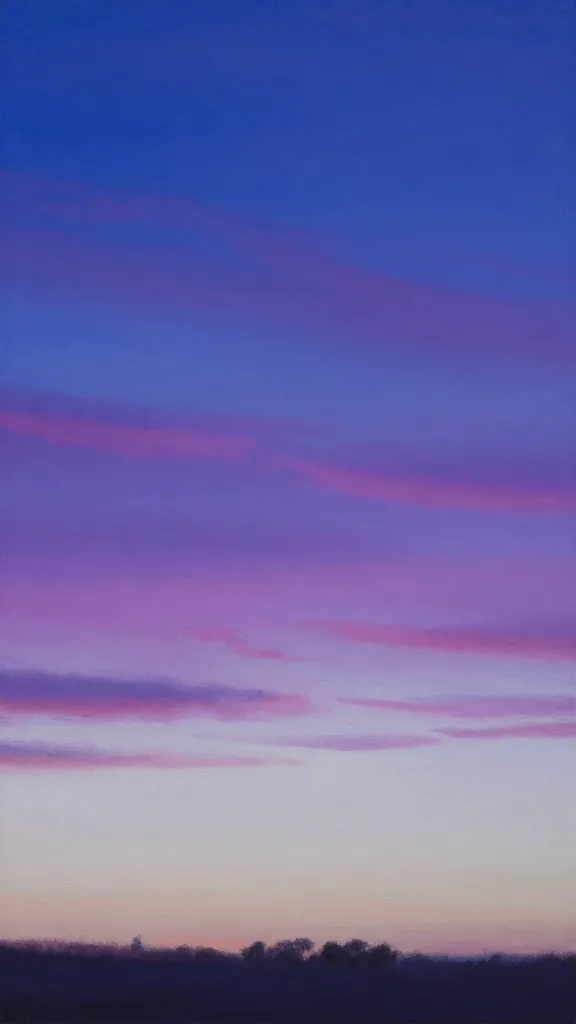
1. Paint A Moody Gradient Sky
Nothing teaches control like blending a sky. You’ll learn how colors melt into each other while still keeping depth and atmosphere. It looks impressive, but it’s literally just stripes and patience.
Materials
Acrylics: ultramarine blue, magenta, white, a touch of black
Wide flat brush, soft round brush, spray bottle, canvas paper
Start with a darker top edge and go lighter as you move down. Mist your canvas lightly to help the blend, then work fast with horizontal strokes. Add a whisper of magenta near the horizon for a sunset vibe—instant drama.
Use it when: You want calming wall art or a background for silhouette trees, birds, or city skylines.
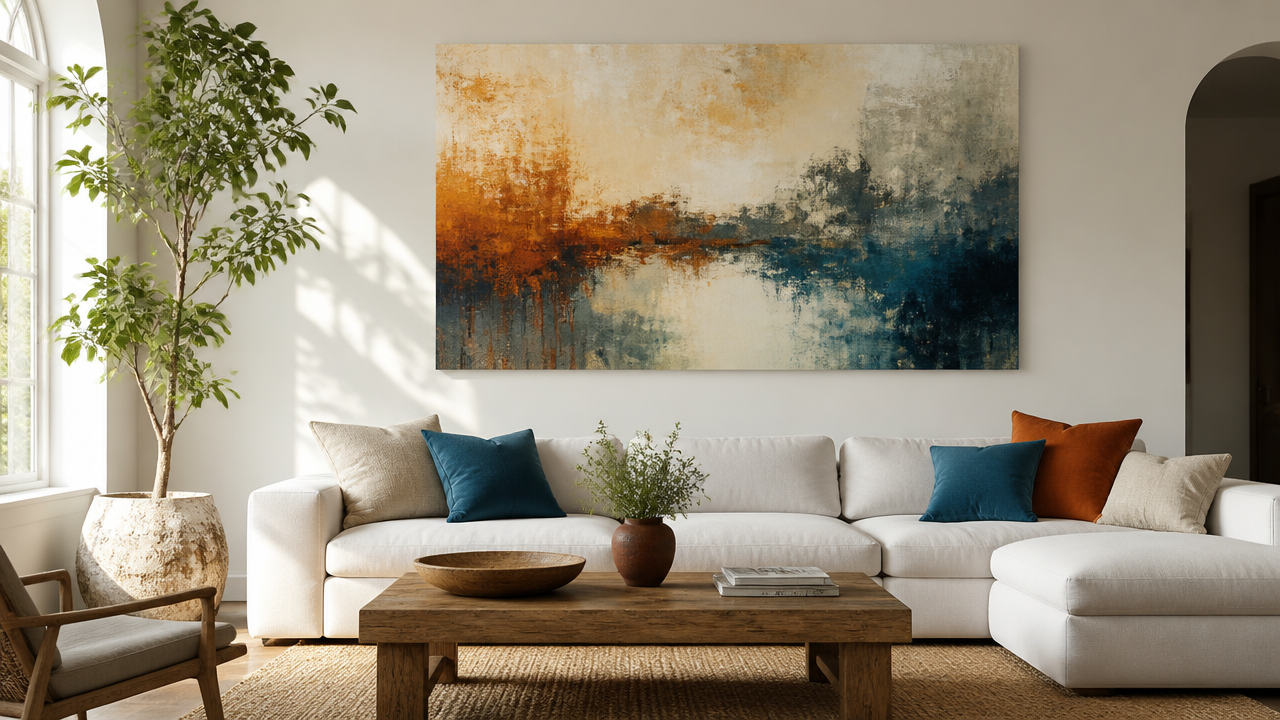
2. Do A Two-Color Abstract (With Big Shapes)
If blank canvases make you freeze, limit your palette. Two colors push you to focus on shape, scale, and contrast—aka the secret sauce of good design. It’s simple, graphic, and super satisfying.
Tips
Pick one bold color and one neutral (e.g., deep teal + warm beige).
Block out 3–5 big shapes; avoid tiny fiddly bits.
Leave intentional negative space for breathe-easy minimalism.
Paint your largest shape first to set the composition, then add smaller supporting forms. Keep edges clean with painter’s tape, or go soft and organic with freehand curves.
Benefit: Teaches composition without fuss. Looks modern and high-end, IMO.
3. Try Loose Florals With A Round Brush
Florals look hard until you stop chasing realism. Loose petals and suggestive leaves read beautifully from a few feet away. You’ll practice brush pressure, curves, and layering light over dark.
Key Moves
Load a round brush, press to make a petal, then lift—repeat in a circle.
Mix a few shades of the same color for depth (rose, dusty pink, plum).
Add leaves in quick pairs with a flick of the wrist.
Keep your centers darker and add tiny dots of yellow or white for sparkle. Let gaps happen. The eye fills them in, which makes your bouquet look artful, not stiff.
Use it for: Cards, small gifts, and relaxing practice sessions where perfection can go take a seat.
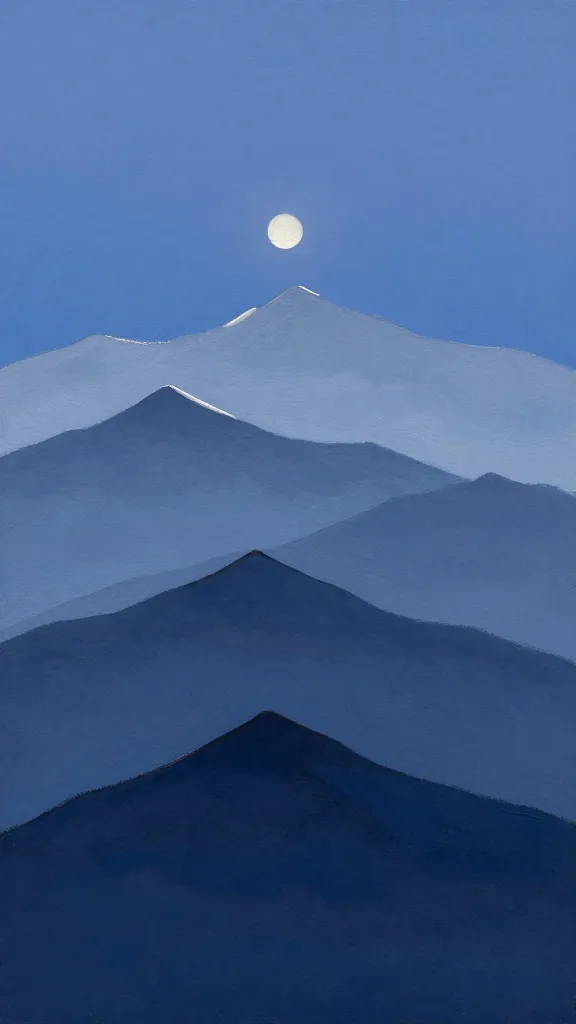
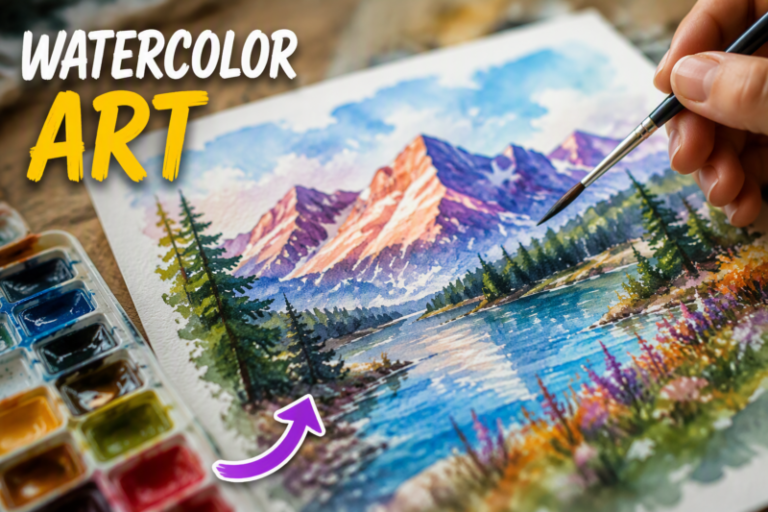
4. Make A Simple Mountain Landscape With Layers
Mountains are basically triangles wearing fog. Layering silhouettes from dark to light creates instant depth with almost zero detail. You’ll learn atmospheric perspective without needing to Google it mid-paint.
Use a flat brush for clean edges and soft dry-brushed texture for snow or mist.
Glaze a thin blue-gray wash over distant peaks to push them back.
Add a small moon or sun with a fingertip dab of white. Done. Looks epic, took less than an episode of your favorite show.
Benefit: Frames beautifully and builds confidence in layering and value control.
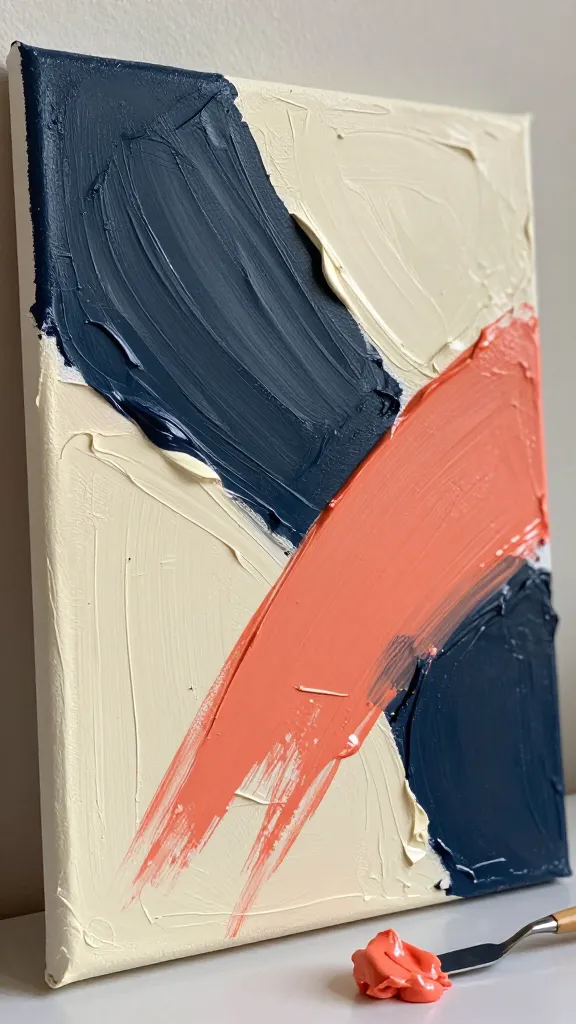
5. Swipe A Palette-Knife Color Block
Zero brush control? Perfect. A palette knife gives you delicious texture and bold movement with minimal technique. You’ll get luscious edges and creamy blends that scream “gallery wall.”
Materials
Heavy-body acrylics, palette knife (or old gift card), canvas panel
Colors: one dark, one light, one pop
Spread paint like frosting. Pull in one direction for crisp planes or cross-swipe for energy. Press lightly to skim color over dry layers and reveal scratchy highlights.
Use it when: You crave texture and want art that looks expensive without trying too hard.
6. Paint A Minimal Line Portrait
One continuous line can do more than a dozen shaded faces. This teaches confidence and restraint, both crucial for growth. Plus it looks chic on any wall.
Steps
Lightly pencil a simple face: nose bridge, lips curve, closed eyes.
Load a liner brush with thinned black acrylic.
Commit to one unbroken stroke, slow and steady.
Embrace wobble—it adds personality. Add a single color wash behind the face (peach, sage, or lavender) for instant dimension.
Benefit: Trains your line quality and feels very “I drink espresso in a sunny studio,” trust me.
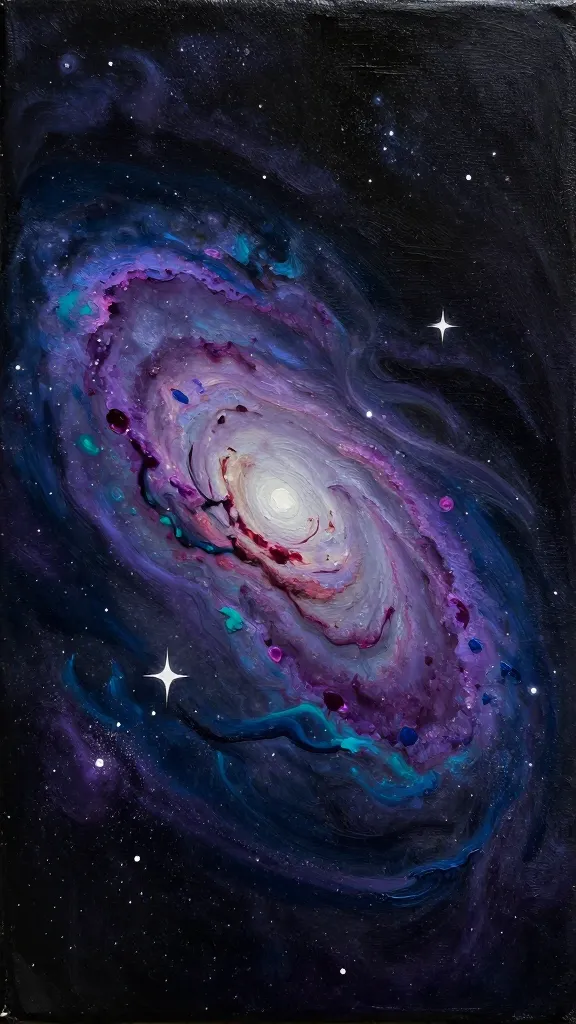
7. Create Galaxy Art With Splatter Stars
Galaxies are the ultimate low-pressure abstract. They rely on color transitions, soft edges, and one very satisfying step: star splatter. You’ll practice blending and embrace happy accidents.
Key Points
Base: deep navy, purple, and black swirls.
Add hot spots: teal or magenta nebulae with a sponge.
Stars: thin white paint and tap a brush handle for fine splatter.
Soften halos around bright areas with a dry brush. Add a larger star or two with a toothpick for focal points. Boom—cosmic drama in under an hour.
Use it for: Notebook covers, coasters, or a trio of small canvases that look like a set.
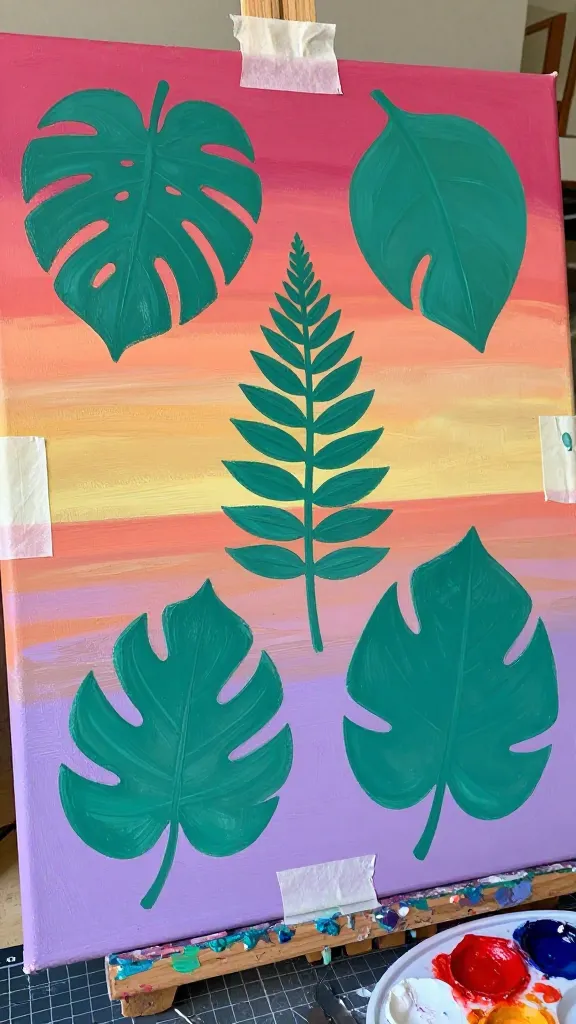
8. Do Negative-Space Leaves With Tape
Want crisp, graphic art with no freehand stress? Paint a colorful background, then “carve” leaves out with tape and a top coat. The reveal moment feels like opening a present.
Materials
Painters tape or washi tape, craft knife, acrylics, cutting mat
Background colors (sunset gradient = chef’s kiss)
Paint your background and let it dry fully. Tape the entire surface, sketch leaf shapes on the tape, then cut and peel to expose leaf areas. Paint those exposed parts a solid contrasting color. Peel tape for clean, graphic leaves.
Benefit: Teaches planning and layering while guaranteeing crisp edges. Great for beginners who love precision.
9. Try A Monochrome Value Study (Black, White, And One Gray)
Color gets all the attention, but value does the heavy lifting. A monochrome study trains your eye to see light and shadow—skills that make every future piece better. It’s like art gym for your brain.
Process
Pick a simple subject: pear, mug, or a single flower.
Mix three values: dark, mid, light (add white to black incrementally).
Block in shapes with the mid, push shadows darker, finish with highlights.
Keep edges soft where objects curve and sharper where they meet hard corners. Once you nail this, color becomes way less scary.
Use it when: You want to level up fast and understand why your paintings sometimes feel “flat.”
10. Make A Coastal Abstract With Drips And Scratches
Channel beach vibes without painting literal seashells. Soft blues, sandy neutrals, and a few scratched lines create depth and movement. It’s loose, layered, and forgiving—seriously, it’s hard to mess up.
Tips
Layer pale blue, white, and beige horizontally for a horizon feel.
Spray water near the top and tilt for controlled drips.
Scratch through semi-wet paint with the knife edge for “weathered” texture.
Finish with a few opaque white sweeps for foam and a warm glaze for sunshine. The result feels serene and airy, like a weekend you can hang on your wall.
Benefit: Relaxing process that delivers decor-friendly art every time.
Ready to pick your first project? Start with the one that feels the least intimidating, then ride that momentum to the next. Keep your expectations light, celebrate the little wins, and let the paint do some of the work. FYI: the only “rule” is to have fun—and to sign your masterpiece when you’re done.
A Teacher with 5 years of experience. Our Expertise, is reliable to meet your full Academic development needs . Worked on many crafts and construction projects offering services from design to development to deployment over the years. You will find many of my works in my business portfolio on request.