11 Beautiful Simple Painted Backpack Ideas Like a Pro
Transform your school gear with 11 simple painted backpack ideas. Learn easy DIY techniques, from galaxy effects to stencil designs, for a custom style.
What makes a truly great simple painted backpack idea stand out from every other project you have tried to tackle? Customizing your gear with paint turns an ordinary bag into a unique piece of wearable art, whether you are prepping for the new school year or just looking to refresh an old favorite. Simple painted backpack projects range from bold geometric shapes to organic floral motifs, giving you a way to express your personality without needing professional artist skills. As you prepare for seasonal shifts, a custom accessory is a perfect way to stay creative. Let us look at how you can transform your bag with these accessible designs.
Quick Questions and Answers
Question: What are easy painted backpack ideas for beginners?
Answer: Beginner-friendly painted backpack ideas include simple florals, rainbows, stripes, stars, galaxy effects, initials, and stencil-based symbols. The easiest options are repeated shapes and limited-color designs, because they are forgiving and do not require advanced drawing skills. Many tutorials also recommend stuffing the bag or inserting cardboard to make painting easier and cleaner.
Question: How do you paint a backpack without the paint bleeding through?
Answer: The best method is inserting stiff cardboard or cardstock inside the bag before painting, which creates a stable surface and helps prevent bleed-through. You might also find that gesso is essential on canvas if you do not want the fabric to soak up paint. Cleaning the surface first and using tape for borders also helps keep edges crisp.
Question: Which backpack painting style is easiest to do?
Answer: Stencil art and simple repeating patterns are the easiest styles to master. They require less freehand precision than detailed portraits or lettering, and spray paint or fabric markers can make the process faster. Rainbow bands, vertical stripes, stars, and small floral clusters are all beginner-friendly choices for anyone starting with their first project.
What You Need for Backpack Painting
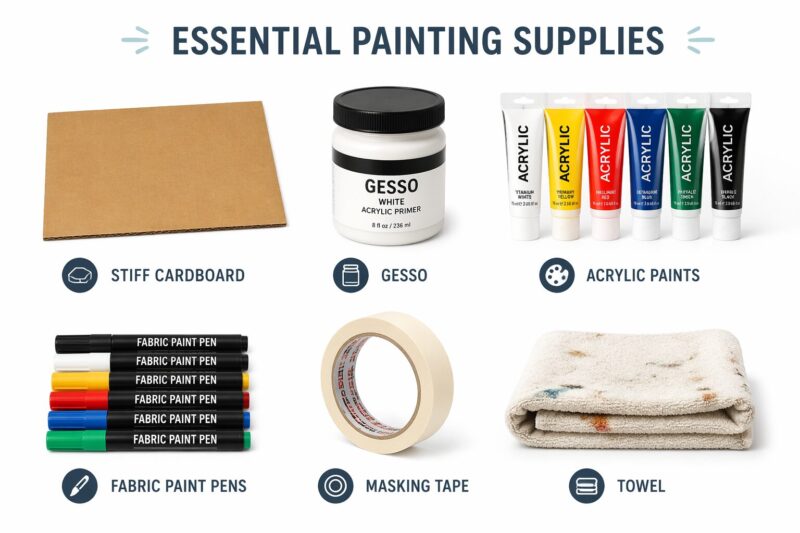
Getting an ideal result depends on having the right supplies ready before you open that first bottle of paint. You definitely need stiff cardboard or cardstock to insert into your pockets; this stops paint from bleeding through to the inner lining. Finebrushes notes that this step creates a stable surface for drawing and saves your bag from accidental stains.
Gesso primer acts like a barrier that keeps your canvas from drinking up all the paint. As Instructables explains, this is essential if you want colors to remain bold and visible. Beyond these, you will need a mix of acrylic paints, fabric-specific markers, and potentially fabric spray paint for a smoother finish.
Finally, grab some painter’s tape to secure your borders and towels for stuffing the bag to prevent sagging. If you are experimenting with other DIY techniques like Easy DIY Rhinestone Art the Easy Way, remember that your surface preparation remains the same regardless of what decoration you choose. Having an outdoor tarp ready is also a good move if you plan to use any spray pigments.
Selection Criteria for Your Backpack Design
Choosing the right design helps you avoid feeling overwhelmed during the process. I always look at the skill level first; stencils and geometric patterns are best for beginners, while freehand illustrations require significant practice on scrap paper.
Durability matters if you plan to carry this every day. Priming with gesso and letting your paint layers cure completely—especially with spray paint—ensures your hard work stays put. You can also look into 10 Proven Bleached Hoodie Ideas Worth Knowing to see how different fabric techniques compare for long-term wear.
Partitioning your bag helps keep the project manageable. Treat the main upper panel as one canvas and the front pocket as a second, separate goal. This builds a sense of progress as you complete one section at a time. I also suggest sticking to a limited palette of 3 to 4 colors. This keeps your galaxy, floral, or striped patterns looking polished rather than cluttered.
Grouped Backpack Painting Techniques
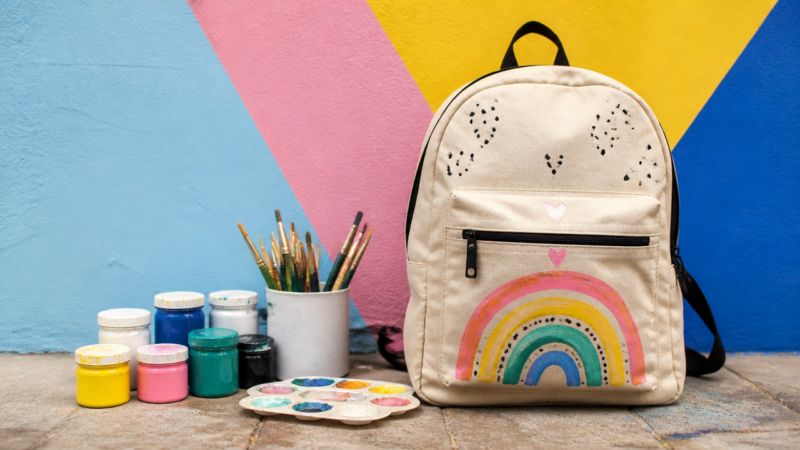
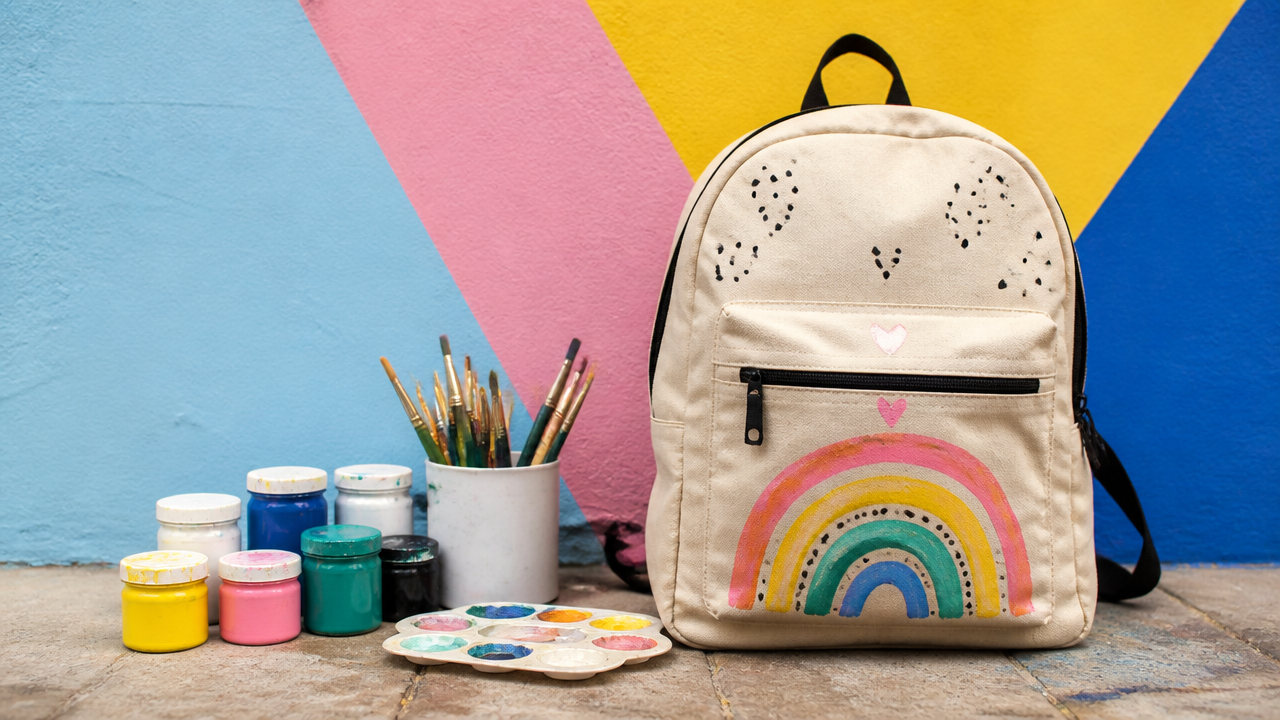
The patterned approach relies on simple, repeating shapes. For instance, you could paint rainbows across the top panel and vertical stripes on the front. One tutorial reveals that applying three layers of the same color makes your rainbows look solid and intentional.
Nature-inspired designs utilize organic shapes like strawberries, lavender, or daisies. You can even use real garden clippings as stencils if you want a natural, guided outline. This style is forgiving because real plants are not perfectly symmetrical.
Galaxy aesthetics are surprisingly standard. You simply layer blue, light blue, pink, and white in loose rings, then splatter white dots with a thin brush to create stars. A National Park Service resource on observation might remind you that the real night sky is random; keeping your own galaxy design scattered rather than rigid works to your advantage.
Graphic stencil styles offer the crispest look. Print a design from your computer, cut it into a stencil, and apply light spray coats. Spraying three thin layers with 30-second drying intervals prevents the paint from running under your stencil edges.
Method
Best For
Complexity
Standout Feature
Hand-Painted Patterns
Beginners
Low
Repeatable, easy-to-correct shapes
Spray & Stencil
Graphic Art
Medium
Sharp, professional, clean lines
Freehand Illustrations
Creative Expression
High
Completely unique, organic look
Galaxy Layering
Visual Impact
Medium
High-contrast, vibrant, forgiving
Who These Projects Are Best For
These projects are tailor-made for students craving a custom look without buying overpriced designer bags. You do not need expensive equipment; basic craft store finds work just fine. If you enjoy 12 Creative Rhinestone Art Ideas Every Home Needs, you will likely enjoy the detail work involved in these painting methods.
DIY hobbyists often pick these projects for a quick weekend win. Once you have the supplies, you can finish a bag in a few hours. Parents also find these projects rewarding, as they provide a safe, interactive craft that children can personalize with patches or glitter once the paint dries.
Expert Tips for Success
Never jump straight onto the backpack without testing your brush load or spray pressure on a grocery tote first. I find that a 4 by 5 inch window frame approach works best for smaller designs. By focusing on a small rectangle, you ensure your design stays centered and clean.
Chalk is a secret weapon for freehanders. Sketch your entire plan in chalk, which you can easily wipe away or paint over. If you decide to add jewels or iron-on patches, hold off until the paint is 100 percent dry to ensure a strong hold. Patience during the drying phase dictates how long your custom bag actually lasts.
Frequently Asked Questions
Q: Will the paint crack when the backpack is folded?
Using fabric-specific paints or mixing a fabric medium into your standard acrylics adds necessary flexibility to the dried design. Without this, the paint layers might stiffen and eventually flake off as you move the bag or cinch the straps. Always check the labels of your supplies to ensure they are rated for textiles or outdoor use.
Q: How do I prevent paint from soaking through to the inside?
Always slide a piece of stiff cardboard or a thick piece of cardstock deep into the compartment you are currently painting. This prevents transfer and keeps your fabric taut. You might also want to stuff the bag with old towels to maintain its shape, providing a firm, non-sagging surface that makes drawing smoother.
Q: Can I paint a synthetic or nylon bag?
While cotton canvas is much easier to work with, you can paint synthetic blends using specialized textile spray paint. Standard acrylics often bead up or peel off synthetic fibers, so do a small test spot on an inconspicuous area first. If the paint adheres well after it dries, you are likely clear to continue with your design.
My Experience With 11 Beautiful Simple Painted Backpack Ideas Like a Pro
I have learned that the messiest part of this process is almost always the prep work. If I don’t take the time to stuff the corners of the backpack with towels, the fabric sags and my lines end up looking like a toddler did them. I once tried to skip the gesso primer on a dark bag and spent three hours just trying to get a decent layer of white paint. Never again. Primer is a non-negotiable step that saves you from endless, frustrating coats.
The most satisfying projects are the ones that use simple stencil shapes. There is a strange, professional joy in peeling back painter’s tape to reveal a razor-sharp line. I think the key depth here lies in moderation; beginners often try to cover every inch of the bag, but the designs that look the most “expensive” are actually the ones with plenty of negative space. It’s better to paint one cluster of daisies well than to cover the whole bag in muddy, rushed blobs. What was the first design you tried, and did it come out as planned?
Final Picks
Best for absolute beginners: The Patterned Backpack is my top pick because your mistakes easily hide within the repeating shapes like rainbows or simple lines.
Best for professional results: The Stencil and Spray method wins here. It is the only way to get perfectly crisp lines and distinct symbols without needing an art degree.
Best for artistic flair: The Garden-Themed motif remains the winner. The organic shapes of leaves and petals allow for a fluid style where perfection is secondary to the final vibe.
References
Finebrushes. (n.d.). 17+ Fun Backpack Painting Ideas for a Fresh, Personalized Look. Finebrushes. https://finebrushes.com/blog/backpack-painting-ideas/
A Teacher with 5 years of experience. Our Expertise, is reliable to meet your full Academic development needs . Worked on many crafts and construction projects offering services from design to development to deployment over the years. You will find many of my works in my business portfolio on request.