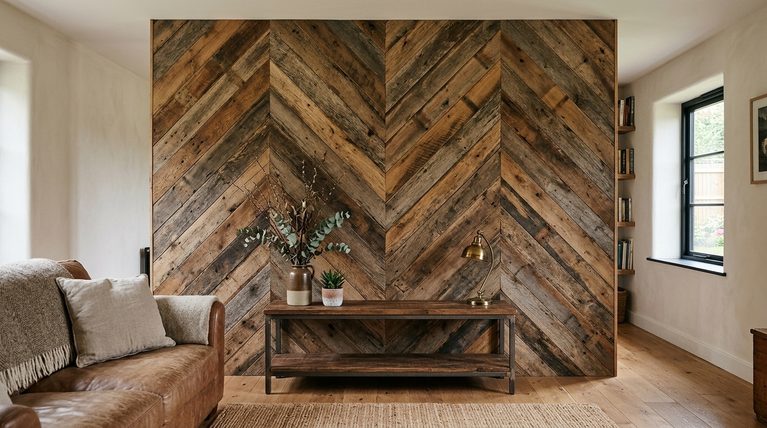
Fresh flowers—or even faux ones—can completely change how your home feels.
DIY floral arrangements are one of those small upgrades that makes a big difference. I love that I can match the mood of my space with a color palette, a shape, and a style I can actually repeat. It also feels less intimidating once I know the basic “structure first” steps and how to place focal blooms. Whether I’m making a quick centerpiece for guests or decorating a cozy corner for myself, I get practical results without needing a fancy studio setup. If you want ideas that are easy to customize, keep reading and pick the one that sounds most like you.
Quick Answer
My go-to approach is simple: choose a color palette, build with greenery first for structure, add focal blooms second, then fill in with smaller flowers. Below are 10 DIY floral arrangement ideas (with easy concepts you can copy at home), plus the design rules and care tips that help everything look professional longer.
Key Take Takeaways
- Start with a cohesive color palette (monochrome or complementary colors look best).
- Build structure first using greenery/foliage, then add the biggest “focal” flowers.
- Trim stems at a 45-degree angle and remove extra leaves so flowers drink better.
- For foam-based centerpieces, leave extra stem length (about 2 inches) to insert securely.
- Use odd-number grouping (like 3s and 5s) and vary stem angles for a balanced, natural look.
- Maintenance matters: mist, refill water, remove drooping stems, and re-cut stems that keep growing.
1. Monochrome or complementary palette bouquet
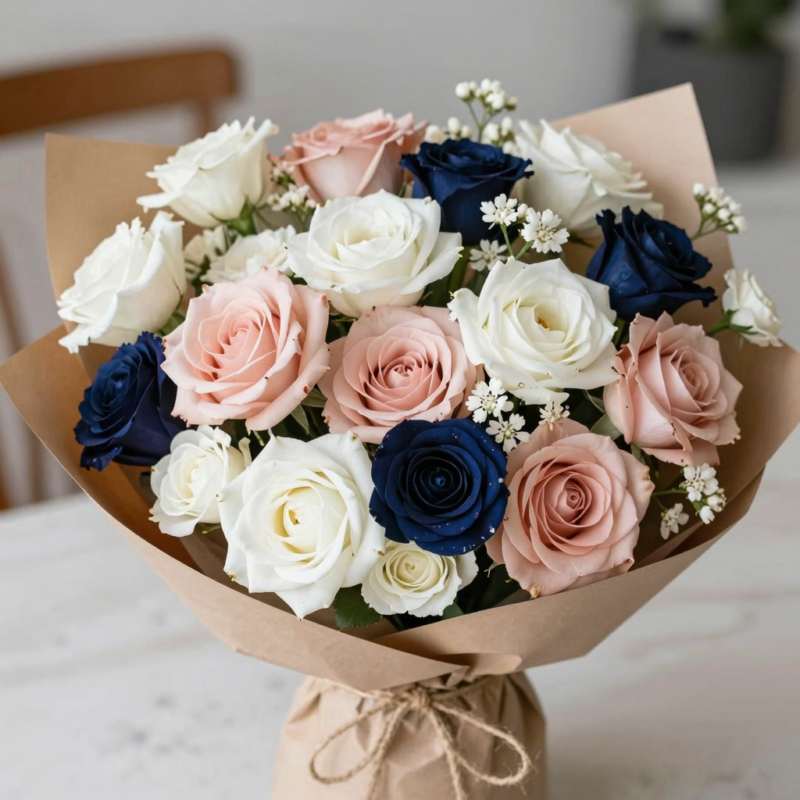
If you want it to look “designed” even when you’re rushing, start with a color plan. I usually pick either one main color family (monochrome) or colors that pop together (complementary). Then I build the arrangement so it feels smooth, not scattered.
My DIY concept:
- Pick 1–2 colors you love (for example, blush + cream, or purple + green).
- Add greenery first so you get shape and depth.
- Add the focal blooms next (the biggest flowers).
- Finish with smaller filler blooms to round out the look.
Simple variations I use:
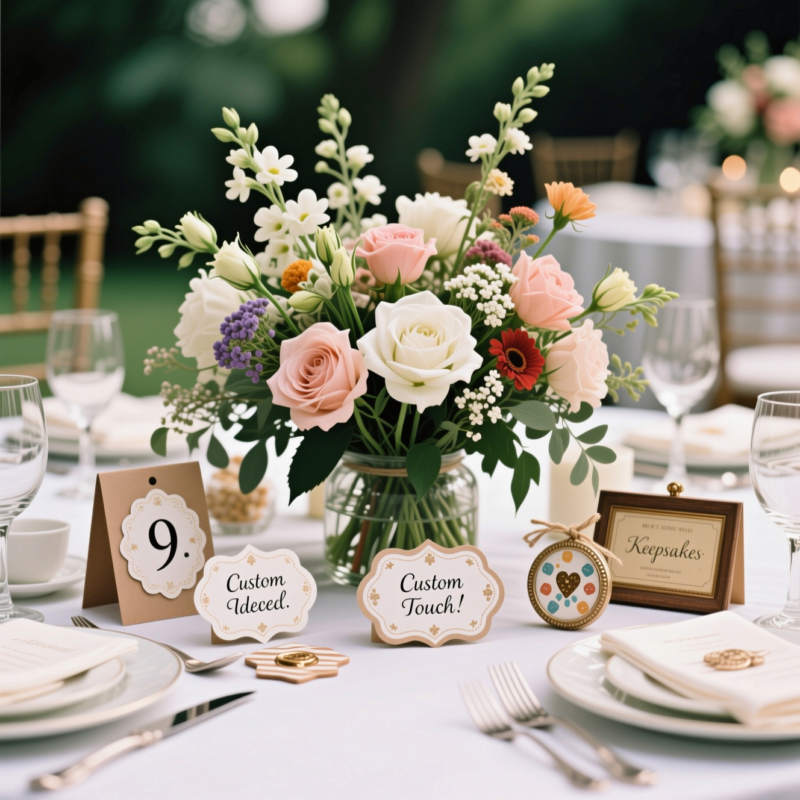
- Make it monochrome but mix textures (roses + sweet peas + airy fillers).
- Go complementary by keeping greenery in a consistent shade (like deep green) so the colors stay crisp.
2. Greenery-first “structure then statements” arrangement
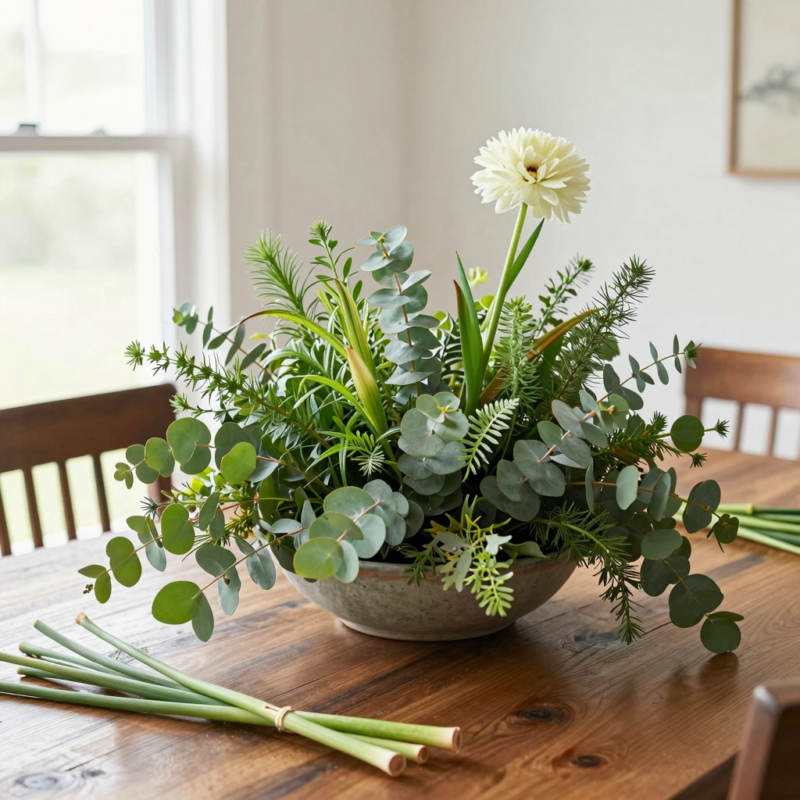
This idea is my favorite for beginners because it keeps you from overthinking. If your greenery looks good first, your flowers just need to “stand on top” of a solid base.
My DIY concept:
- Choose one vessel (a vase, jar, or even a wide bowl).
- Arrange greenery/foliage first to create a base layer and height.
- Place your focal flowers after, then adjust angles so they don’t all point the same direction.
- Add small blooms only where you need volume.
Why it works: Greenery sets the outline, so your arrangement has structure even if you use fewer flowers than you planned.
3. Foam-and-bowl centerpiece with a single upright focal bloom
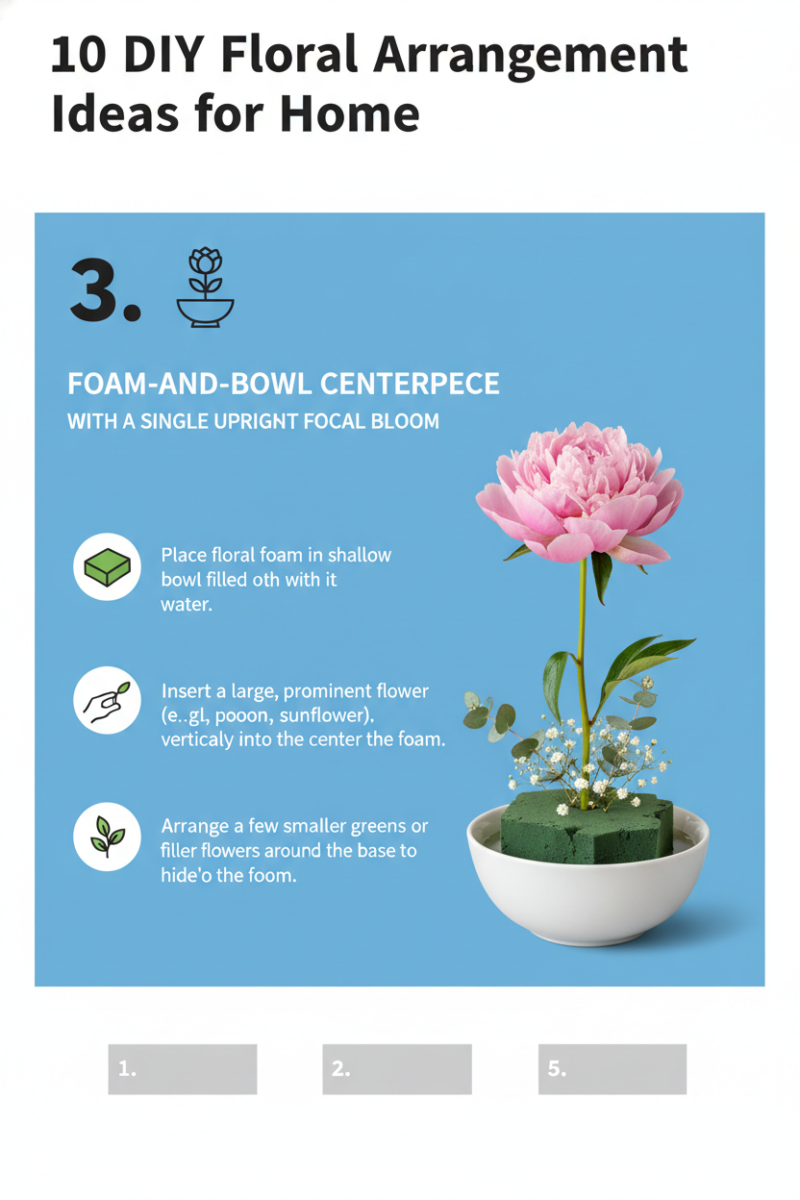
If you’ve ever wanted a centerpiece that looks neat and “centered,” this is the one. Floral foam makes it easier because you can control height and spacing without stems shifting.
My DIY concept (foam-based centerpiece):
- Decide how tall you want the centerpiece.
- Trim stems at a 45-degree angle and remove leaves that would sit under/inside the foam.
- Cut stems leaving extra length to insert into foam—aim for at least about 2 inches extra.
- Place one bloom in the middle as the maximum height point.
- Fill the bowl around it with remaining stems so the arrangement spreads naturally.
Easy tweaks:
- Keep it minimalist: one tall focal bloom + lots of greenery.
- Make it fuller: add a couple “secondary” blooms that sit slightly lower than the center.
4. Relaxed organic arrangement with varied stem angles
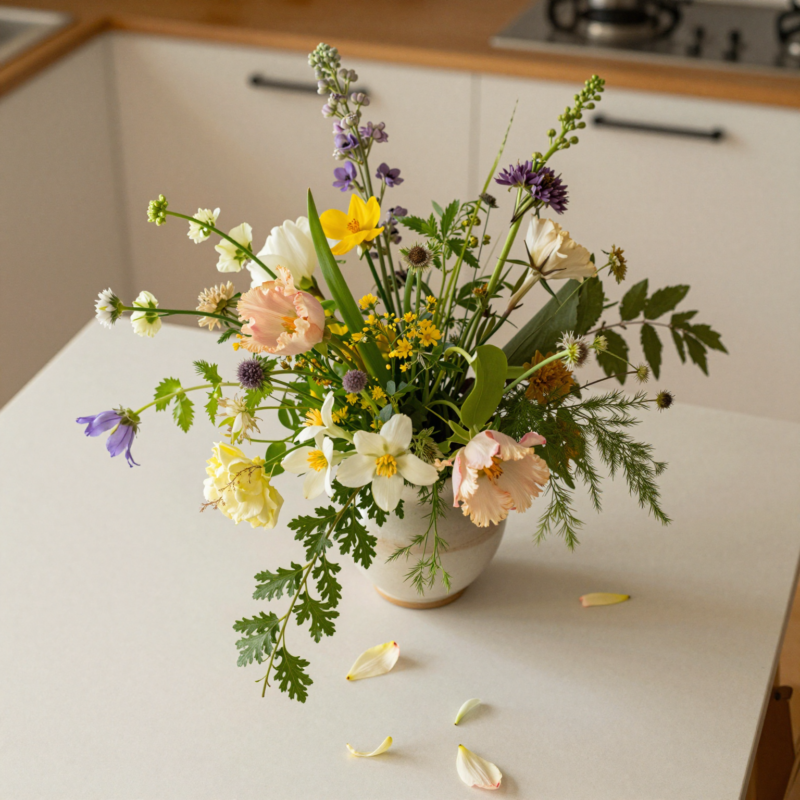
Not every arrangement needs to look perfectly symmetrical. I love the relaxed, organic look you get when some blooms face forward, some lean outward, and a few sit slightly lower.
My DIY concept:
- Start with greenery to create the overall line.
- Add focal flowers, then vary stem angles instead of placing everything upright.
- Let some blooms dip below the rim/vase line for a casual, natural feel.
Quick rule I follow: If everything looks too “even,” I gently rotate a few stems and lower a couple flowers. That’s usually all it takes.
5. Odd-number focal clusters (3s and 5s) for visual balance
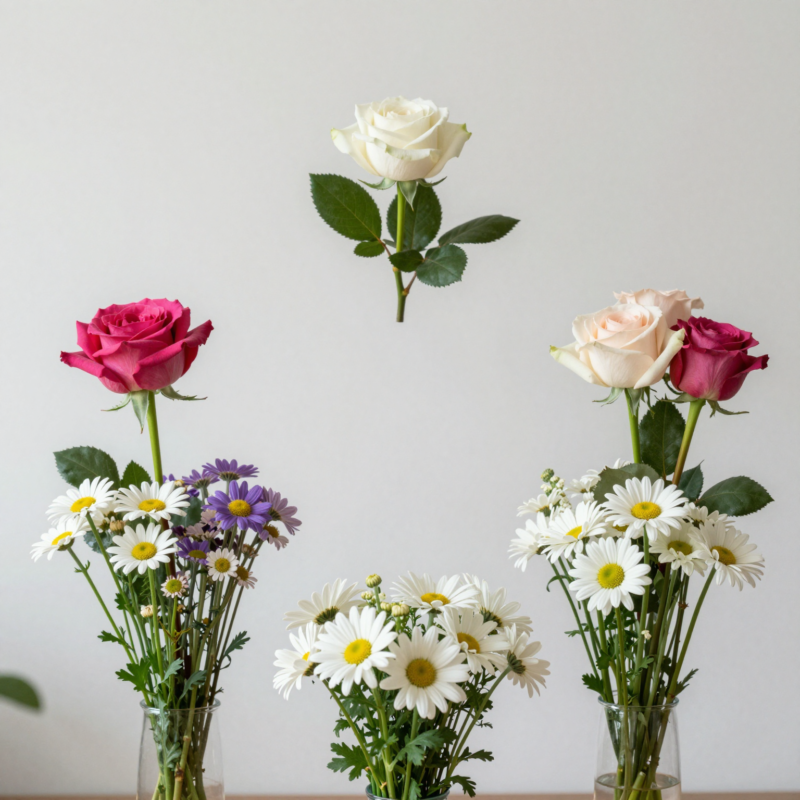
This is a design trick that makes your work look intentional. I always notice the difference when I use odd numbers for focal groupings.
My DIY concept:
- Choose 1–2 focal blooms as your “stars.”
- Place them in groups of 3 or 5 so the arrangement feels balanced without being rigid.
- Keep the rest of the flowers supportive—fill around the clusters, not in front of them.
Where I use it most: Table centerpieces, entryway vases, and mantel arrangements.
6. Faux floral “low-stress” arrangement using faux stems + foam
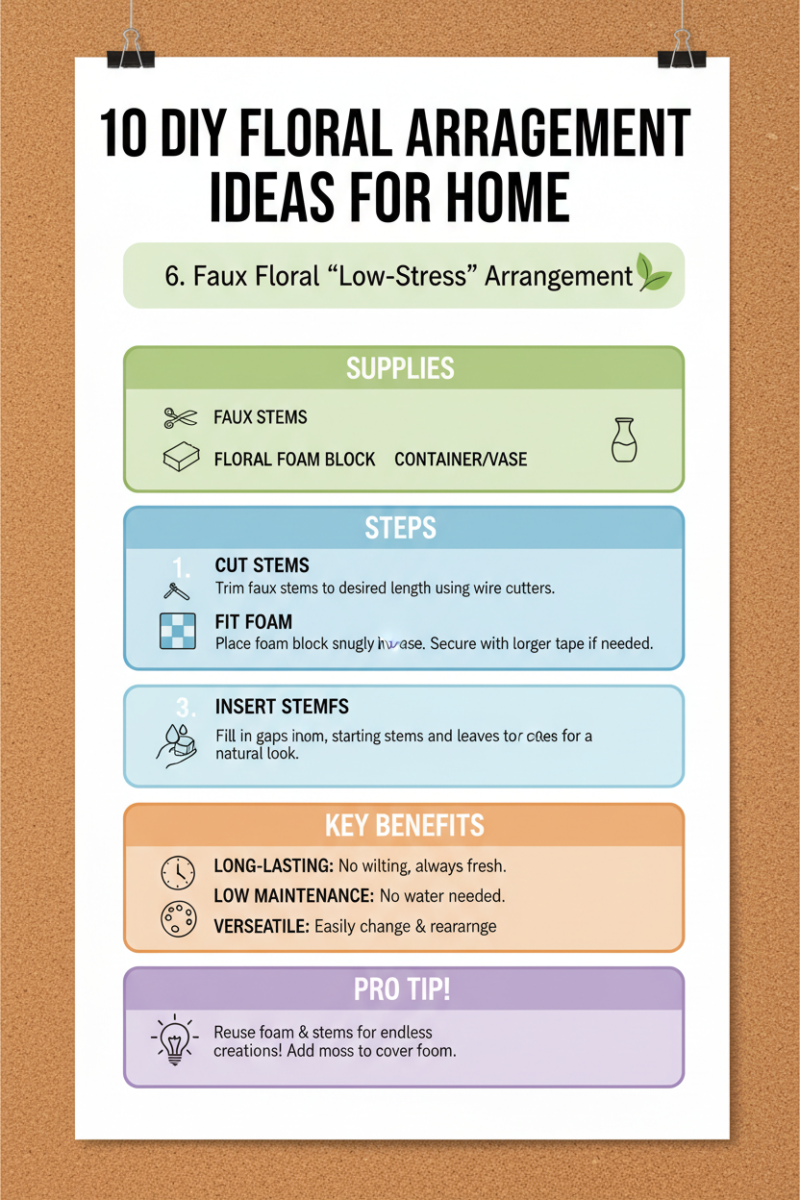
Sometimes I want the look of flowers without worrying about wilting. Faux arrangements are great for events, busy weeks, or anywhere I want decor to stay consistent.
My DIY concept:
- Choose faux stems you can cut/shape.
- Trim stems to fit your foam or container—again, leaving a little extra so they stay secure.
- Push the stems into foam in your preferred layout: center height first, then build outward.
Bonus benefit: You can reuse the centerpiece again and again, especially if you switch seasonal colors by swapping a few stems.
7. Seasonal container arrangement (pumpkin planters and more)
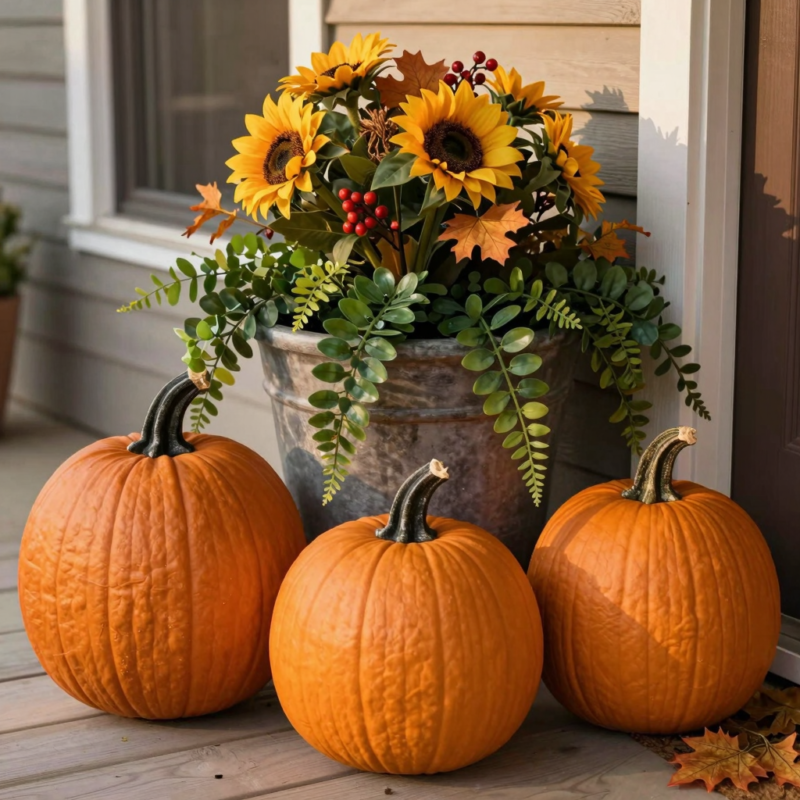
The container can do a lot of the decorating for you. A themed vessel (like a pumpkin planter) instantly makes the arrangement feel seasonal, even if your flowers are simple.
My DIY concept:
- Pick a seasonal container that matches the vibe (pumpkin for fall, pail for spring, woven basket for summer).
- Add greenery first so the container doesn’t look bare.
- Add seasonal blooms or complementary flowers right where your eyes go first (top front area and one side).
Easy ways to customize:
- Use warm tones (orange, rust, cream) for fall.
- Go bright and fresh (greens + cheerful colors) for spring and summer.
8. Herbal bouquet arrangement for a fresh, casual centerpiece
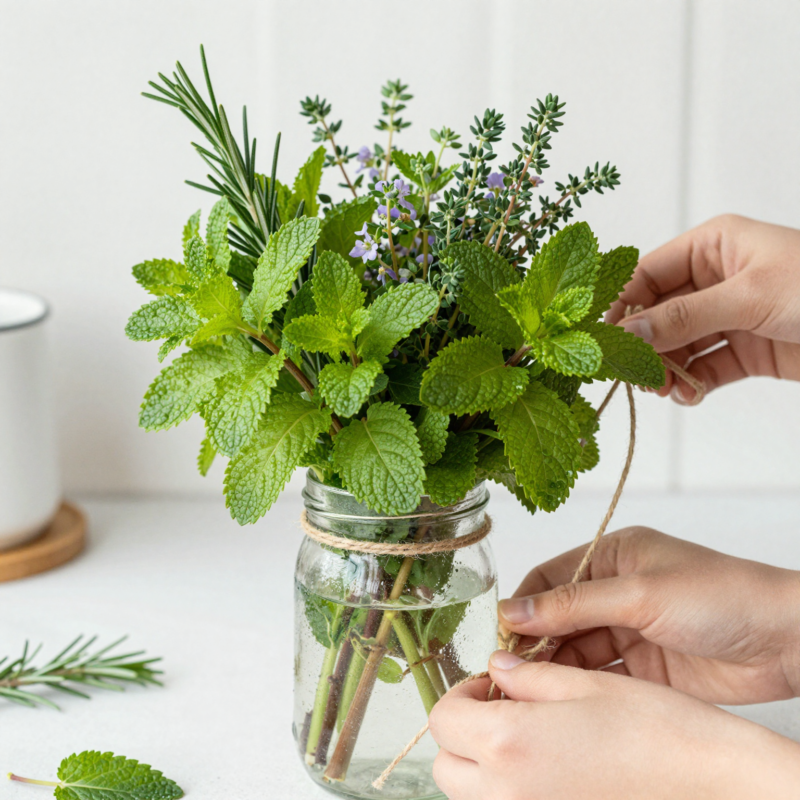
This one feels especially homey. Herbal bouquets add texture and a natural vibe, and they’re often easier to handle because they don’t need super fussy placement.
My DIY concept:
- Choose herbs with different shapes (like soft leafy greens, slender stems, or fragrant sprigs).
- Bundle them for a base layer and let them spill slightly.
- Add simple blooms on top—don’t over-layer.
- Keep the arrangement loose but intentional, like you’re creating a small garden moment.
Best setting: Kitchen table, breakfast nook, or anywhere you want “fresh” energy.
9. DIY flower crown format adapted into a mini arrangement
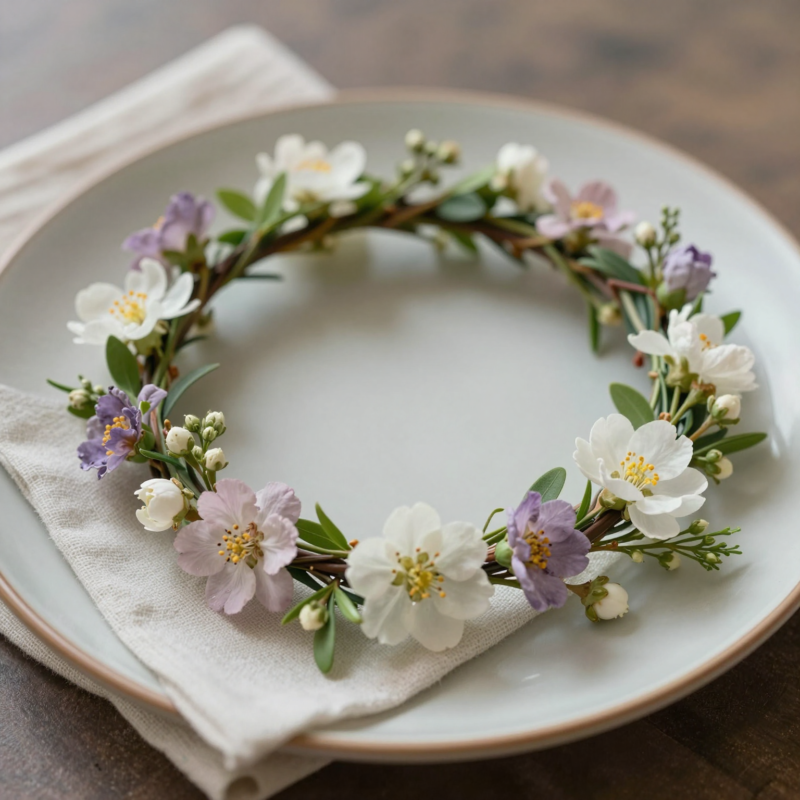
Crown/wreath spacing is such a helpful guide. Even though you’re not wearing it, the same idea—balanced spacing around a shape—works for small tabletop arrangements.
My DIY concept:
- Think in a circle: plan spots for flowers so nothing clumps.
- Use a mini wreath form, ring tray, or even a foam ring if you have one.
- Start with greenery around the “circle,” then add focal blooms at set intervals.
- Fill the gaps with small blooms so the pattern looks even.
Where it shines: Side tables, nightstands, and small shelves.
10. “Lazy girl” maintenance-aware arrangement setup
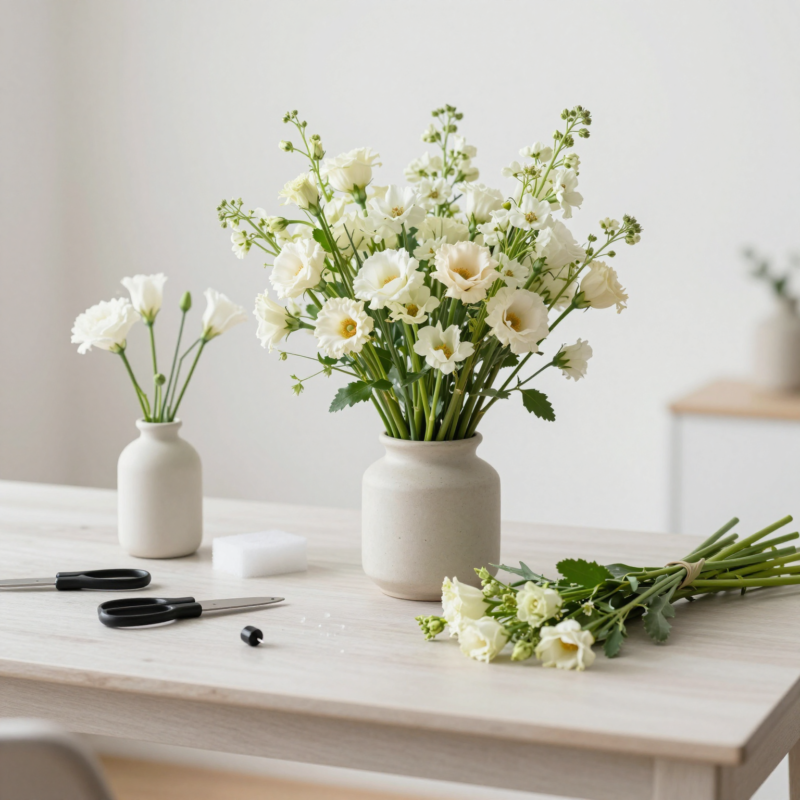
I’m all for beautiful flowers, but I also want it to stay nice without daily stress. This style is about pairing smart design with easy upkeep.
My DIY concept:
- Choose a simple structure: greenery base + a clear focal point.
- Make sure your stems can be easily adjusted (avoid super tight, impossible-to-reach designs).
- If you’re using foam, position stems so they’re stable and easy to pull and replace.
Care-friendly strategies:
- Keep water topped up and mist lightly when needed.
- Remove drooping stems quickly so the whole arrangement doesn’t look tired.
- Re-cut stems that keep growing (like tulips) so they can keep taking up water.
Design Rules That Make Any Arrangement Look Professional
When I want my arrangement to look “high-end” without stress, I follow a few non-negotiable rules:
- Build order: foliage/greenery first, focal flowers second.
This creates structure and depth before you add attention-getting blooms.
- Color harmony: use monochromatic or complementary palettes.
I always get a cleaner result when my colors are planned, not random.
- Balance with odd numbers (3s and 5s):
Group statement blooms into odd clusters to avoid a stiff, awkward look.
- Vary stem angles:
If every stem points the same direction, it can feel flat. Mixing upright, outward, and slightly dipped stems adds movement.
- Height and line: define a maximum height point, then let a few blooms “soften” the edge.
Think: one clear highest focal spot, with other flowers forming a graceful flow around it.
Care and Longevity Tips (So It Looks Great Longer)
Flowers look better when you give them what they need. Here’s what I do to keep arrangements looking fresh longer:
- Buy the freshest flowers you can find.
Fresh blooms open wider and last more.
- Trim stems correctly: cut at a 45-degree angle.
I also remove leaves that would sit in water or inside the container/foam area.
- Mist the arrangement and refill water as needed.
A quick mist can help, especially for stems that like a slightly more humid environment.
- Remove drooping or faded stems and re-fluff.
When a few blooms start to sag, I pull them out and reposition the surrounding flowers. The whole arrangement rebounds fast.
- Re-cut stems that keep growing (especially tulips).
Some flowers continue to move and grow; a fresh cut and proper water help them look better again.
Common Mistakes
- Skipping a color plan.
Random colors can look messy. Pick a monochrome or complementary palette first.
- Starting with flowers instead of greenery.
If you place big blooms too early, you’ll struggle to fix the shape. Build structure first.
- Not trimming stems (or trimming too short).
A poor cut can reduce water uptake, and extra leaves can cause faster droop.
- Using foam without enough stem length.
If stems don’t go in far enough, they’ll loosen. Leaving about 2 inches extra (when using foam) helps.
- Placing every bloom at the same height and angle.
That’s how arrangements look “flat.” Vary angles and create a clear height point.
- Forgetting quick maintenance.
Even a great arrangement can fade fast if you don’t mist, refill, and remove drooping stems.
FAQ
What’s the easiest floral arrangement for a complete beginner?
I’d start with the greenery-first “structure then statements” idea. It’s forgiving because greenery sets the shape, and you can add focal flowers without needing perfect symmetry.
Do I need floral foam for DIY arrangements?
No. Floral foam can make centerpieces easier to build (especially in bowls), but you can also use vases, jars, or chicken-wire style mechanics. Foam is mainly helpful when you want firm control of shape and height.
How do I make my arrangement look fuller without buying tons of flowers?
Use the right volume strategy: start with lots of greenery, add focal blooms, then use small filler flowers only where you need coverage. Also, spreading stems outward creates fullness without extra flowers.
How often should I change the water?
If your flowers are in water directly (vase style), I try to refill as needed and keep water fresh. If you notice drooping, I refresh sooner. For foam-based arrangements, I mist and refill the vessel according to how quickly it dries out.
Can I mix different flower types?
Yes! The trick is to keep a cohesive color palette and choose one or two “focal” varieties, then support them with fillers and greenery. Mixing textures is especially pretty.
Conclusion
If you want to enjoy DIY floral decor without the stress, pick one idea and one color palette—and build from the inside out: greenery first, focal flowers second. My fastest wins usually come from either the greenery-first structure method or a foam-and-bowl centerpiece with a single clear height point. Once you try one style, you’ll start recognizing what looks balanced and beautiful on your own terms. Now go grab a few stems (or your favorite faux picks), and make your next home moment feel fresh and special.

A Teacher with 5 years of experience. Our Expertise, is reliable to meet your full Academic development needs . Worked on many crafts and construction projects offering services from design to development to deployment over the years. You will find many of my works in my business portfolio on request.