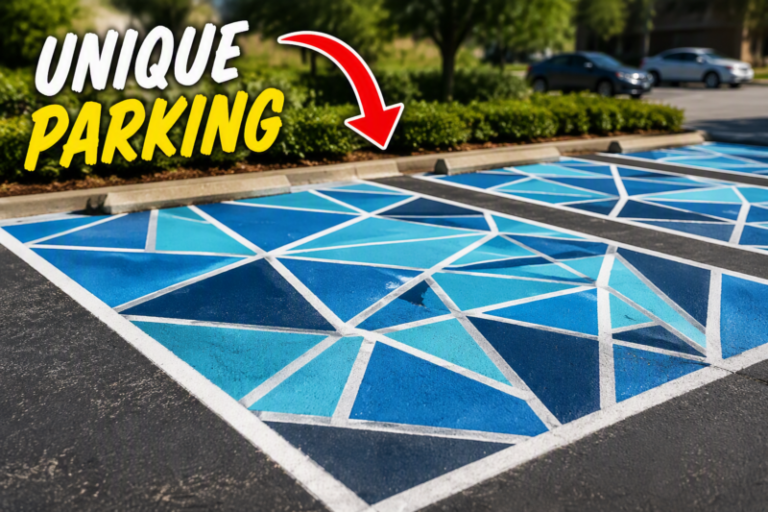
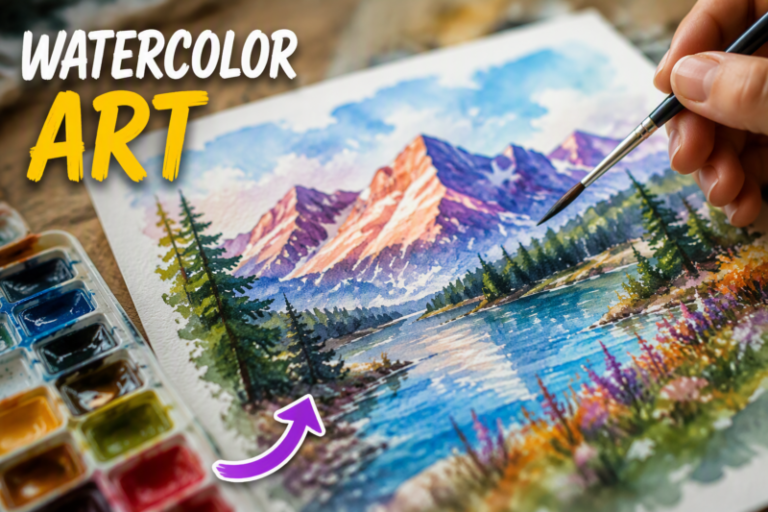
Want easy, stylish tote bag designs that look store-bought but cost next to nothing? I love turning plain canvas into wearable art, and painting a tote is one of the fastest ways to get that “wow” look. You can match your tote to outfits, gifts, seasons, or even your mood—without waiting for a special occasion. It’s also a fun weekend project that helps you practice color, lettering, and pattern-building skills in a low-stress way. Whether you’re a total beginner or you’ve painted before, these ideas give you clear starting points, simple techniques, and smart choices that help your design last. Grab your supplies and let’s paint something you’ll actually want to carry every day.
Quick Answer
Here are 12 smart DIY tote bag painting ideas: geometric blocks, ombré color fades, stencil icons, hand-lettered quotes, watercolor wash effects, marbled texture, fabric-paint splatter, nature leaf prints, galaxy swirls, tie-dye-inspired brush strokes, embroidered-look outlines (painted), and patchwork panels.
Key Takeaways
- I choose designs that fit the shape of a tote—large visuals work great on the front panel.
- I use the right materials (fabric paint, medium, and a heat set method) so designs stay put.
- I plan placement early with light pencil marks or painter’s tape.
- I keep cleanup and mess under control with cardboard inserts and washable protection.
- I mix easy techniques (stencils, stamps, tape lines) with a few “wow” touches (splatter, marbling, gradients).
1. Geometric Color-Block Front

If you want something that looks modern and intentional, color blocks are my go-to. I like drawing a simple grid in pencil, then using painter’s tape to get sharp edges. Start with 2–4 colors so it stays bold but not chaotic. For extra polish, paint small corner triangles or border stripes that “frame” the main design.
Smart tip: press the tape down firmly, and remove it while the paint is slightly tacky to avoid peeling edges. Variation: do a diagonal layout or use one thick stripe and smaller accent shapes.
2. Ombbré Fade from Bottom to Top

Ombré looks fancy, but it’s actually very beginner-friendly. I usually start with the darkest color near the bottom, then blend upward with a slightly damp brush. Work in layers: let one layer dry a bit, then add a lighter shade on top. This method helps the fade look smooth instead of streaky.
Smart tip: use a flat brush for smoother blending, and keep a separate brush/section of paint for each color. Variation: reverse it (fade top to bottom) or add a second “band” of color halfway up.
3. Stencil Icons That Match Your Vibe
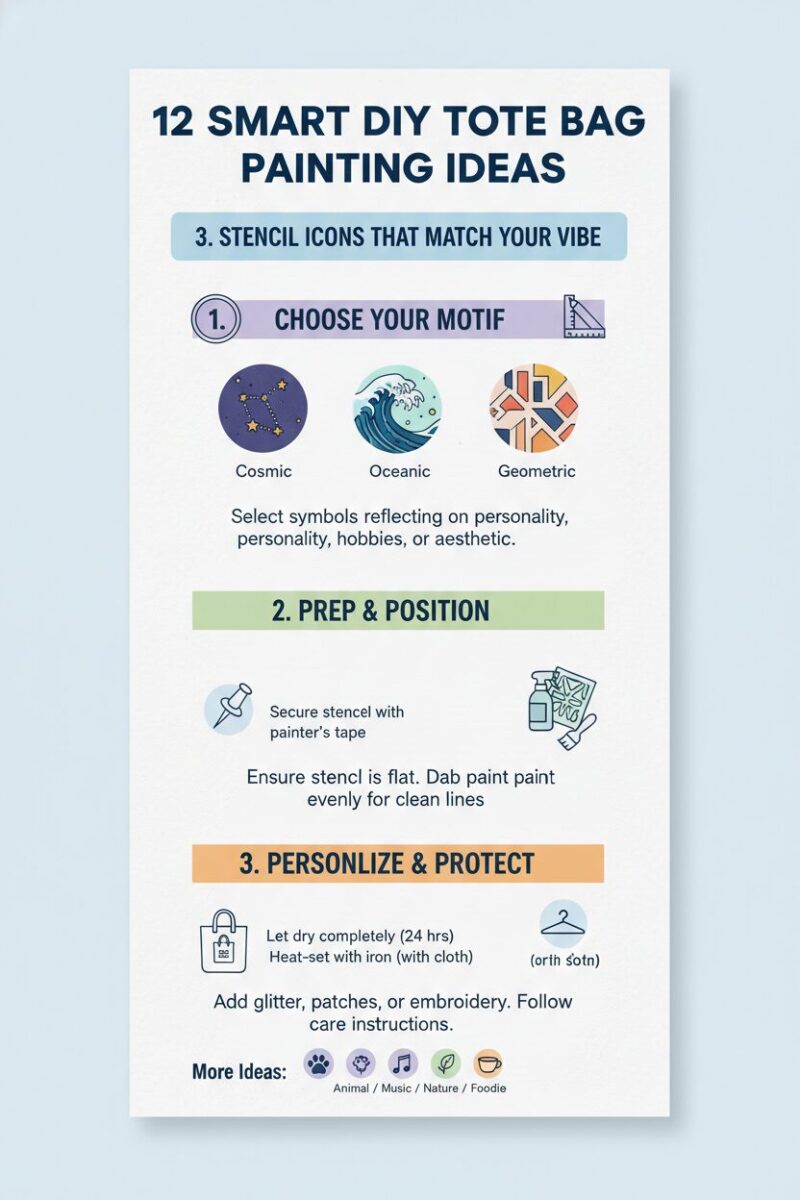
Stencils are like cheat codes for clean designs. I pick icons I actually like—stars, hearts, pine trees, tiny birds, or kitchen/coffee doodles. I tape the stencil in place, dab paint on lightly (don’t swipe), and lift carefully.
Smart tip: practice on scrap fabric or paper first so you learn how much paint to load. Variation: repeat the same icon in a pattern (like a grid) across the bottom half.
4. Hand-Lettered Quote with a “Signed” Look

There’s something so personal about a tote with a message. I like hand-lettering a short quote or phrase—something like “hello sunshine,” “carry kindness,” or “make it happen.” Start by sketching the lettering lightly in pencil, then trace over with a thin brush. To make it look “finished,” I add a small flourish or signature at the end.
Smart tip: use a paint marker or a liner brush for letter edges so you don’t wobble. Variation: use bubble letters for a playful style or script lettering for a softer feel.
5. Watercolor-Style Wash Effect

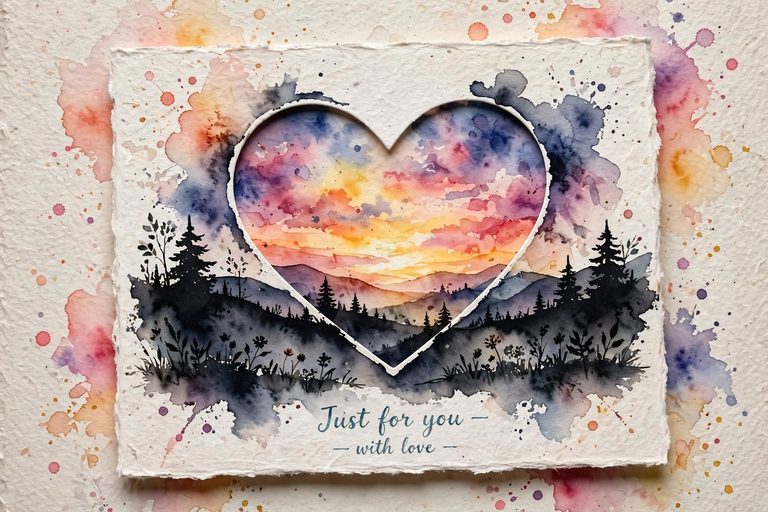
This idea looks artsy and relaxed, like a mini painting. I thin fabric paint with a little water or fabric medium, then dab it on the tote in loose shapes. Blot with a paper towel to create soft edges and airy fades. To keep it from looking messy, I stick to one “main” color plus one accent color.
Smart tip: paint in layers and let edges dry between steps for more control. Variation: add white paint splatters or tiny dots to mimic watercolor “sparkle.”
6. Marbled Texture Using a Simple Pour Technique
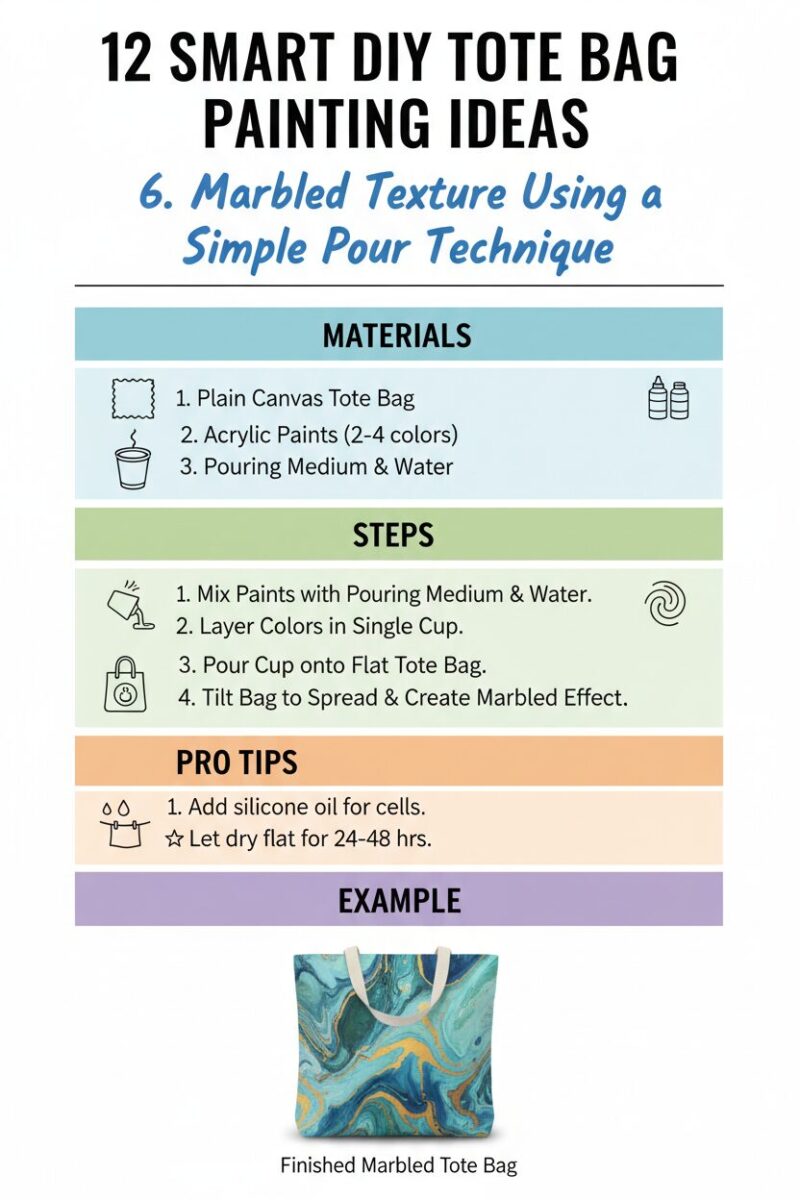
Marbling sounds fancy, but I’ve done it with basic supplies. I swirl 2–3 watered-down colors together in a shallow tray, then press the tote fabric lightly onto the pattern. Lift and let it dry, then touch up any spots with a small brush.
Smart tip: protect your surface with plastic wrap or a big drop cloth—marble paint can travel. Variation: do marbling only on a side panel or bottom band so the rest of the tote stays clean.
7. Splatter + Drips for a Street-Art Feel

If you want energy, splatter is the way to go. I load paint onto a toothbrush or small brush, then flick it over the design area. For a layered look, I splatter one color, let it dry, then add another color. You can also add a few controlled drips by using a bigger brush and dragging downward slightly.
Smart tip: do test flicks on scrap fabric first, because too much paint can look like a stain. Variation: splatter around a clean center design, like a stencil heart or circle logo.
8. Leaf and Branch Print Patterns (Nature Edition)

This is one of the most satisfying ideas because it creates instant texture. I press real leaves onto fabric paint (or stamp paint) and gently press them on the tote. Then I add a few branch lines with a fine brush to connect everything. It looks great in earthy tones like olive, sage, and warm browns.
Smart tip: fully dry leaves before lifting, and use a protective tray underneath. Variation: do a monochrome botanical look using only one color.
9. Galaxy Swirls with Stars (Weekend Wow Project)
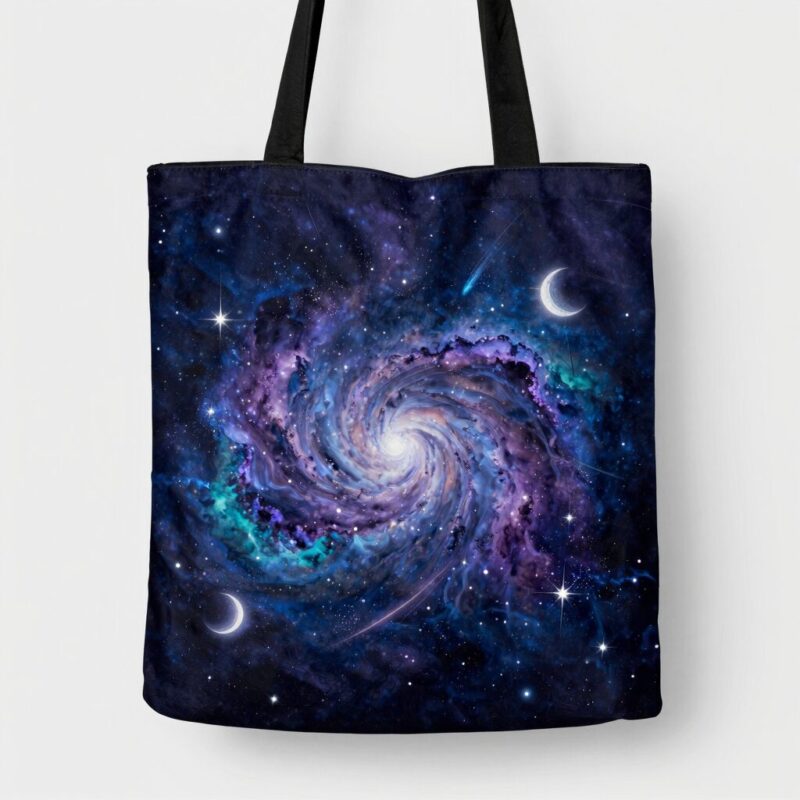
A galaxy tote feels magical, and it’s surprisingly doable. I start with a dark base (navy or black fabric paint), then layer lighter swirls with a sponge or round brush. After that, I add star dots using a white paint marker or a small brush. Finally, I create a subtle “glow” by blending light blue around the swirls.
Smart tip: for stars, use a toothbrush flick for tiny dots and a dot tool for bigger points. Variation: make a “moon” silhouette or add a constellation line.
10. Tie-Dye-Inspired Brush Strokes (No Mess Twist)
Traditional tie-dye can be messy, but you can get the vibe with paint and brush control. I create soft circles and ripples with a watered-down brush, then add brighter color accents in the center. You can also mask a few spots with painter’s tape to create sharp “fold-like” edges.
Smart tip: keep the background lighter and build dark colors gradually so the design looks airy. Variation: do small tie-dye clusters instead of covering the entire bag.
11. Painted “Embroidered” Outline with Color Fill
This idea mimics embroidery but skips the sewing. I outline a flower, heart, or simple pattern with a thin brush, then add small color blocks inside. To make it look like stitches, I can add tiny dots along the outline like stitch marks.
Smart tip: use a fine liner brush and keep paint consistent so lines stay even. Variation: do a border along the tote edge for a hand-crafted look.
12. Patchwork Panels with a Mini “Quilt” Layout
Patchwork is perfect if you like organized design. I split the tote front into sections using painter’s tape, then paint each section with a different texture or pattern—dots, stripes, mini shapes, or solid colors. When everything dries, I remove tape and optionally add thin border lines between sections.
Smart tip: don’t overload tape areas with paint; thick paint can bleed underneath. Variation: choose one theme, like “retro diner” colors or “coastal” blues and sand tones.
Common Mistakes
Here are the mistakes I’ve made (so you don’t have to): 1) Skipping fabric prep. If the tote is dusty or oily, paint may not stick well. I lightly wipe the surface before painting. 2) Not using the right paint. Regular craft paint can crack or wash off. I look for fabric paint or a fabric medium mixed with paint. 3) Painting without a barrier. Paint can bleed to the back side. I slide cardboard inside the tote before I start. 4) Overloading the brush. Heavy paint can smear designs and make colors bleed. I do thin layers and let each step dry. 5) Expecting “dry” to mean “cured.” Fabric paint often needs heat-setting. I always follow the instructions on the label for lasting results. 6) Going too detailed too fast. I sketch first, then paint the biggest areas, and only add small details last. 7) Forgetting placement. If your design is too big or off-center, it won’t look as good on-body. I step back every few minutes and adjust.
FAQ
What paint should I use to make a tote bag design last?
I recommend fabric paint or acrylic paint mixed with a fabric medium. Fabric paint is made to flex with the fabric. Either way, follow the curing instructions—often that includes heat-setting.
Do I need to wash the tote bag before painting?
Usually, yes—especially if it’s new and stiff or has any factory finish. I rinse or spot-clean it, let it fully dry, and then paint. This helps better bonding.
Will the paint crack if I wash the tote?
It can, if the paint isn’t cured properly or if you use the wrong type of paint. I heat-set when the label says to, and I turn the tote inside out for washing when possible.
Can I paint on a canvas tote bag without special tools?
Yes. You can do this with a few basics like brushes, a stencil (optional), painter’s tape, and cardboard inside the tote. If you want clean lines, a liner brush and painter’s tape help a lot.
How do I prevent paint from bleeding through the tote?
I place cardboard inside and paint in controlled layers. If your paint is very watery, it may bleed—so I keep the paint thickness about like yogurt, not like juice.
Can beginners pull off galaxy or marbling designs?
Absolutely. I treat them like “layered art” instead of expecting one perfect result. Galaxy designs come together with a base layer, then swirls, then dots. Marbling improves with practice and test runs.
Conclusion
These 12 smart DIY tote bag painting ideas are my favorite ways to turn plain canvas into something personal, practical, and truly wearable. Whether I’m making bold geometric blocks, soft watercolor washes, or a galaxy full of star dots, the key is using the right materials and building the design in layers. Start with one idea that matches your vibe—then let your tote become your everyday art piece. Grab your supplies and paint a tote you’ll feel proud to carry out the door.

A Teacher with 5 years of experience. Our Expertise, is reliable to meet your full Academic development needs . Worked on many crafts and construction projects offering services from design to development to deployment over the years. You will find many of my works in my business portfolio on request.